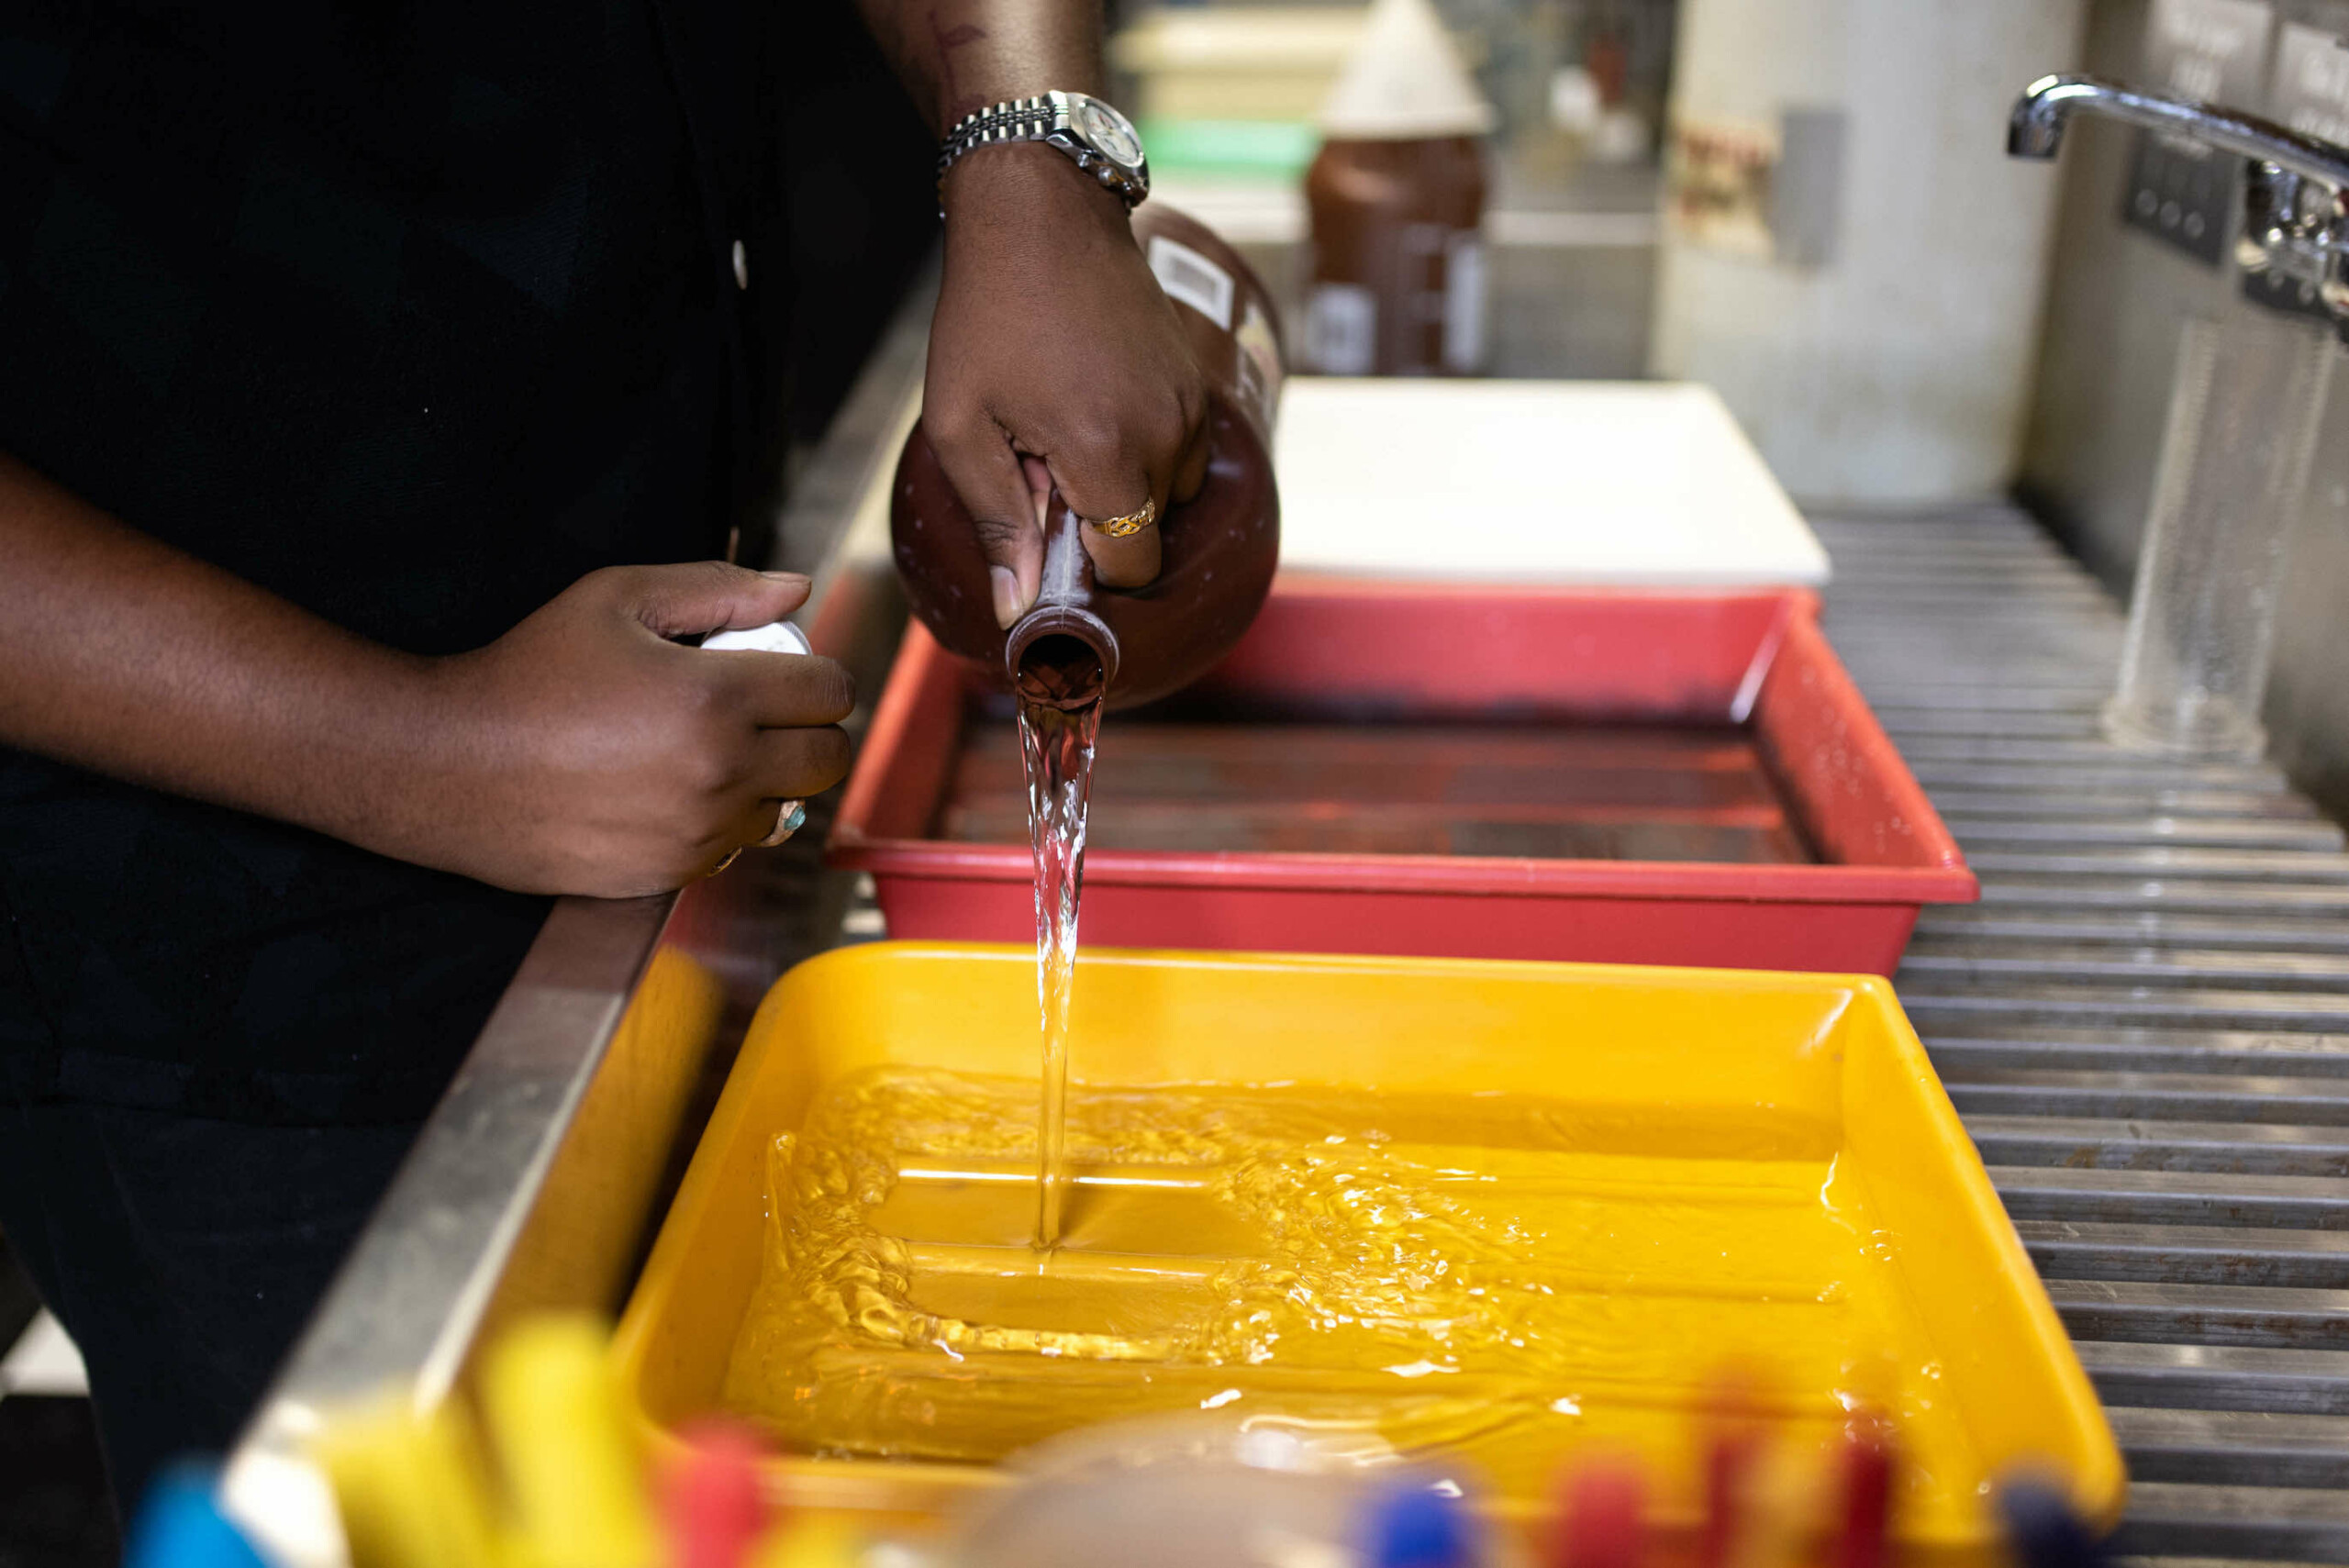
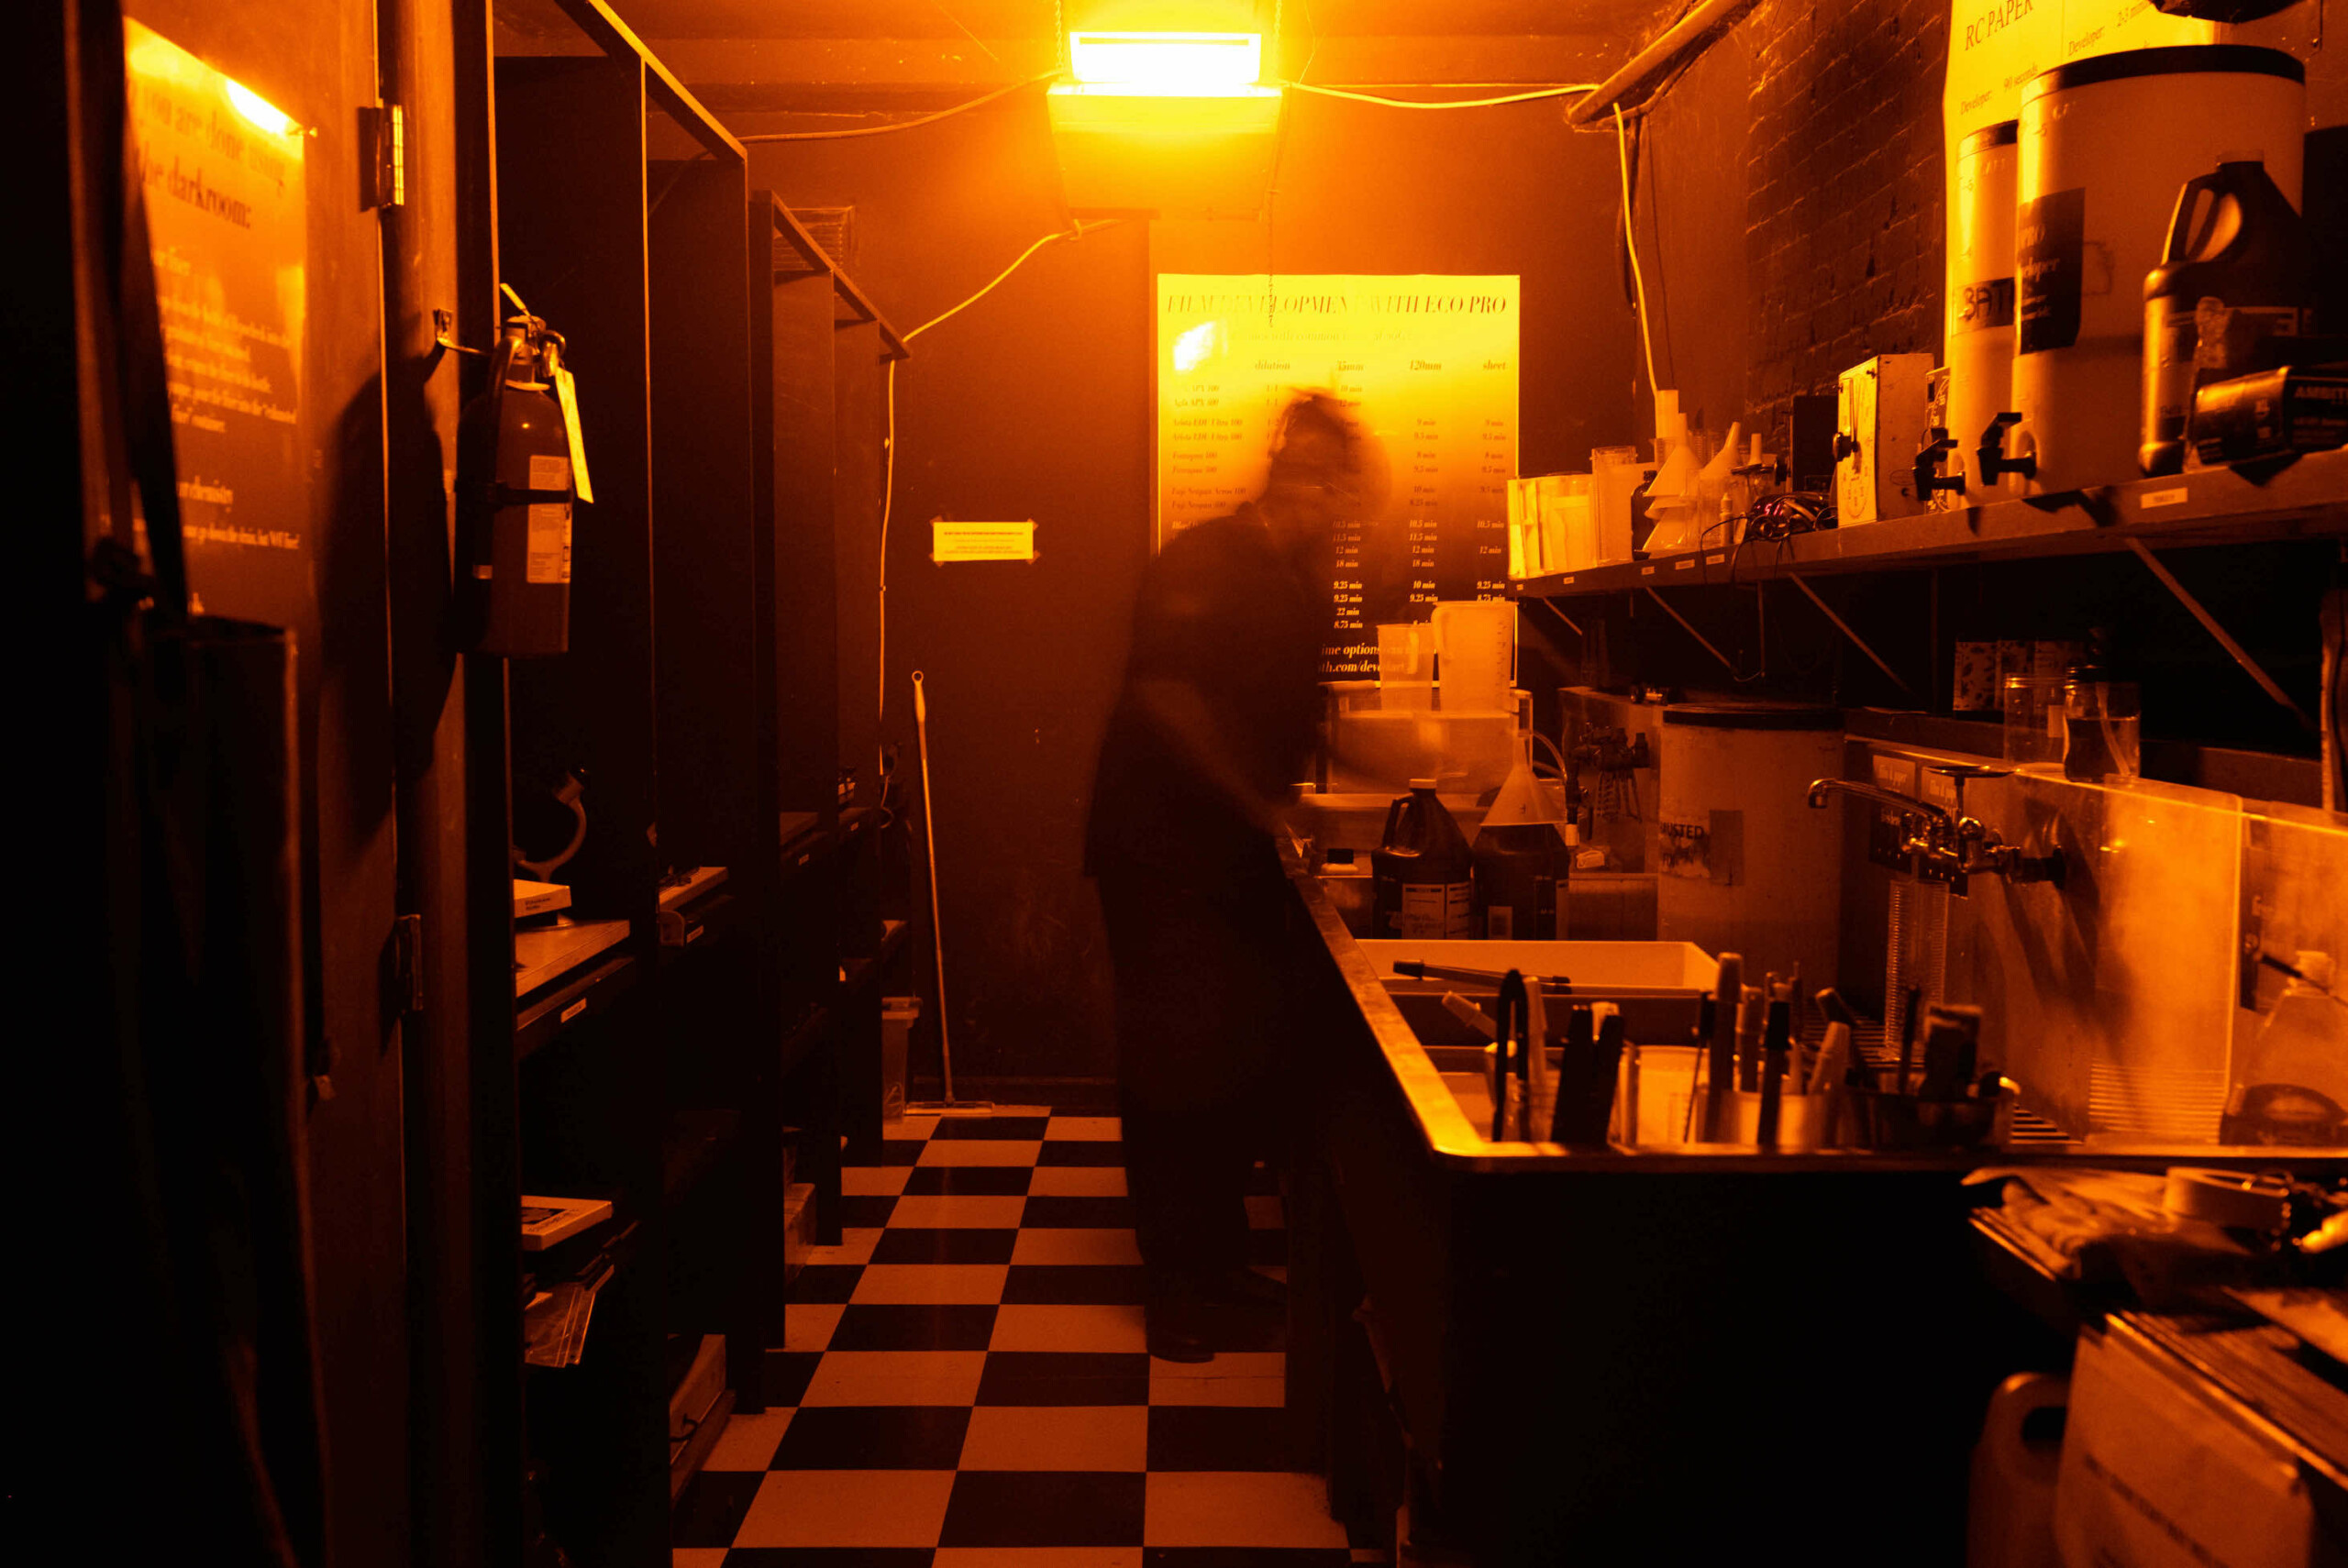
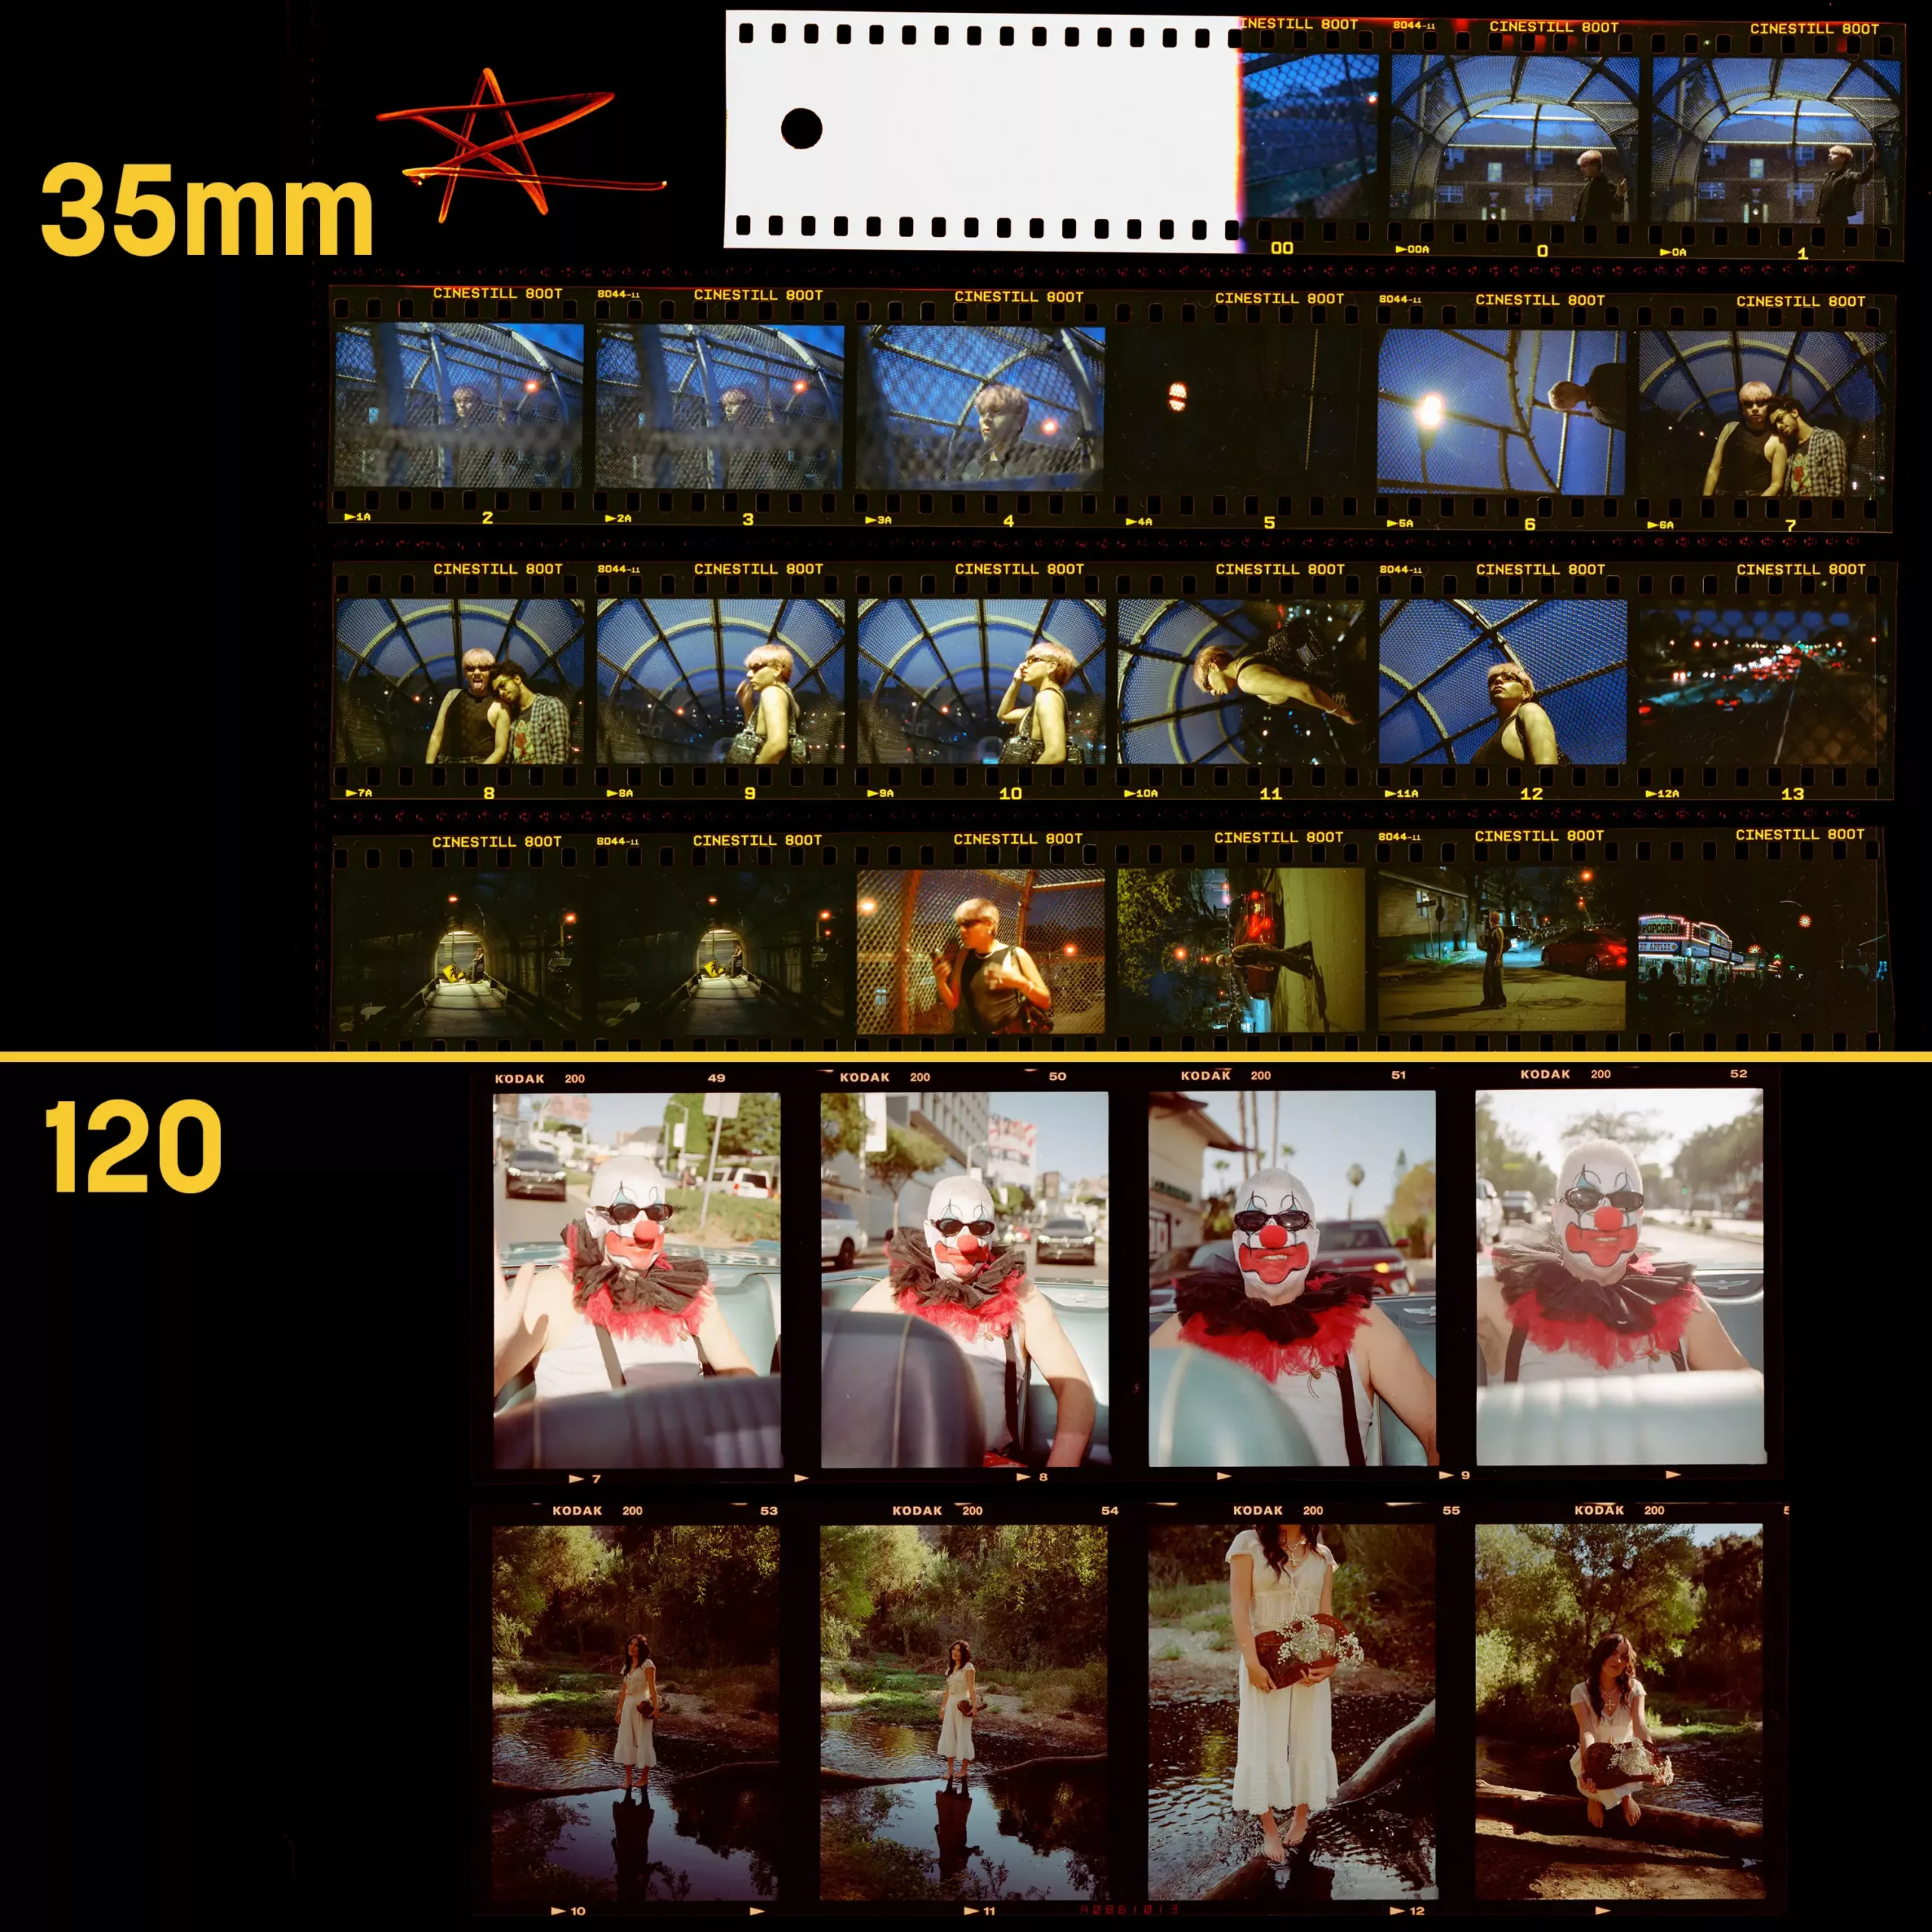
People love viewing their pictures on the screen, but what brings them joy and happiness is holding them physically. You will only be satisfied with having a picture in your gallery if you get a good-quality picture to hang up on the wall. However, your vision often fails to take shape in reality. Several reasons are responsible for this, and the major one is the lack of preparation of the image for the printing process. A trusted photo lab film studio can take up all such tasks with all the equipment and technology necessary to prepare an image.
Image Preparation: How Do Photo Labs Do It?
Most labs follow a few basic methods to ensure you have the best quality images. Here’s a glimpse of all these steps:
- Often, one’s computer does not display the actual color or tone of the image because its display and color settings are not adjusted. Most people need to remember this and calibrate their monitors at regular intervals. However, doing it once a month will keep your monitor display in excellent condition, leaving you with a view of the images in their natural color.
- It is essential to save the images to stay within the scope of the printing colors of a printer. Although many save images on sources that enhance their picture, doing so prevents the printer from producing good-quality photos. To get good quality photos one should keep this in mind.
- Prefer 8-bit or 15-bit images as per the scope of your computer. Although some may facilitate more colors than others, one should assess the strength of the printer and what size files would be easy to transfer.
- It would help if you also chose the correct dpi. DPI refers to the black dots on an image; more of it relates to the quality being great.
- If you have specific preferences, you can open the image, resize it, and send the updated file for printing. However, it is better to send full-size photos.
- Consider cropping the images to get the perfect picture and aspect ratio. It will prevent your picture from being thoughtlessly cropped by a film development lab.
- After you crop the image as per your requirement, you must sharpen it. The amount of sharpening an image requires depends solely upon the number of details present therein. You must also select a trustworthy app or source for the same.
- When all the above steps are completed successfully, you can also catch a glimpse of your end product through soft proofing. This will allow you to make all the necessary changes later.
Access Excellent Images with Professional Printing
Creating an image one would possess and cherish for a long time is complex and burdensome. This is because any carelessness with any one of the steps can damage the image. You may end up with a completely different end product than what you viewed on the display. However, adhering to the steps above can end up with wall-worthy pictures.


