| Southern Utah-based film photographer, Kelsea Callister, shares some editing tips to ensure you’re getting the most out of your film scans. She breaks down the importance of masking and HSL sliders and how they can help you make selective edits to bring out the best in your photos. She covers masking strategies for the sky, skin tones, and dealing with challenging lighting situations like shaded foregrounds with sunny backgrounds. She also discusses how nuanced hue, saturation, and luminance adjustments can help your favorite details pop! Kelsea emphasizes the importance of subtlety when using these tools to maintain a natural look while enhancing the unique qualities of film photography. Through demonstrating her most frequently used editing techniques on her photos of scenic landscapes Kelsea offers practical advice for both beginners and experienced photographers looking to enhance their post-processing skills in Lightroom. |
Section 1: MASKING
Utilizing the full potential of masking is what I believe really made my work level up. Masking essentially means taking certain sections of your image and fine tuning the colors, exposure, etc. of just that section. So for example if I were to mask the sky in my image, I could increase the saturation of just the sky so that way the clouds pop a bit more, but it wouldn’t change anything else so I could keep the rest of the image the same. Here are the sections of my images that I mask the most.
THE SKY
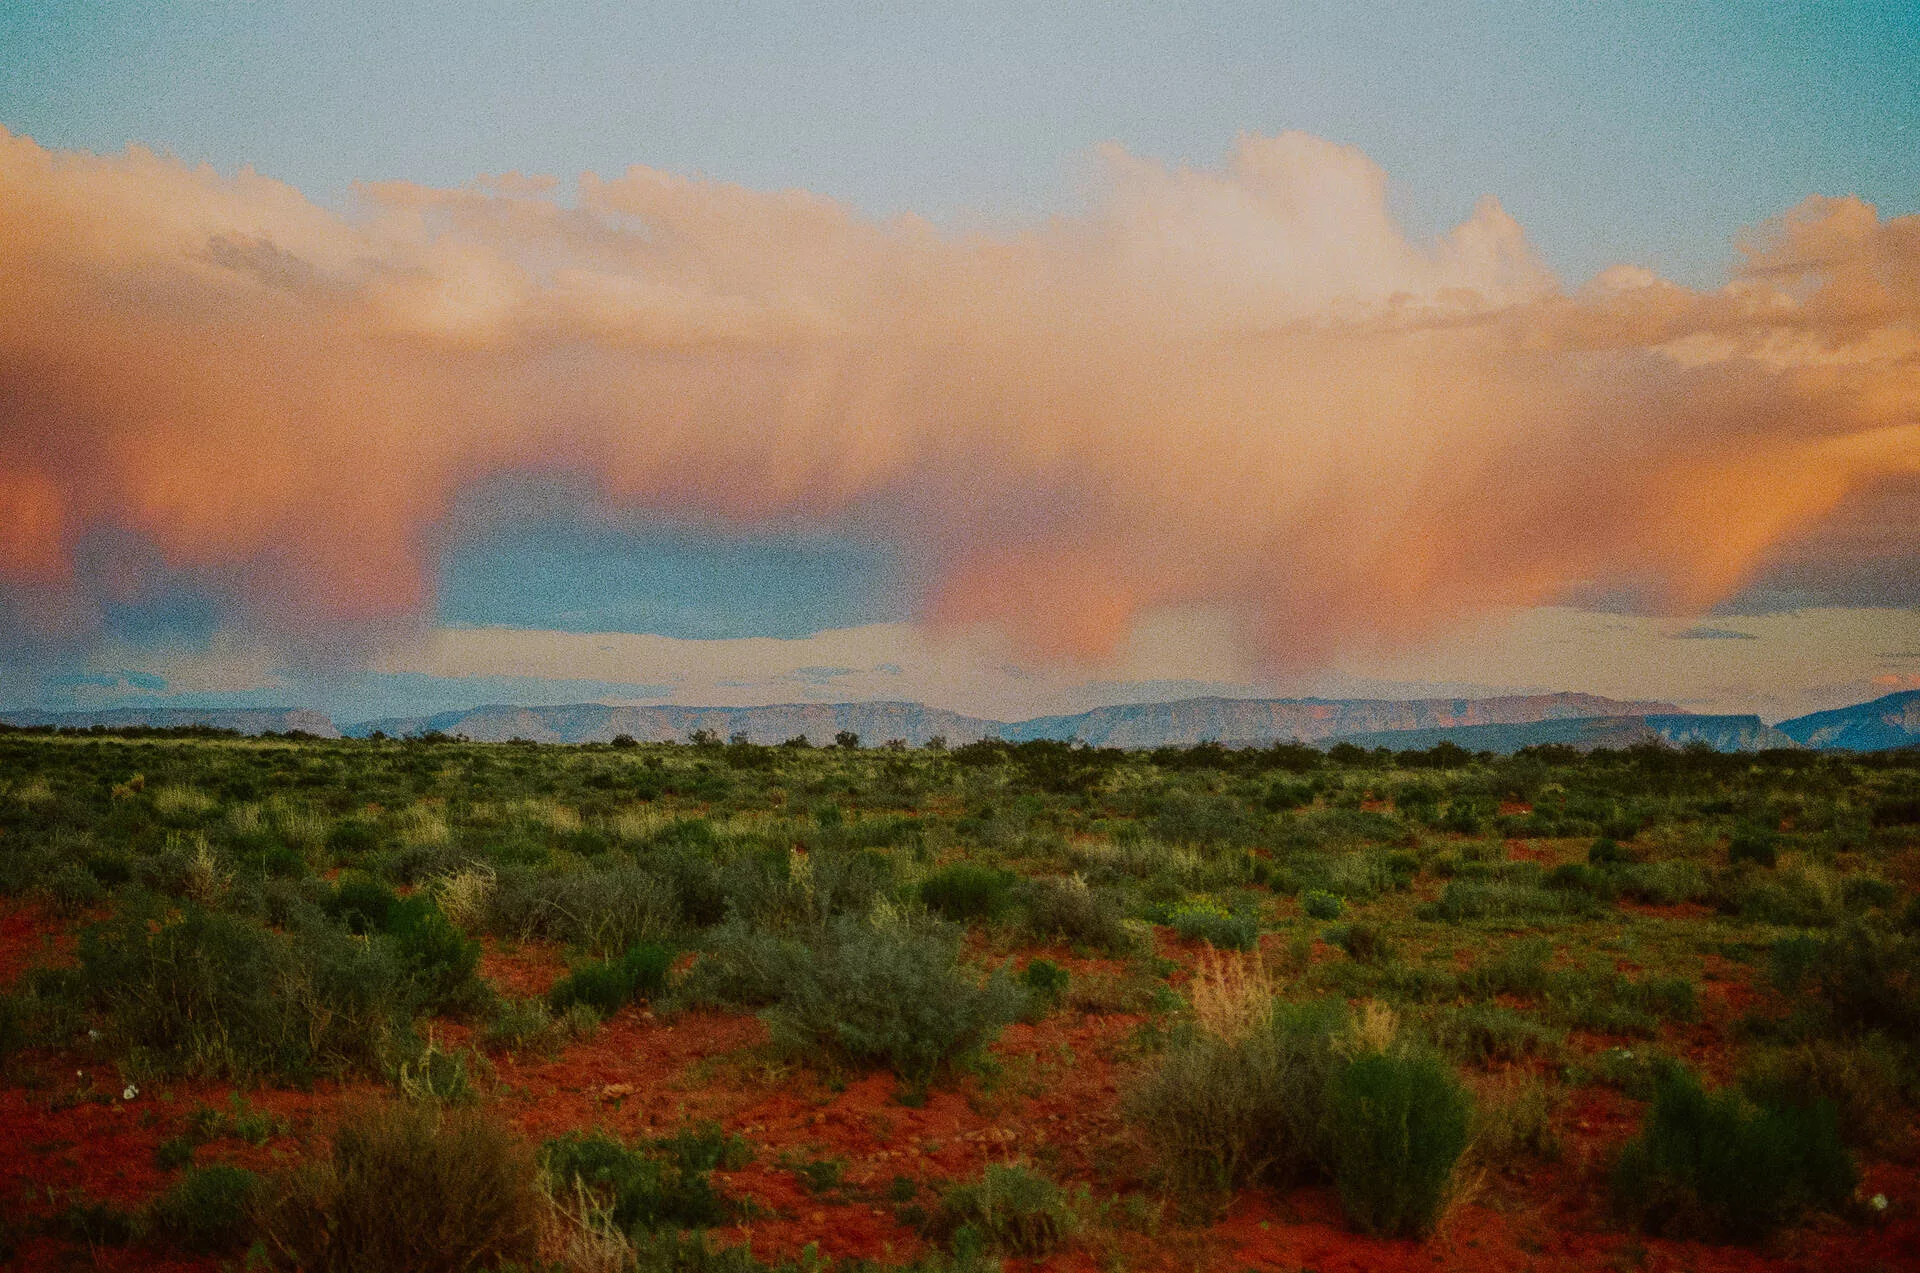
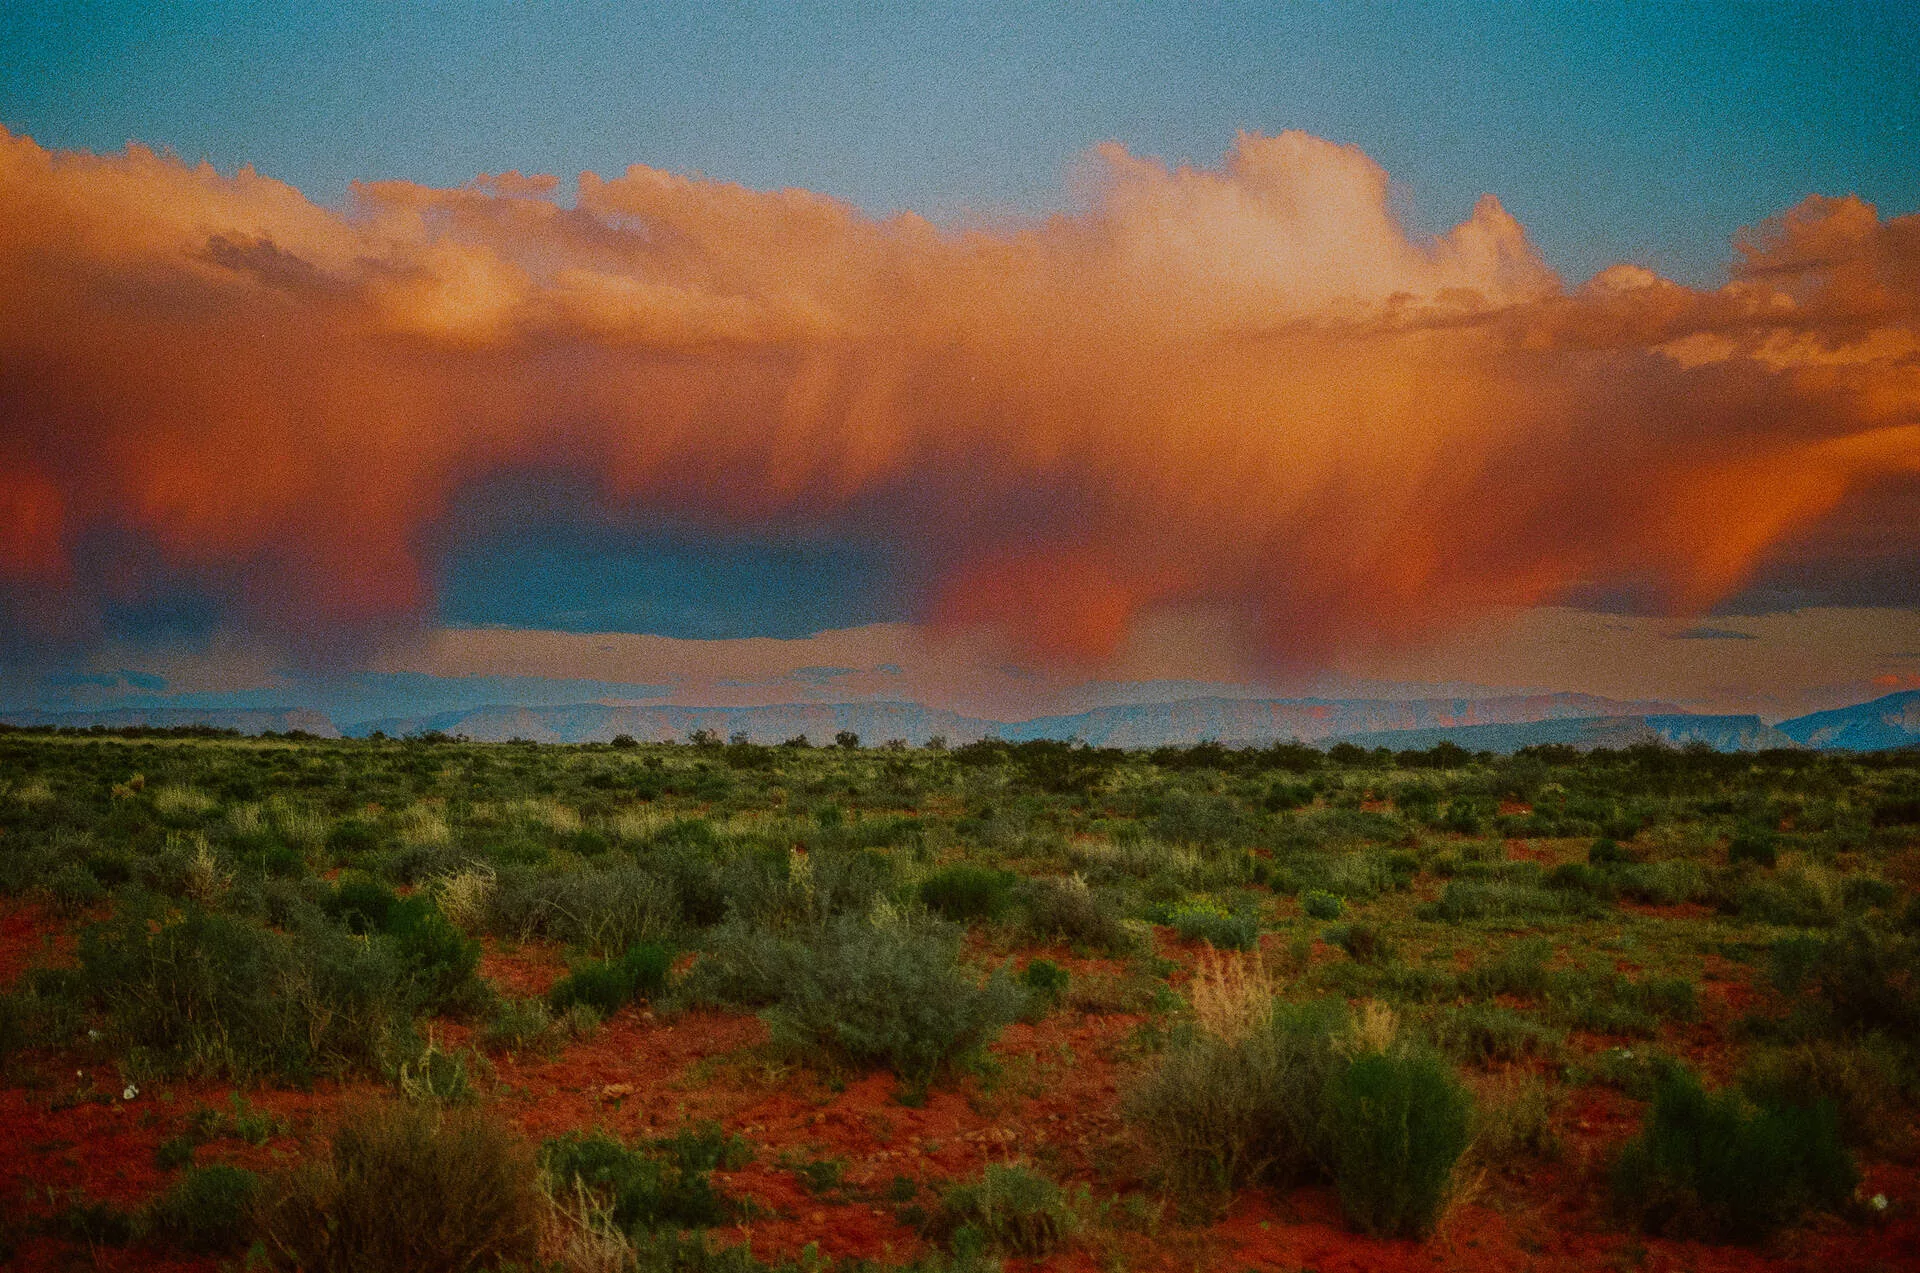
I mask the sky on almost every image I take. It is a cornerstone in my editing process. I love beautiful clouds and sunsets and in order to really bring them out it’s necessary that I have the ability to color it exactly the way I want to bring out those wonderful colors. Because it’s better to overexpose film rather than underexpose it, that typically means that the skies in the image can get a bit overexposed. What I see very frequently is that people won’t fix that in post production, and a beautiful pink sunset turns into a washed out, only slightly pink sky, and the vibrancy of the sunset and shape of the clouds is mostly gone.
For a lot of skies, if you masked it, pulled the exposure down, and increased the saturation a bit, it would work wonders! I typically do all that, and then warm up or cool the sky, change the tint, change the shadows/highlights/etc. If you’ve ever heard of dodging and burning film in the darkroom, this is a very similar method but in Lightroom instead.
SKIN TONES
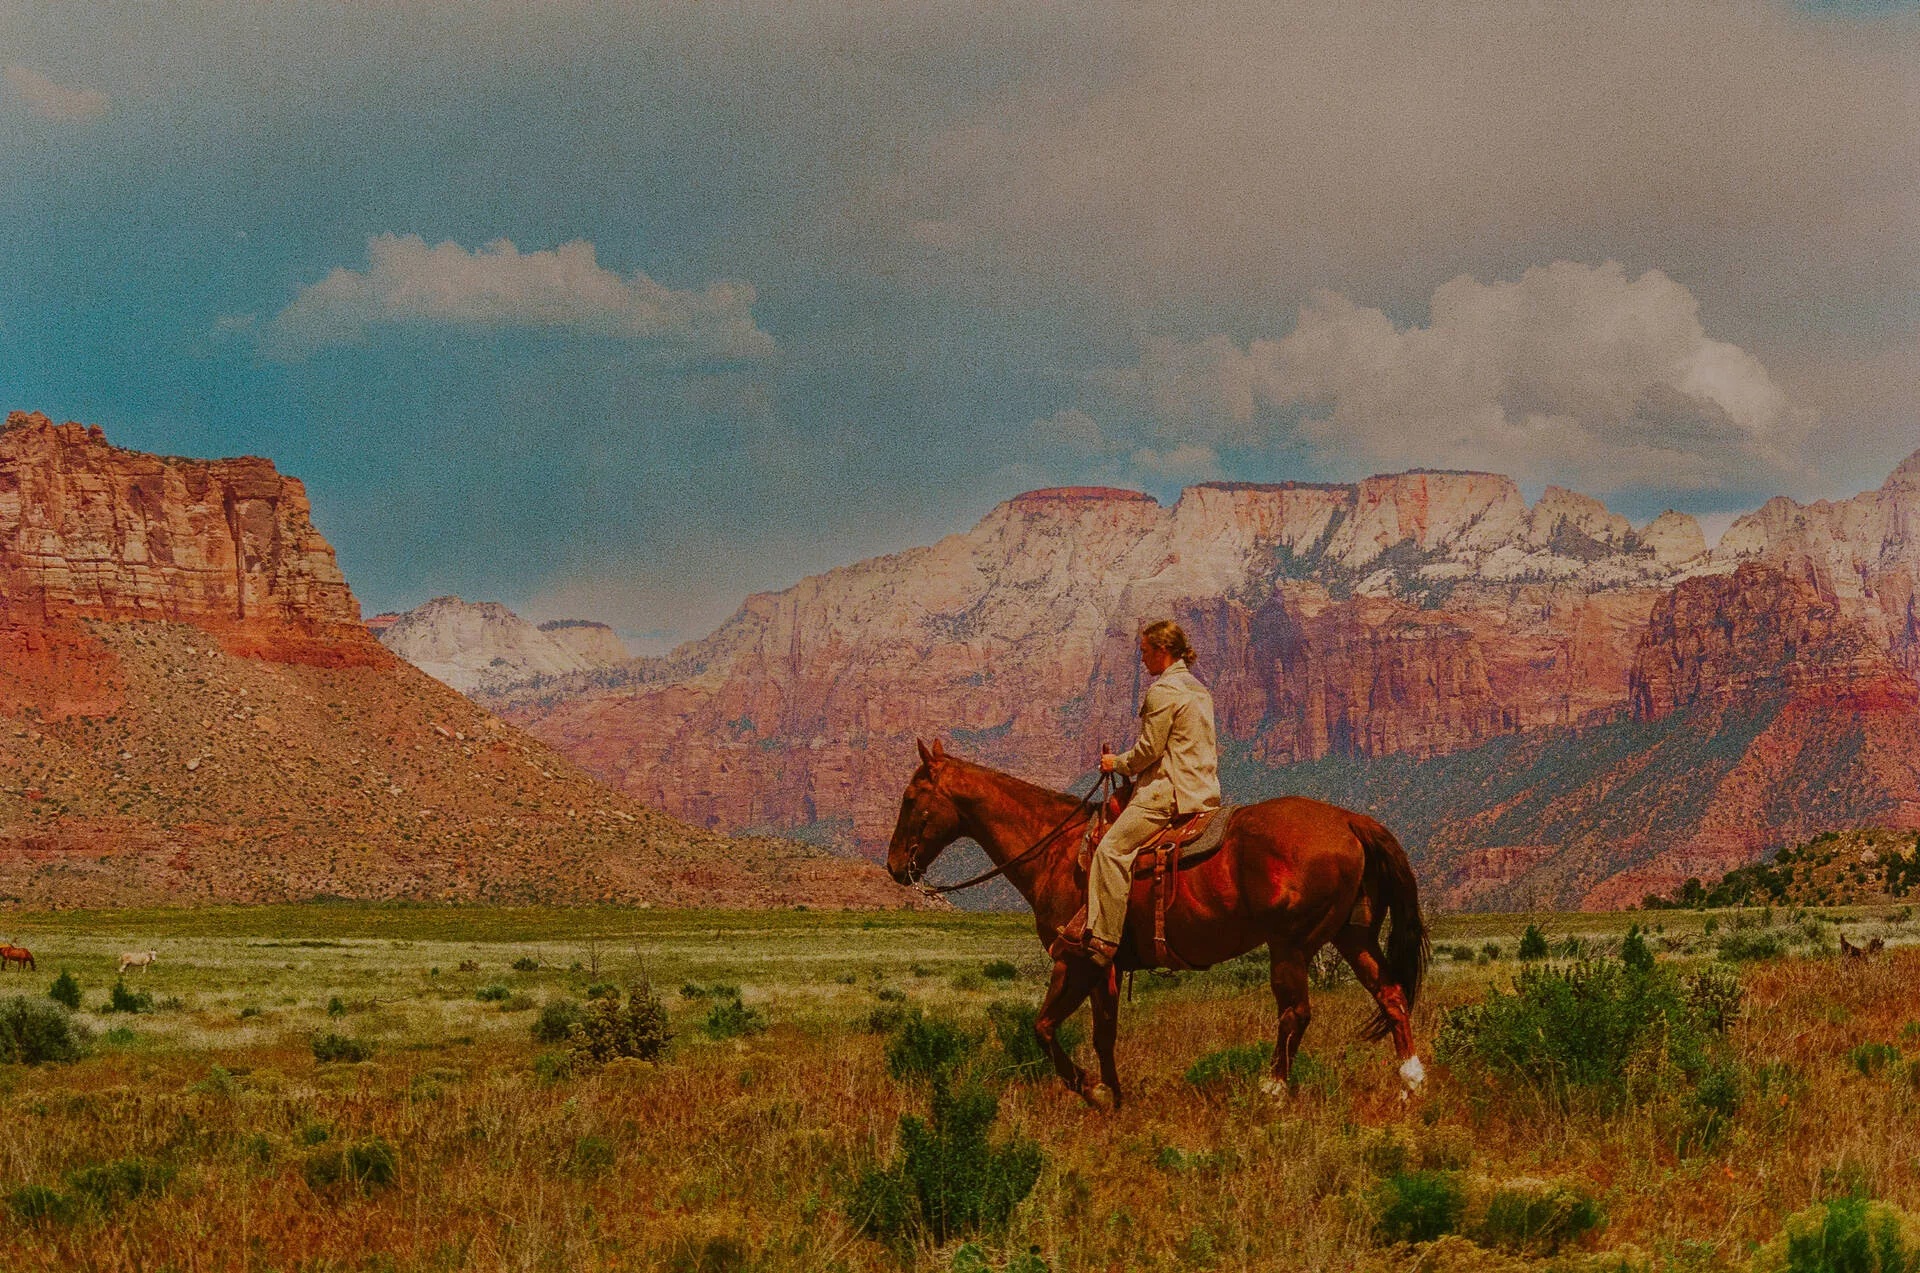
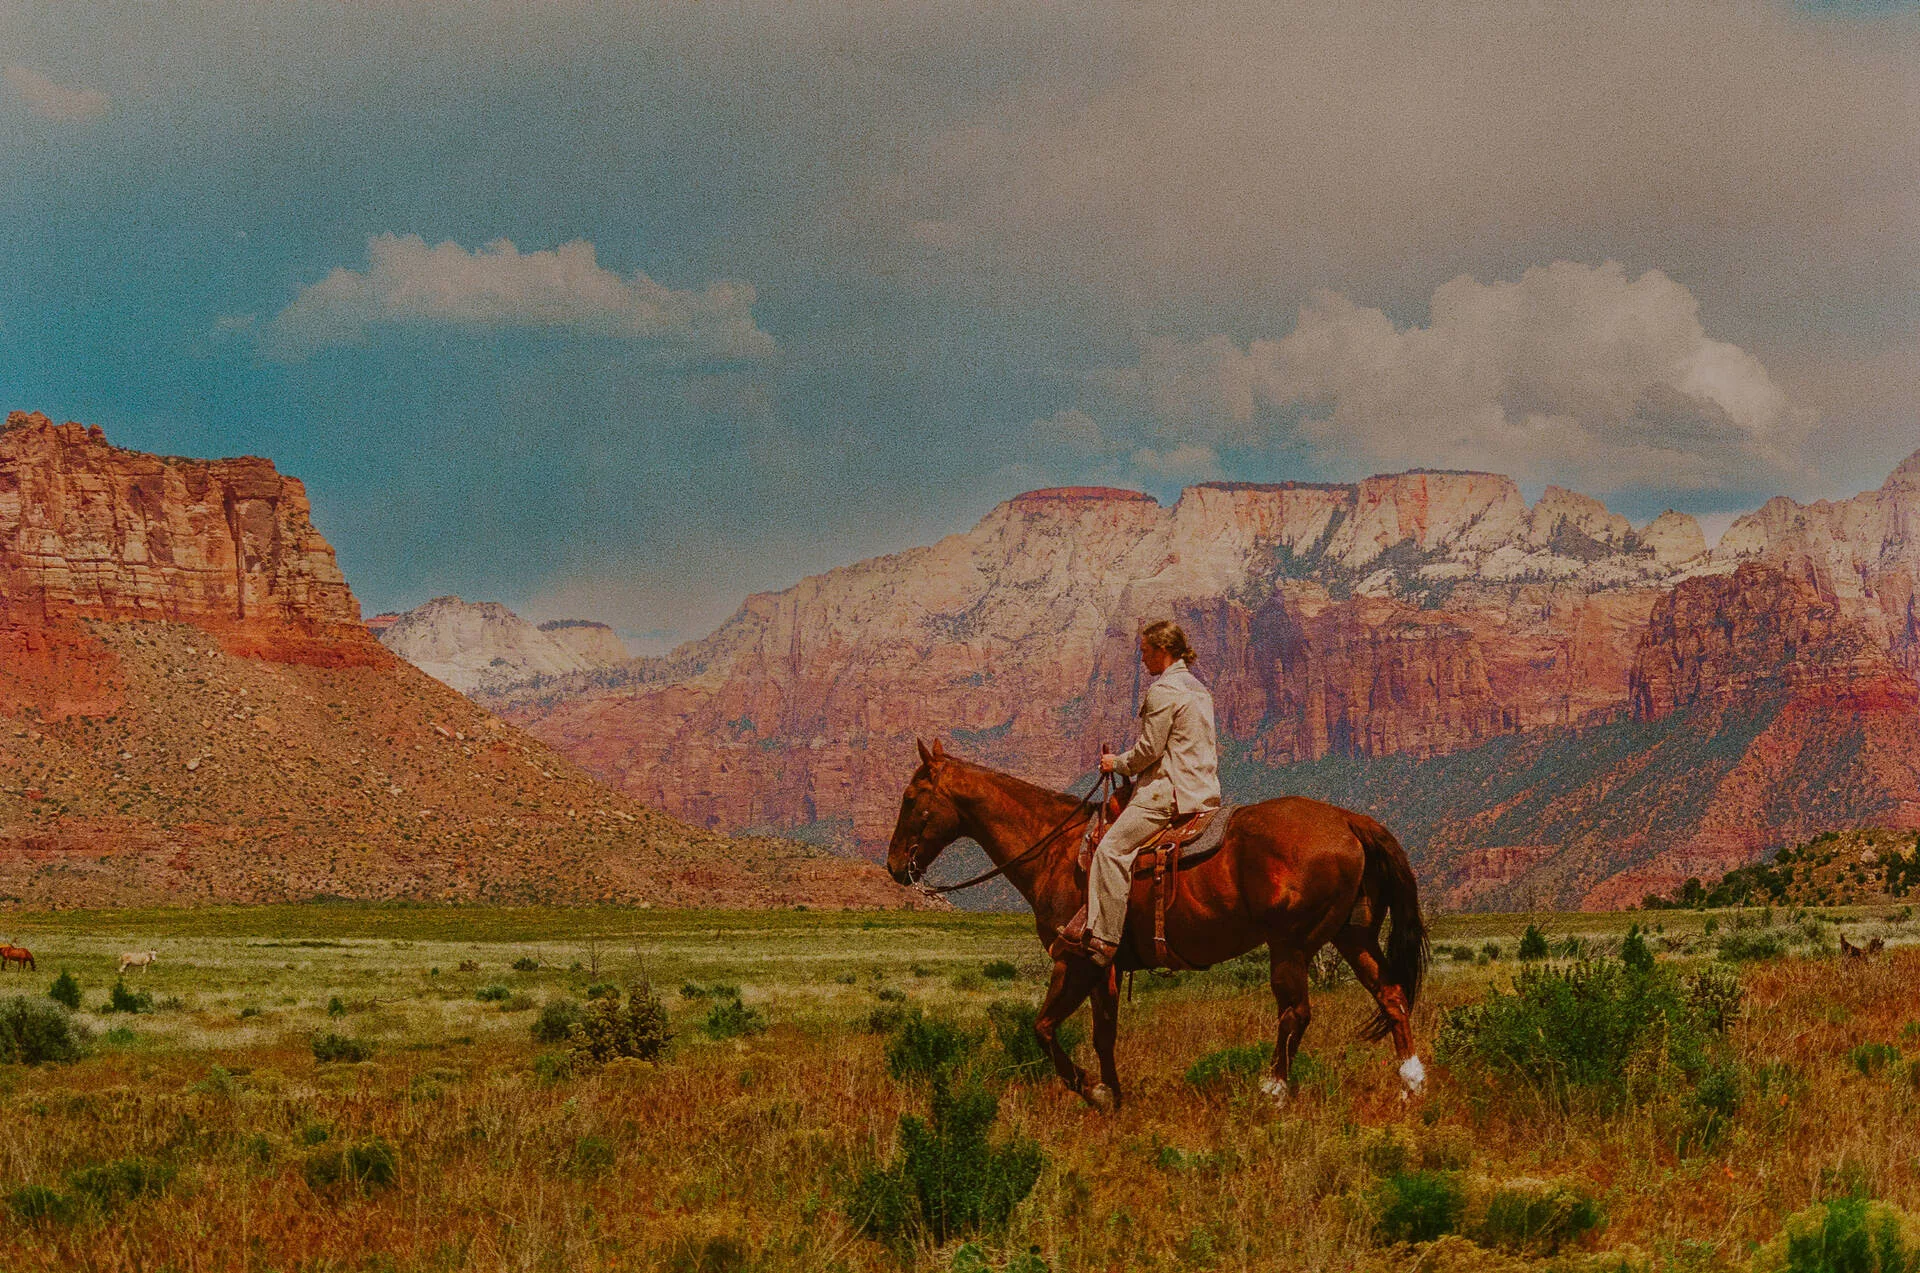
Being a desert photographer (I’m based in Southern Utah) means that editing is especially difficult for skin tones. If I want to bring out the vibrancy of the red/orange rock, then it typically will change the skin tones pretty drastically as well since lighter skin tones have a lot of orange in them (editing darker skin tones is actually much easier in the desert specifically since there is less orange). When I’m editing an image with a person in it, I am almost always masking the subject so that way I can edit the skin but also keep the desert background the same. I typically am desaturating the skin so it’s less orange, and then changing the white balance to match the real skin they have as much as possible.
I don’t recommend changing the exposure usually since it can make people look way too bright or dark compared with the lighting of the background. This is less of an issue for people who shoot primarily around green/blue landscapes since it’s easier to just decrease the orange saturation of the whole image instead of masking.
COLOR RANGE
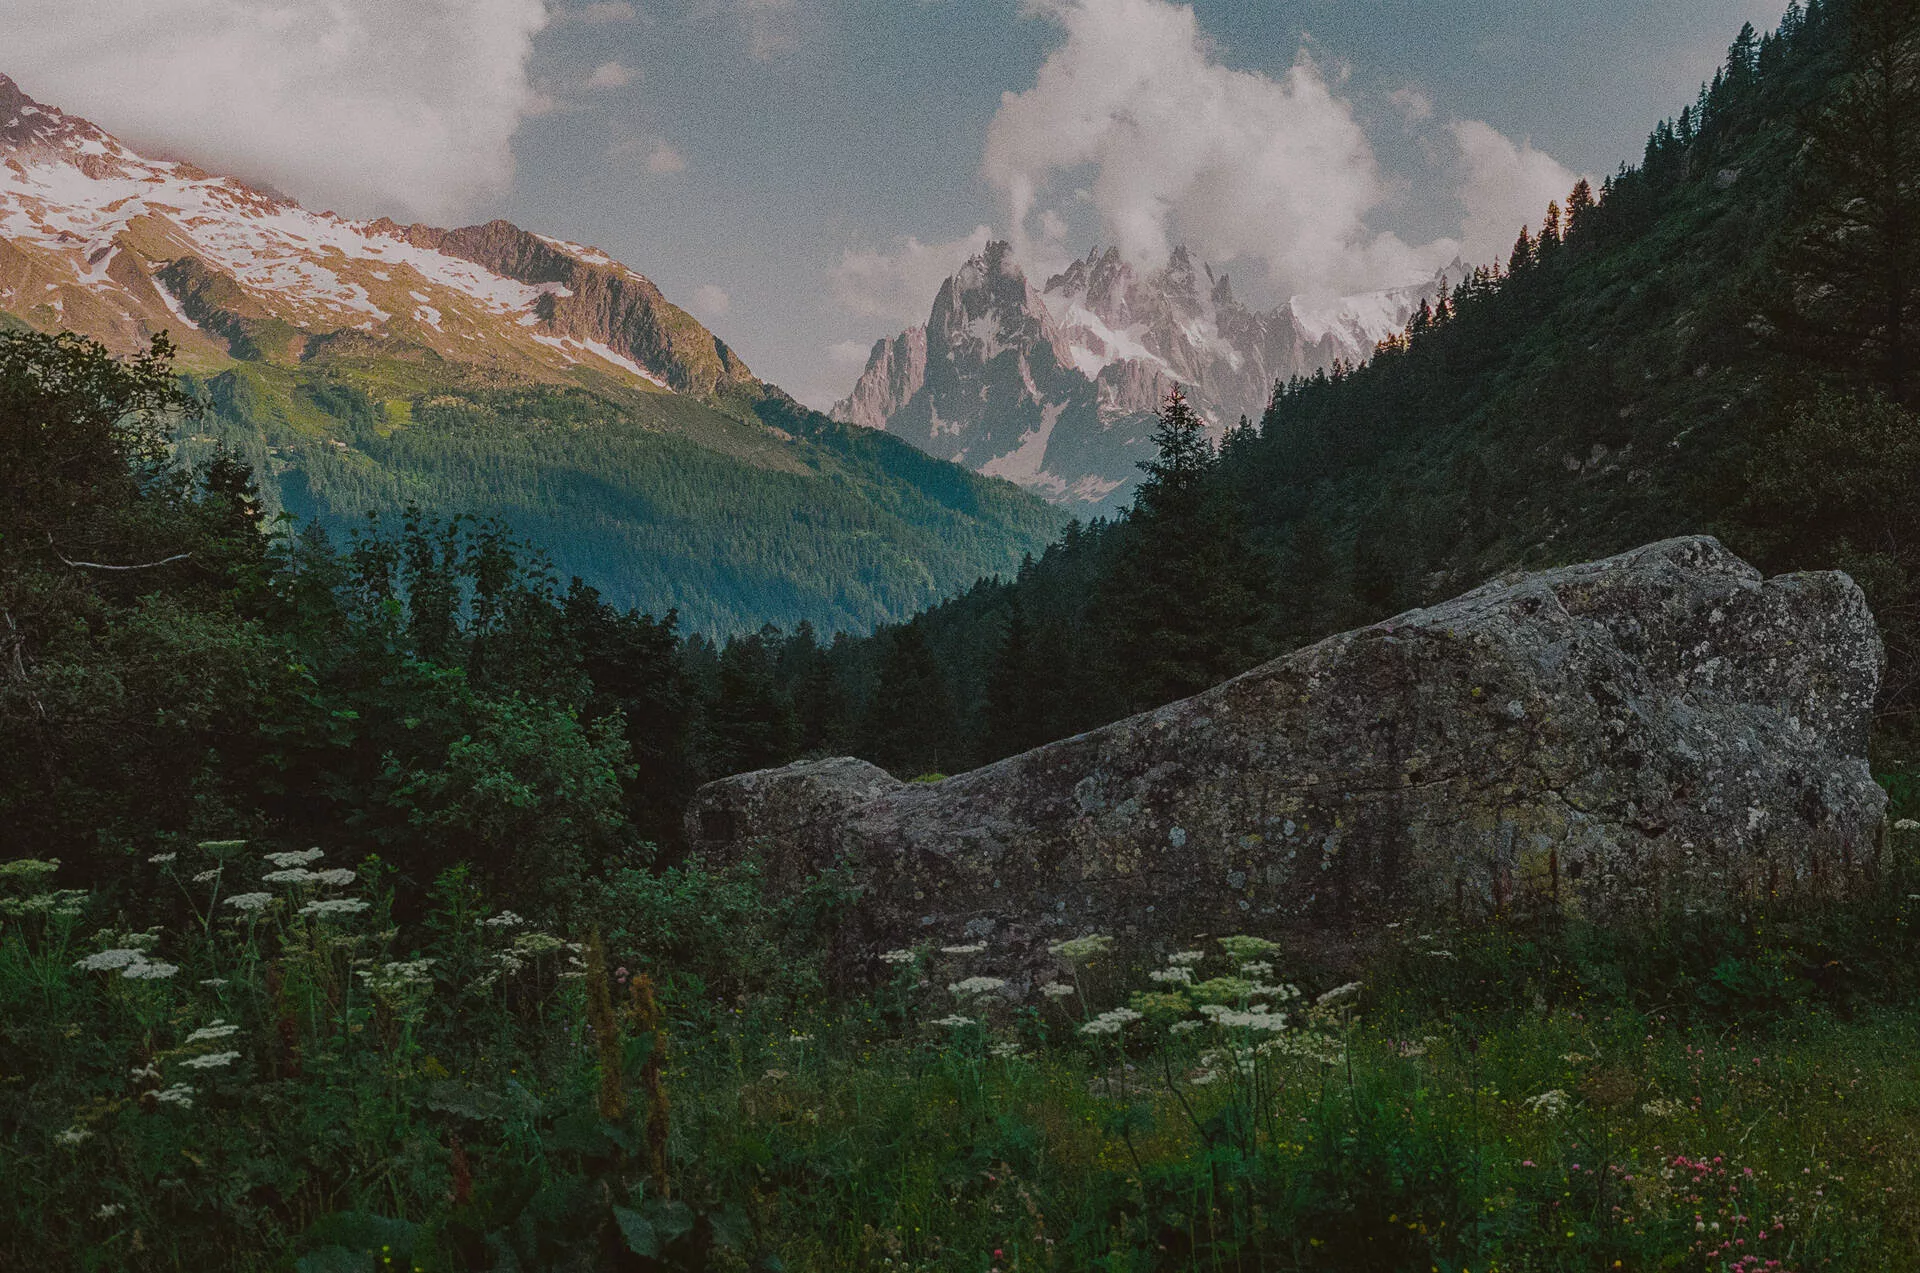
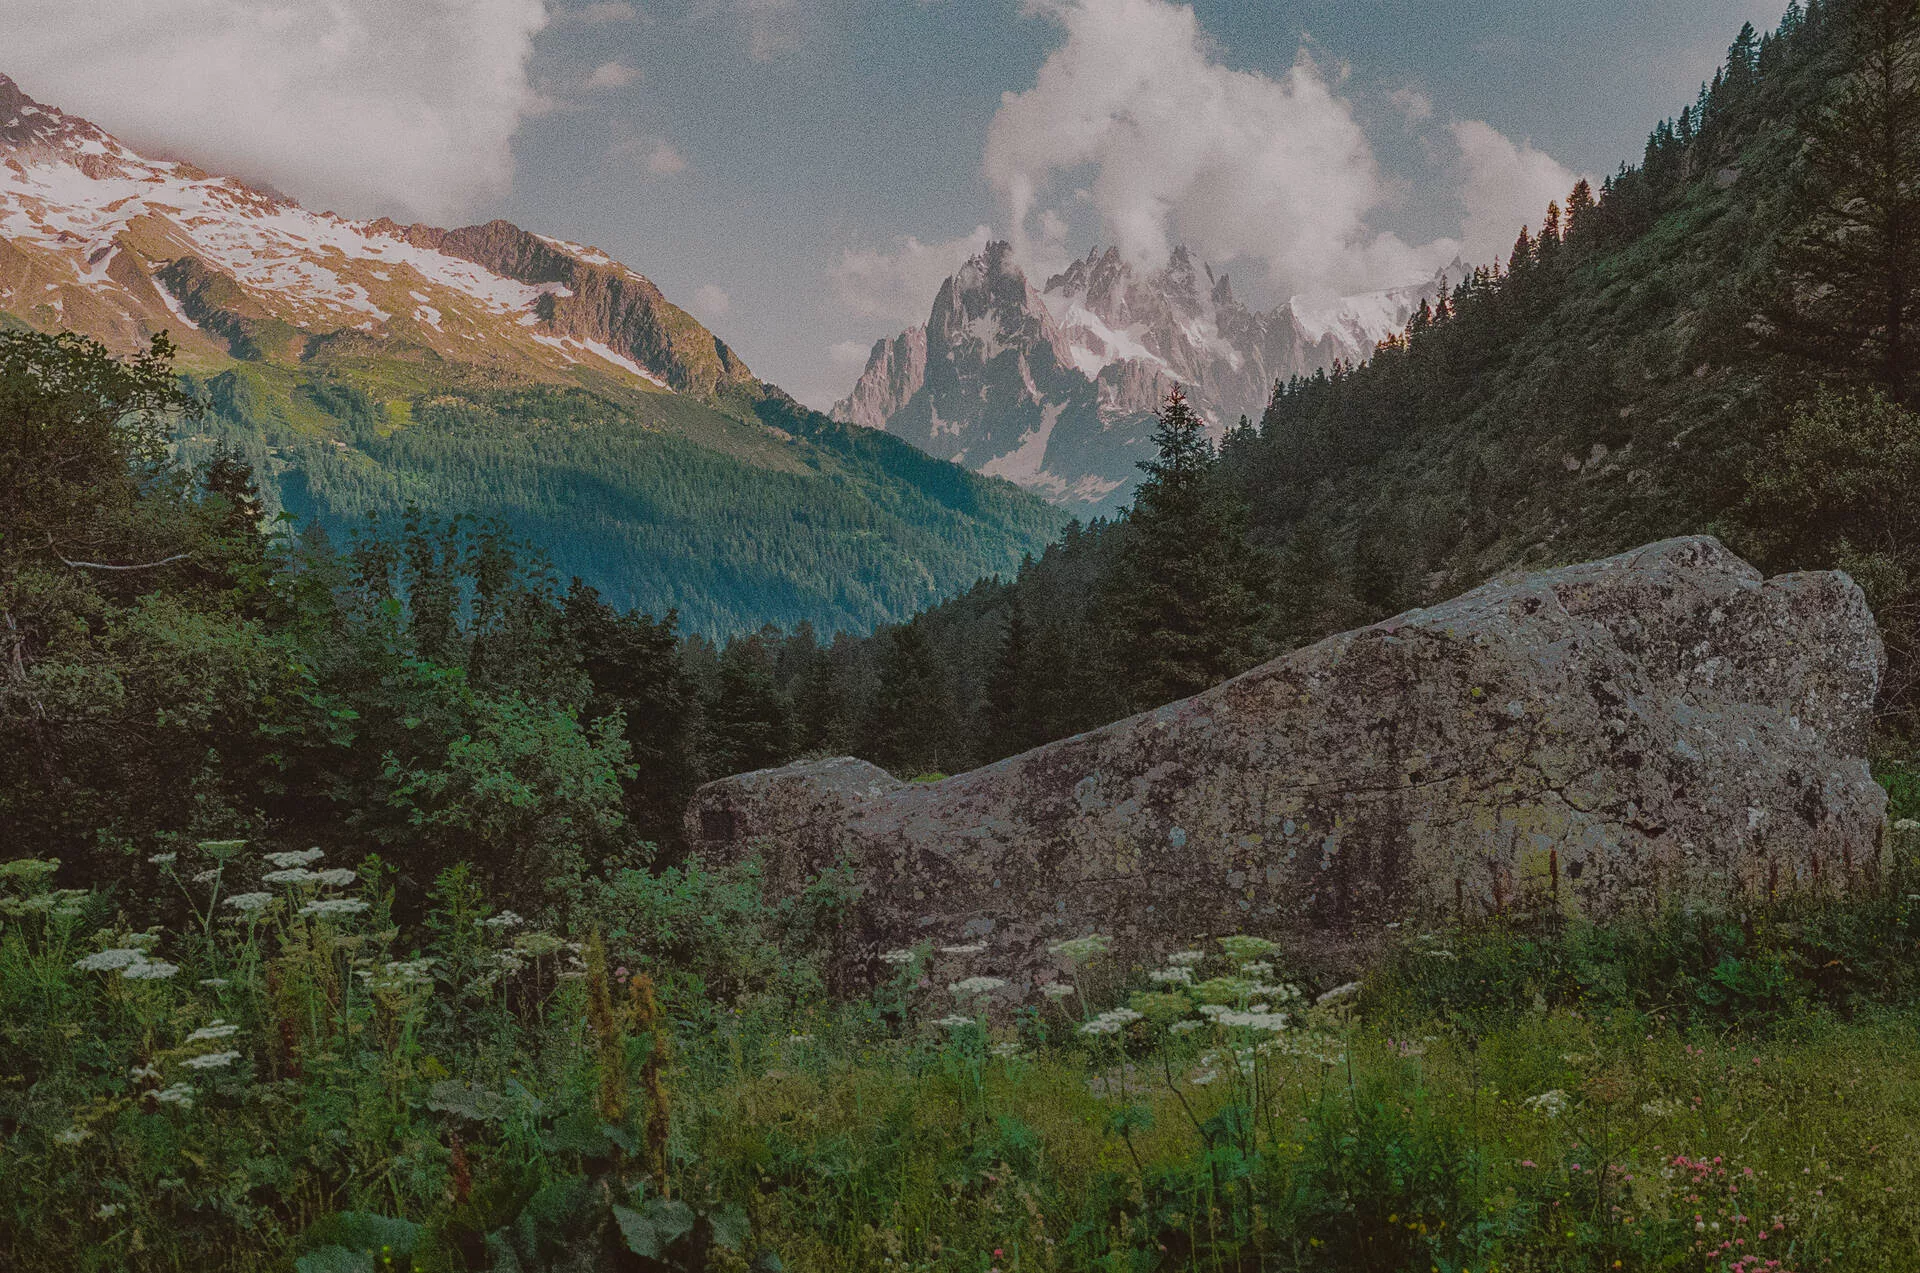
One of the toughest lighting situations for film photographers to capture is one where the foreground is in the shade and the background is in full sun. This can seem like choosing to either have the foreground be visible and background completely blown out, or having the foreground be underexposed and muggy to keep the background. Well the good news is that it doesn’t have to be this way!
My strategy here is to expose for the shadows (it is much easier to save the highlights with film specifically, different story for digital) and then when I get my film scan back you can actually mask a certain luminance of the image which is a super cool feature! I will select all the pixels of the image which are darker than I’d prefer, and then bump up the exposure and saturation to bring it back out again! At the same time I also am masking the background to pull down the highlights so I can preserve the tones there as well.
These are my main tips for masking, although you can mask very specific parts of the image by brushing on the area you want to fix, you can do linear gradient masking, radial masking, and all sorts of advanced options! I won’t get too deep into that with this article but there are a ton of resources online if you want to deep dive into all the options available for masking!
Here are some tutorials Lightroom has put out for masking: https://helpx.adobe.com/lightroom-classic/help/masking.html
Section 2: HSL
HSL sliders will be your best friend. I use them all the time and they are simply the best if you know how to utilize them!
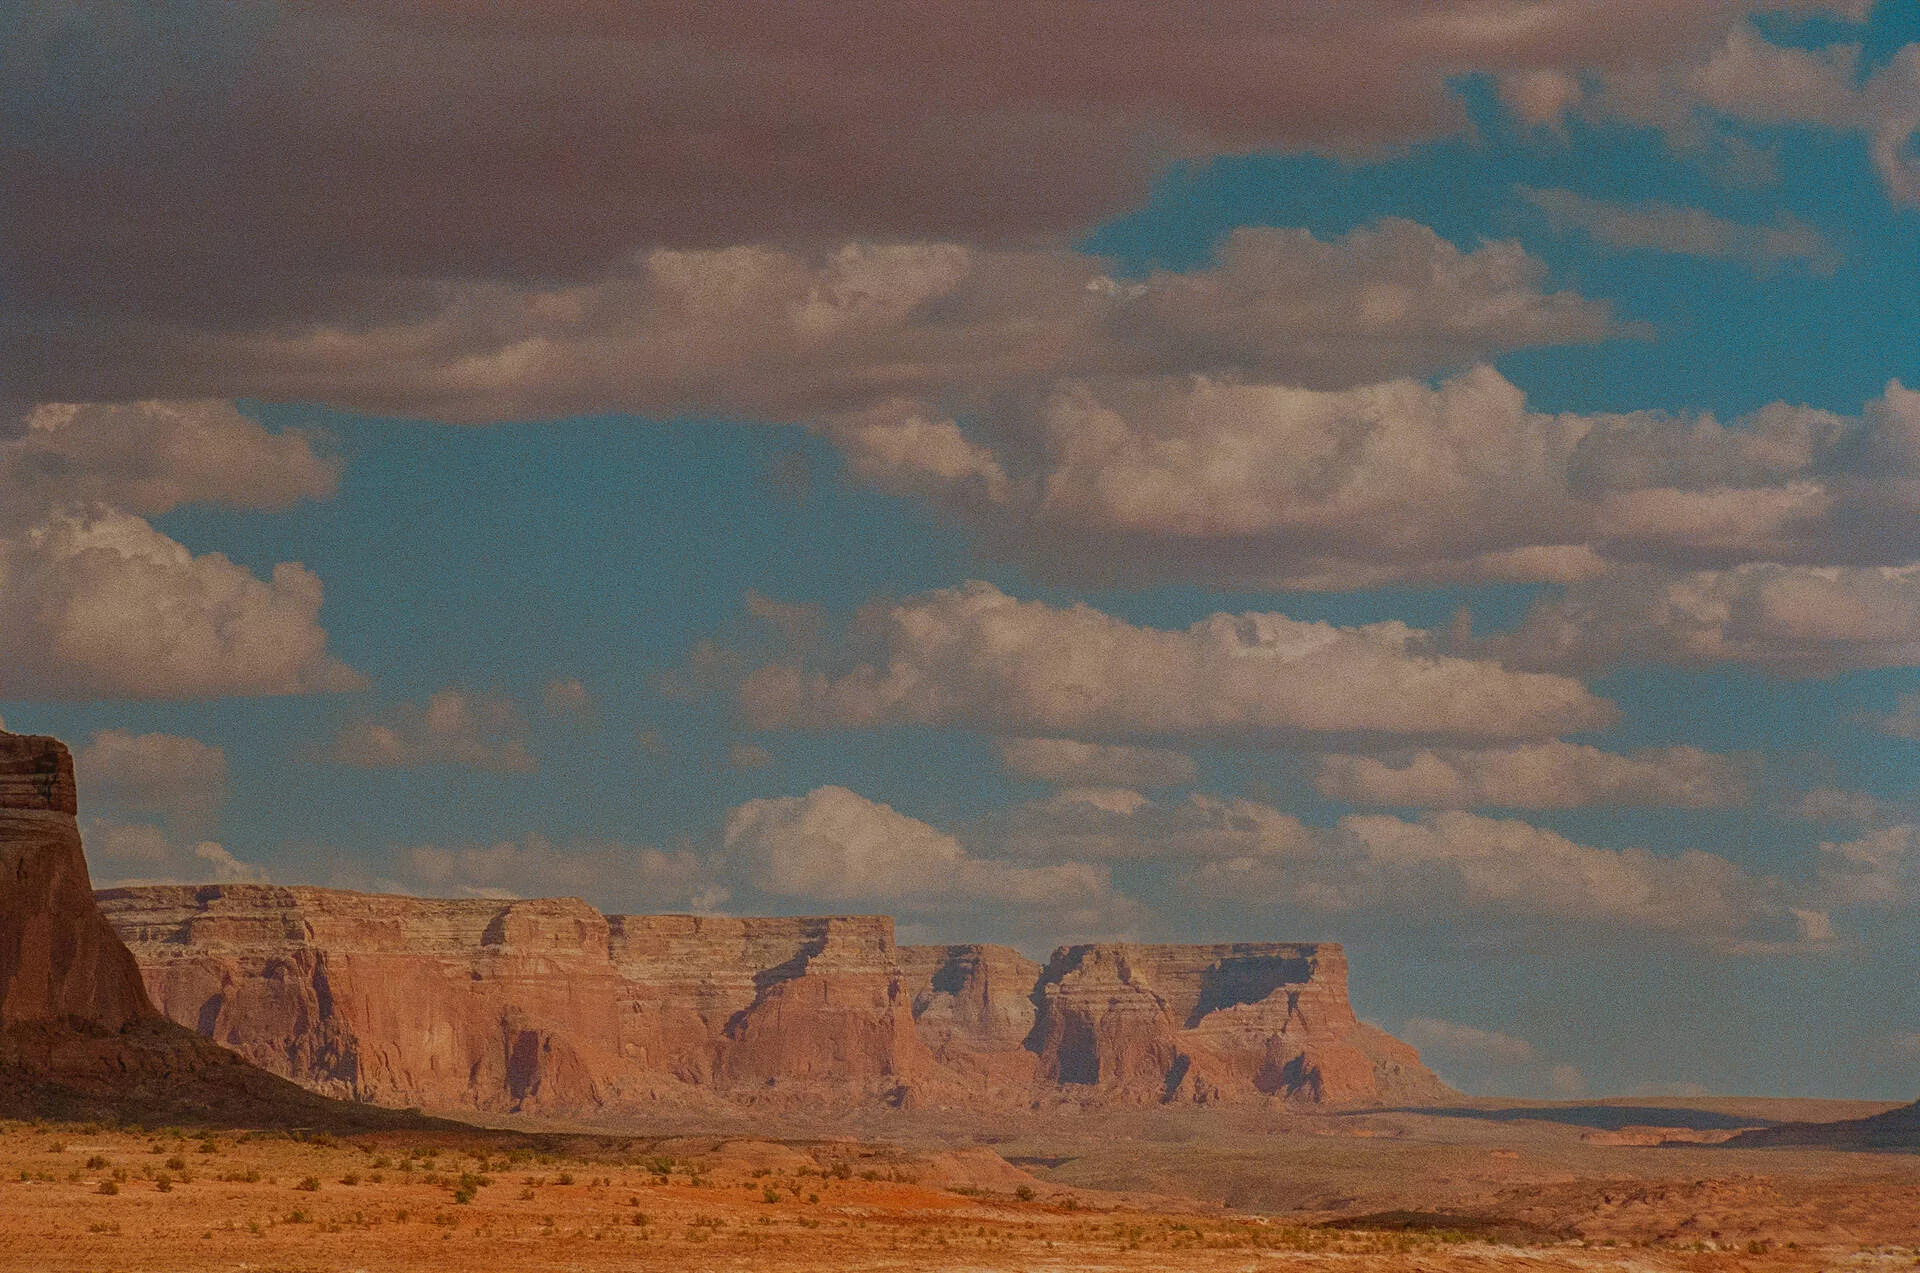
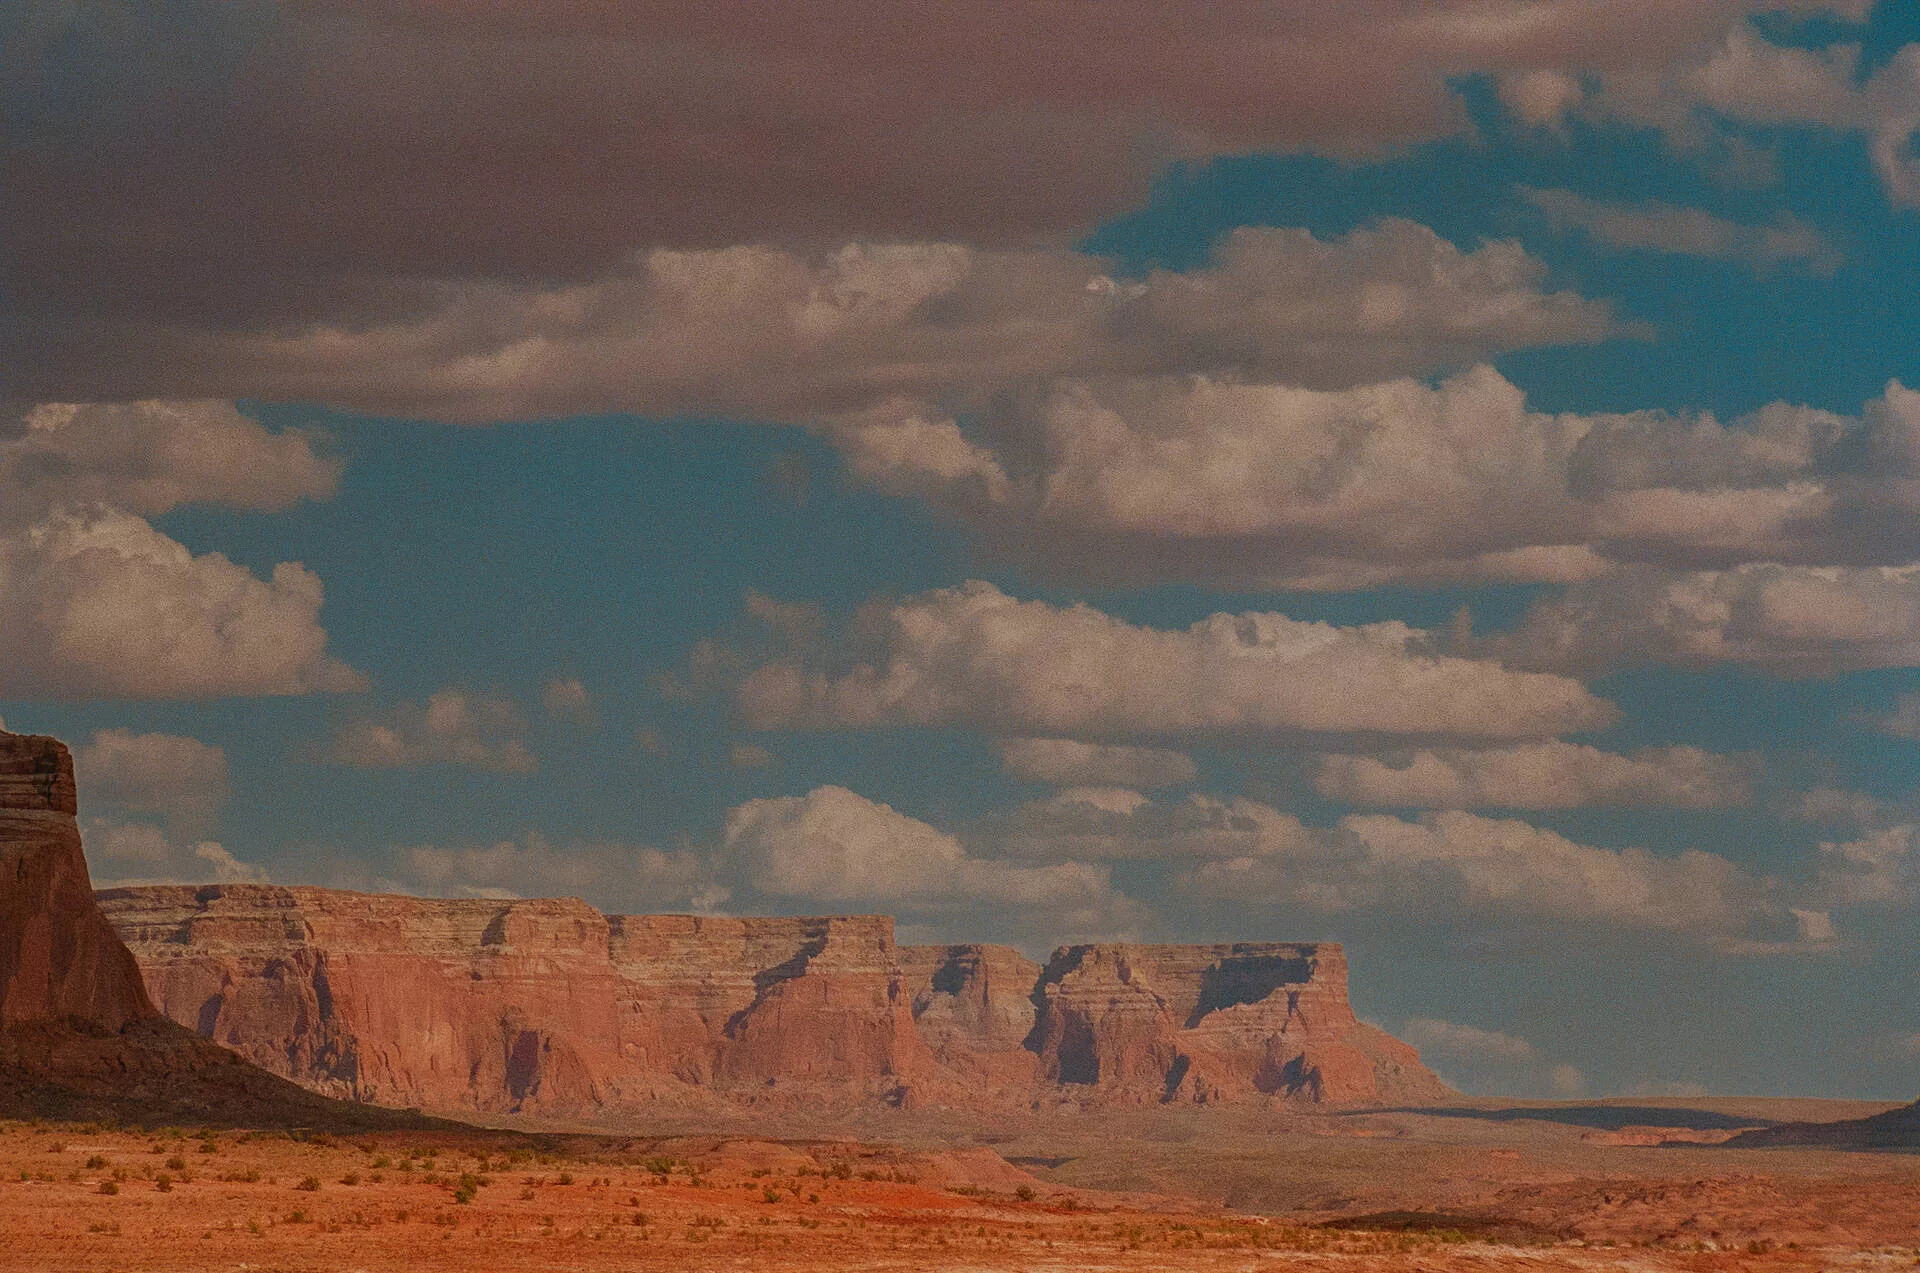
HSL sliders will change the hue, saturation, and luminance in the specific colors of your photo. So for example, let’s say there are yellow wildflowers in my image that I feel like just aren’t popping as much as they did in real life. I can select the yellows in my image, bump up the saturation, increase the luminance, and change the hue a little bit to be more of a yellow shade, and they instantly pop more! Here are some tips relating to each slider:
HUE
The hue slider will change the shade of the color you select. So if the grass in my image seems a bit dull/yellow, and I want the grass in my image to appear more green, then I would change the hue slider so the grass appears greener. Another example would be if sunset appears a bit too orange in your image, and you want to make it appear more red, then you would change the hue slider for orange more to the red side.
There is a HUGE downside to doing this though in the fact that you really have to be careful how you utilize this. If you change the grass to be more green, then know that it will almost always change the skin to be more green too and can make people look sickly. If you change the hues in your image too much you will start noticing some weird colors and unusual problems will pop up. Thankfully you can fix anything with masking so you can fix the green skin problem by masking the subject and increasing the magenta in their skin tone to bring it back to normal.
SATURATION
The saturation slider will increase the vibrancy of that specific color in your image. For example, if I’m shooting a beautiful blue alpine lake, and I want the blues of the lake to pop more, I would increase the saturation of the blues in my image. You have to be careful with this too since you can quickly make colors appear unnatural if you saturate too much, or muddy if you desaturate too much.
Desaturating colors is actually really common for me, since I like to make certain colors in my image be the main focus (like the red rock), so I’ll desaturate the colors around it to make it pop.
LUMINANCE
The luminance slider will change the exposure of the colors. So if the sun is hitting the trees in my image and they are really bright, then I could select the color of the trees and lower the luminance so the leaves aren’t so bright. I use this a lot for plants and grass since they are sometimes a little too much when the sun is hitting them directly. I start to get weird noise in my images if I increase or decrease it too much though, so make sure you keep an eye on that.
With the combination of these 3 sliders with all the main colors in your image, there is so much you can do and this is also important if you want to really hone in on a specific editing style. With my photos you’ll notice I have a lot of the same tones so my images are recognizable and a lot of this comes from these HSL sliders!
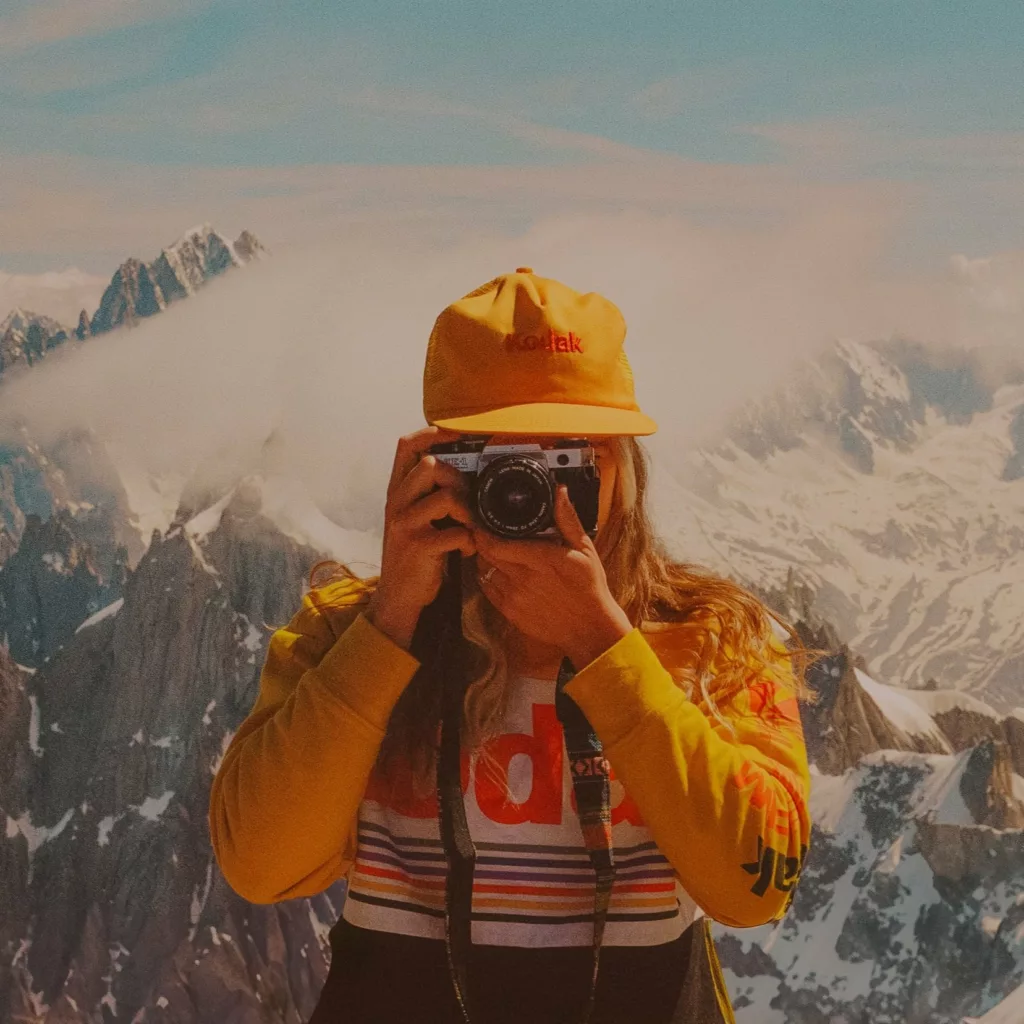
Hi! My name is Kelsea Callister and I’ve been a film photographer since 2021.
I shoot only film for all my personal work now and shoot a combination of film and digital for my elopement photography business. I adore the look and feel of film and I currently have 3 Canon AE-1’s and shoot almost exclusively Portra 800 (I know I need to branch out more but the grain and low light performance is just too good).
My extensive editing experience for my wedding photography business has carried over really well when it comes to fine tuning the colors and lighting of my film scans. I’m going to share some of my biggest editing tips in this post so you can know how to pull all the amazing colors from your film scans.


