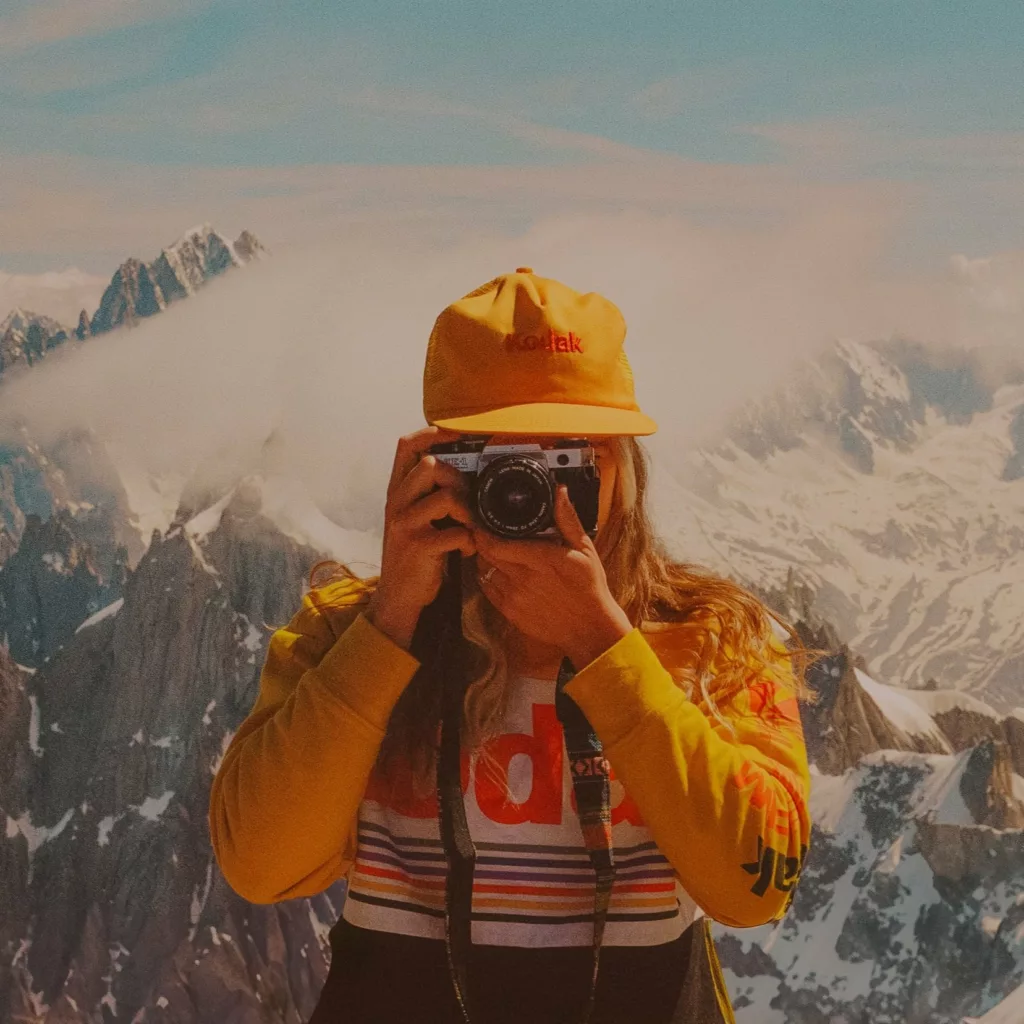
| Southern Utah-based film photographer, Kelsea Callister, shares her expertise on the importance of sun tracking in photography. She illustrates how different sun and weather conditions can dramatically influence the aesthetics of your photos. Whether you’re a seasoned photographer or just starting out, understanding how to effectively track the sun can help you capture unique and captivating images, even in familiar locations. Kelsea provides practical tips and tools, from mobile apps like Sunseeker to advanced resources like Google Earth Pro, that can help you predict and understand the quality of light anywhere anytime. She also discusses the nuances of daylight, golden hour, and blue hour to demonstrate how careful sun observation can enhance your approach to photography. Kelsea’s years of experience with her wedding photography business has taught her so much when it comes to tracking the sun and ideal conditions for her pictures. In this article, she will show you some tips on how to utilize the sun to your advantage! |
Section 1: Mobile Sun Tracking Tools
Why track the sun? Well the sun will definitely change the entire look and feel of your photos. I’ve lived in the Zion National Park area for 11 years and I’m to the point where honestly I have been to the same spots multiple times, and sometimes it’s hard to get creative with it and produce new pictures. The way I’m able to achieve new creativity in the same spots is from catching different sun and weather conditions. The sun on top of Zion Canyon Overlook is entirely different in December than it is in June, therefore my photos have a totally different feel up there during those times of the year. It’s also important to be well versed in sun tracking when you’re visiting new locations entirely and want to catch the best conditions while you’re there.
First I’m going to show you some easy ways to track the sun straight right from your phone. There’s quite a few different resources but I’ll share what’s worked for me.
DOWNLOAD SUNSEEKER
This app is THE BEST. It’s only a one time payment of $9.99 and it’ll be the best $10 you’ve ever spent. It has multiple ways to track the sun anywhere in the world.
SOLAR COMPASS
The solar compass feature is so nice. It shows you exactly where the sun is going to be in terms of a compass. That way you’ll know if you’re facing north in Utah at 6:39 pm on October 29th, the sun will be behind you and off to the left. You can change the app to be any time of the year and it accounts for time zones and daylight savings as well.
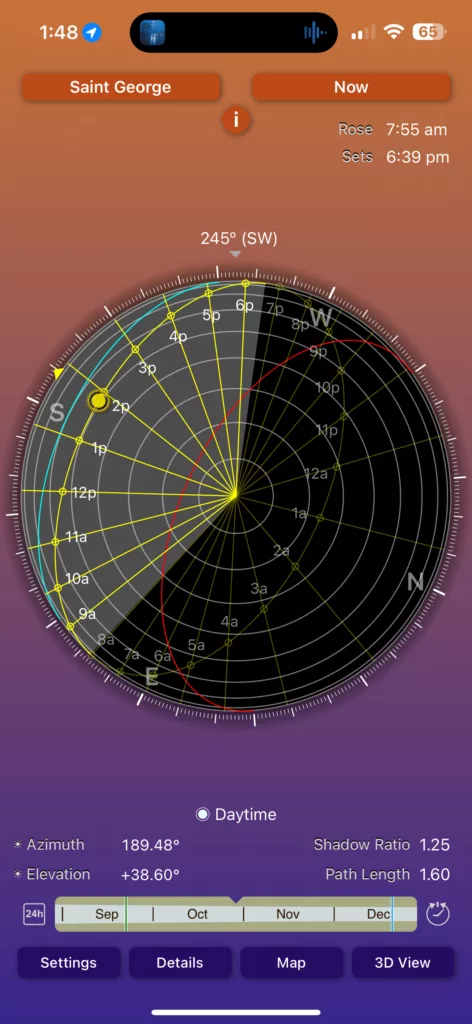
3D VIEW
This feature is perfect if you’re already at the location you want to shoot. Or if you go location scout beforehand. Oftentimes when I have a wedding in a location I’m not familiar with, I’ll location scout the day before and use the 3D feature to see exactly where the sun will be in person. It’s hard to explain without showing you so visit the youtube video attached to this article to get more direct instructions, but essentially you can point your phone anywhere in the sky and it’ll show you where the sun will be at that time. If you’ve ever used a star tracker before it’s exactly like that, but with the sun.

MAP
The last feature I’ll go over with this app is the map feature. It overlays a map of the sun positioning at any time of the year over a 2D view of Google Maps. This one is just highly convenient to check the sun positioning at a location without physically going there. I use this all the time just to double check where the sun is going to be before I go shoot somewhere.

And of course this app is very specific on sunrise and sunset times, when the sun culminates, the daylight duration, max elevation, all the twilight hours, and it even tells you when golden hour and blue hour are. Literally so helpful.
Section 2: Desktop Sun Tracking (More Advanced)
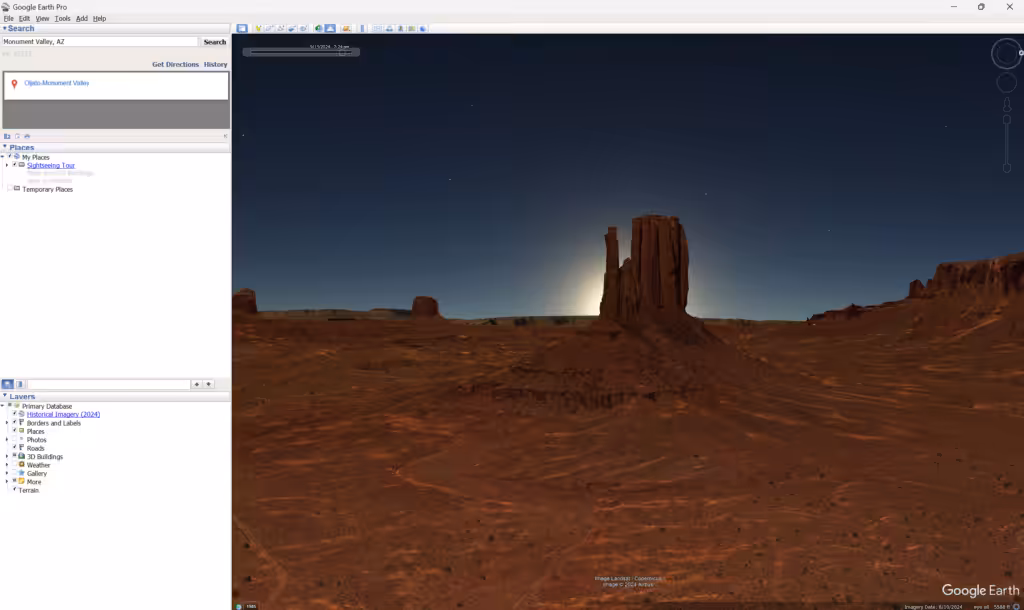
If you really want to dive into sun tracking, Google Earth Pro is a fantastic resource. It’s free and you can just download it off the internet. This resource is for anyone who really wants to plan out highly specific sun conditions in advance, without physically going there. If you’re traveling internationally or are traveling to witness a specific event caused by the sun (for example, the mitten shadow event in Monument Valley), then Google Earth Pro is the way to go!
GOOGLE EARTH PRO
Google Earth Pro will let you figuratively stand right where you want to be in person and show the very specific times and locations of the sun right in front of you. If you’re trying to catch the sun between 2 buildings in New York, or if you want the sun directly behind a butte in the desert, this is my favorite resource to track highly specific sun positioning. This one is harder to explain in blog format so I will do the bulk of the explaining on the Youtube video attached!
Section 3: How the Sun Affects Your Photos
DAYLIGHT
Shooting in direct daylight is a controversial topic in the photography community. A lot of people don’t like it at all. However I think anyone who decides to embrace the beauty and dramatic shadows of harsh daylight will really level up their work. One of my most liked photos on Instagram ever was shot literally smack in the middle of the day. Harsh daylight creates an opportunity for really beautiful depth and shadows in the places you’re shooting, and creates a contrast in your work that isn’t as achievable during the other hours of the day. Don’t be afraid to shoot in the middle of the day!

GOLDEN HOUR
The hour right as the sun rises in the morning and right before it sets in the evening is called golden hour. Obviously this is a highly ideal time to shoot since this is when the lighting becomes incredibly dreamy. The sun is directly over the horizon creating the most beautiful sun flares and golden light. A lot of my work has been very specifically timed to be at this time of the day and that’s when I have been able to capture the most incredible sunsets and clouds. Golden hour is ideal in almost every way.

BLUE HOUR
Blue hour is the time right before the sun rises and right after the sun sets. Dusk, or twilight are other names for it. This is an incredibly beautiful and surreal time, but it can honestly be tricky to shoot on film since film loves light. I have a 50mm 1.4 lens on my Canon AE-1 that has been a lifesaver for shooting film once the sun is down. I highly recommend getting a low aperture lens so you can still shoot later into the night. Blue hour is where you can capture some wonderful moon shots, and where you can get gorgeous colors over the horizon right after the sun sets.

Utilizing knowledge of the sun will really level up your work, and will help you get more of the photos you want to see in your portfolio. I highly recommend becoming very knowledgeable in this area! Between these sun tools and weather tracking tools (a blog post for another time) I have been able to capture lots of ideal conditions. Many people call it luck, which is sometimes it, but I do put a lot of work into getting these conditions myself.
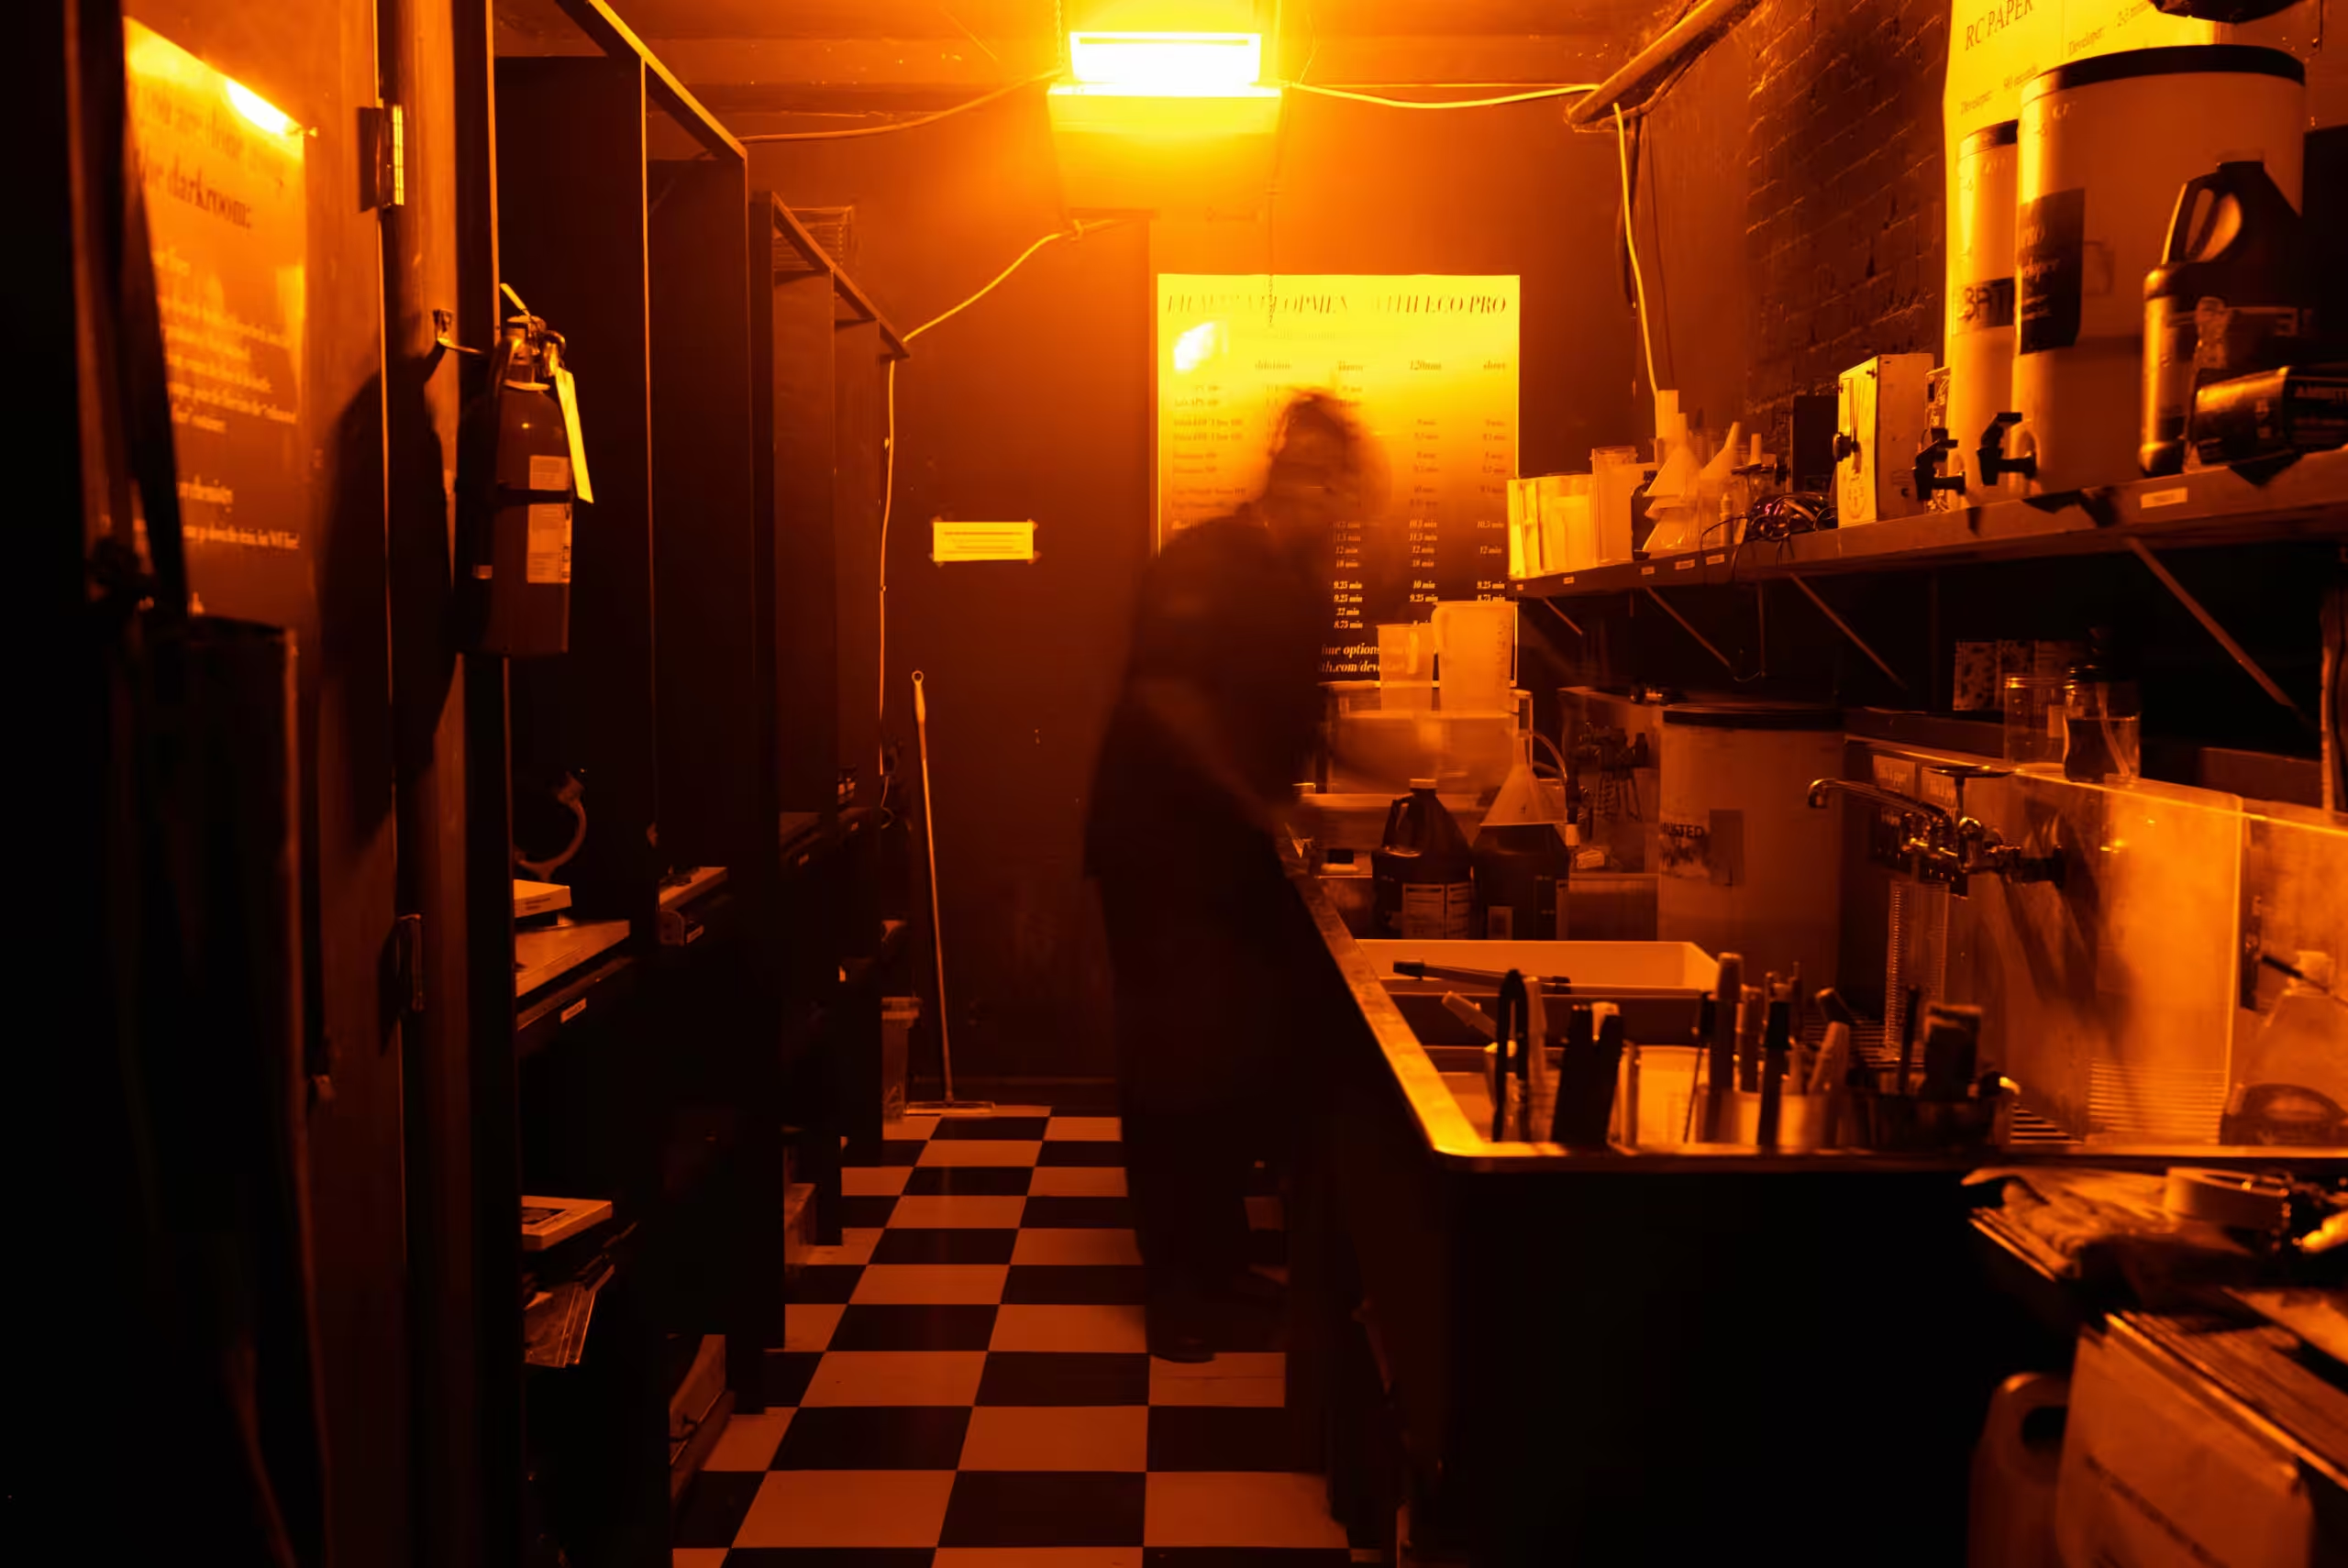
Hi! My name is Kelsea Callister and I’ve been a film photographer since 2021.
I shoot only film for all my personal work now and shoot a combination of film and digital for my elopement photography business. I adore the look and feel of film and I currently have 3 Canon AE-1’s and shoot almost exclusively Portra 800 (I know I need to branch out more but the grain and low light performance is just too good).
%22%3E%3Cpath%20d%3D%22M500%2C930c-44.5%2C0-87.9%2C5.9-130.2%2C17.6c-42.3%2C11.7-81.3%2C28.1-117.2%2C49.2c-35.9%2C21.1-68.9%2C46.7-99%2C76.8c-30.1%2C30.1-55.7%2C63.1-76.8%2C99c-21.1%2C35.9-37.5%2C74.9-49.2%2C117.2C15.9%2C1332.1%2C10%2C1375.5%2C10%2C1420c0%2C44.5%2C5.9%2C87.9%2C17.6%2C130.2s28.1%2C81.3%2C49.2%2C117.2c21.1%2C35.9%2C46.7%2C68.9%2C76.8%2C99c30.1%2C30.1%2C63.1%2C55.7%2C99%2C76.8c35.9%2C21.1%2C74.9%2C37.5%2C117.2%2C49.2c42.3%2C11.7%2C85.7%2C17.6%2C130.2%2C17.6c44.5%2C0%2C87.9-5.9%2C130.2-17.6c42.3-11.7%2C81.3-28.1%2C117.2-49.2c35.9-21.1%2C68.9-46.7%2C99-76.8c30.1-30.1%2C55.7-63.1%2C76.8-99s37.5-74.9%2C49.2-117.2c11.7-42.3%2C17.6-85.7%2C17.6-130.2c0-33.3-3.3-66.2-10-98.6c-6.7-32.4-16.1-63.1-28.4-92.2c-12.3-29.1-27.3-56.8-45.2-83.2c-17.9-26.4-37.8-50.6-59.8-72.6s-46.2-41.9-72.6-59.8c-26.4-17.9-54.1-32.9-83.2-45.2c-29.1-12.3-59.8-21.7-92.2-28.4C566.2%2C933.3%2C533.3%2C930%2C500%2C930z%20M450%2C1320h102.4c1.9%2C0%2C3.5%2C0.4%2C5%2C1.2s2.7%2C2%2C3.6%2C3.6c0.9%2C1.6%2C1.4%2C3.2%2C1.4%2C4.8c0.8%2C25.1%2C4.7%2C44.3%2C11.8%2C57.8c7.1%2C13.5%2C20.3%2C26.6%2C39.8%2C39.4c10.9%2C6.9%2C19.3%2C12.4%2C25.2%2C16.4c5.9%2C4%2C12%2C8.9%2C18.4%2C14.6c6.4%2C5.7%2C11.1%2C11%2C14%2C15.8c2.9%2C4.8%2C5.7%2C10.9%2C8.4%2C18.2c2.7%2C7.3%2C4.4%2C15.3%2C5.2%2C24c0.8%2C8.7%2C1.2%2C19%2C1.2%2C31c0%2C14.9-1.9%2C28.9-5.6%2C42c-3.7%2C13.1-8.9%2C24.8-15.4%2C35.2c-6.5%2C10.4-14.4%2C19.9-23.6%2C28.4c-9.2%2C8.5-19.3%2C15.8-30.2%2C21.8s-22.5%2C11.1-34.6%2C15.2s-24.5%2C7.2-37.2%2C9.2c-12.7%2C2-25.5%2C3-38.6%2C3c-58.7%2C0-104.9-14.9-138.8-44.8c-33.9-29.9-52.1-72-54.8-126.4v-0.4c0-2.7%2C0.9-4.9%2C2.8-6.8c1.9-2.1%2C4.3-3.2%2C7.2-3.2h107.6c1.1%2C0%2C2.1%2C0.1%2C3.2%2C0.4c1.1%2C0.3%2C2%2C0.7%2C2.8%2C1.4c0.8%2C0.7%2C1.5%2C1.3%2C2%2C2s1%2C1.5%2C1.4%2C2.6c0.4%2C1.1%2C0.6%2C2.1%2C0.6%2C3.2c1.1%2C19.5%2C7.2%2C34.3%2C18.4%2C44.4c11.2%2C10.1%2C27.1%2C15.2%2C47.6%2C15.2c14.4%2C0%2C26.1-4.3%2C35.2-12.8c9.1-8.5%2C13.6-19.3%2C13.6-32.4c0-20.8-13.1-40.1-39.2-58c-47.2-34.4-70.8-72.8-70.8-115.2V1330c0-1.3%2C1.3-3.3%2C4-6S448.7%2C1320%2C450%2C1320z%20M440%2C1100h122c5.3%2C0%2C10%2C1.9%2C14%2C5.8c4%2C3.9%2C6%2C8.6%2C6%2C14.2v120c0%2C5.6-2%2C10.3-6%2C14.2c-4%2C3.9-8.7%2C5.8-14%2C5.8H440c-5.6%2C0-10.3-1.9-14.2-5.8c-3.9-3.9-5.8-8.6-5.8-14.2v-120c0-5.6%2C1.9-10.3%2C5.8-14.2C429.7%2C1101.9%2C434.4%2C1100%2C440%2C1100z%22%2F%3E%3C%2Fg%3E%3C%2Fg%3E%0A%09%3C%2Fsvg%3E%0A)