From Negatives to Prints: A Guide to Darkroom Printing Techniques

In the era of digital photography, where people are clicking photos with just a tap-on button to produce a photograph, darkroom printing techniques provide a nostalgic feeling. Filmmaking is a difficult process because if you don’t use accurate techniques while applying darkroom techniques then you may not get the desired result. Darkroom printing can be helpful for film developing nyc and it is a traditional photography process that involves the transformation of photographic negatives into prints with multiple techniques. In this article, we will explore how people were using negatives to get a print during darkroom printing techniques.

Process Involved in Darkroom Printing

Following are some steps that are involved in darkroom printing techniques it was popular in the past but still, some people are using it like the nyc film developing process:

Setup the Darkroom

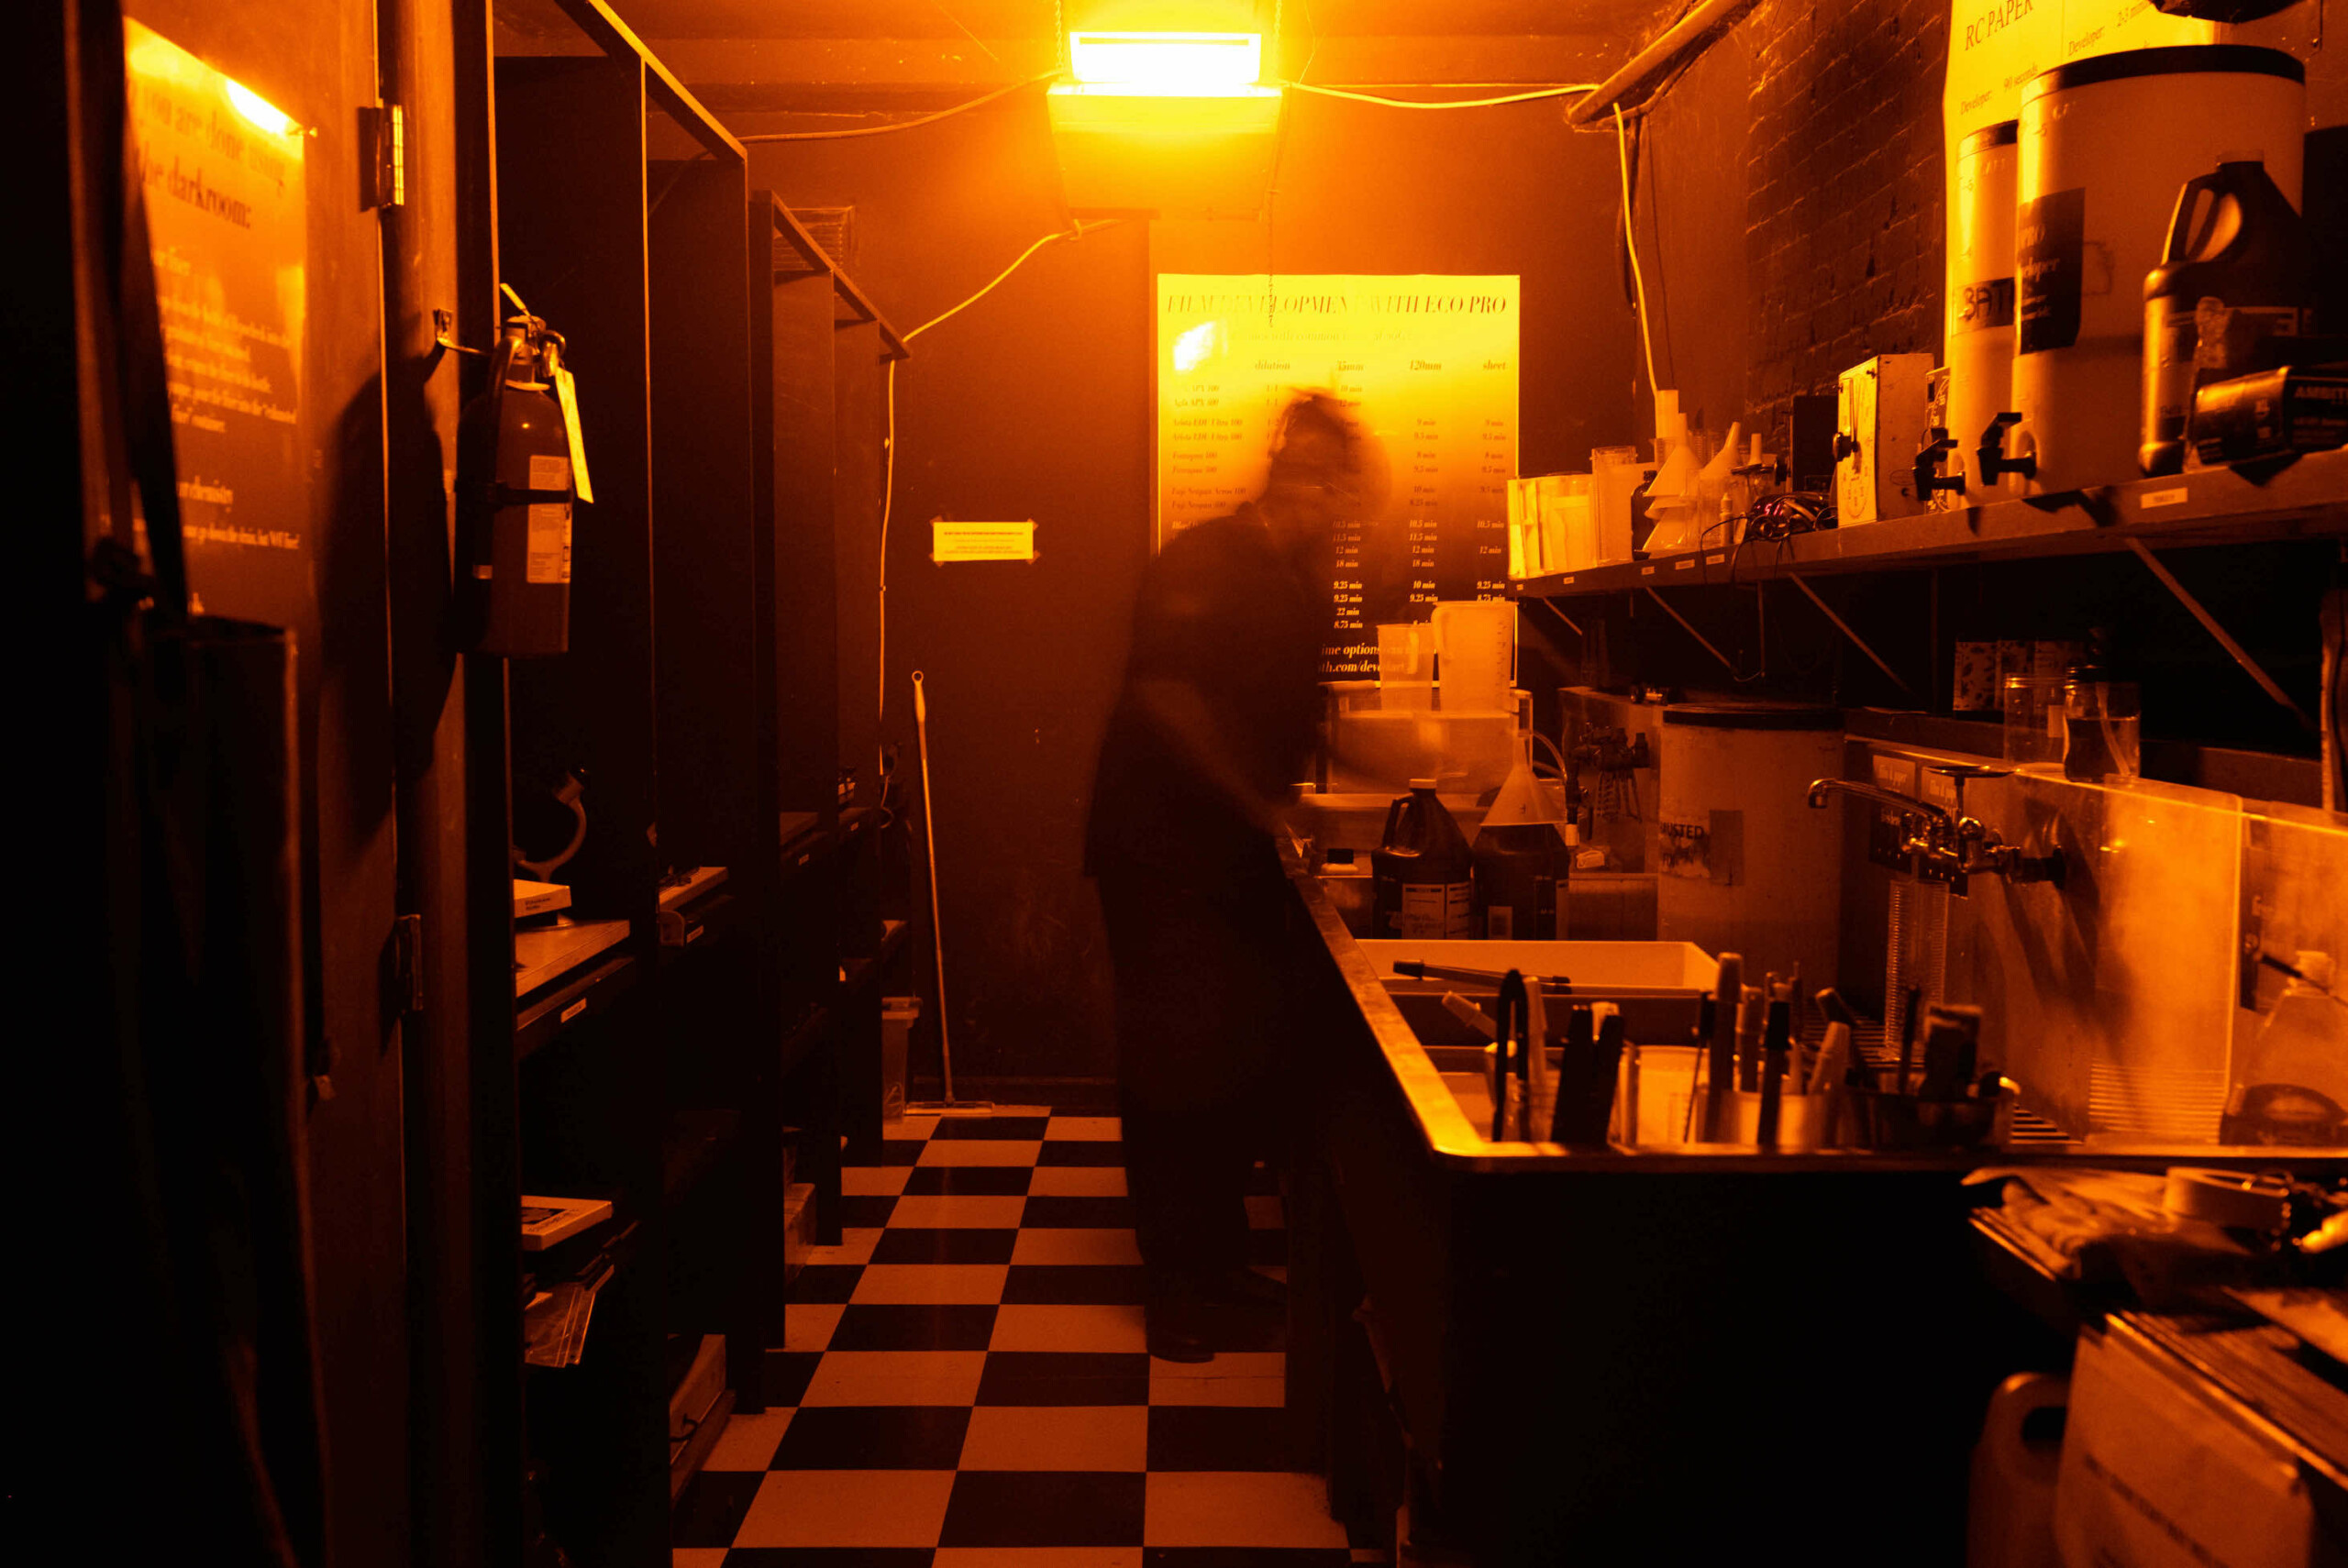
The first step to darkroom printing is to gather all the tools and equipment required for printing like enlargers, trays, easels, and multiple chemicals that may be needed for printing and better quality. Darkroom should not have any source of light so that any light-sensitive materials won’t get exposed to light.

Use Enlarger

After setting up your darkroom, you can start your process by selecting a negative and placing it in the enlarger. In this process enlarger will project light through the negative to light-sensitive photographic paper. To get better results, people need to adjust to the size, focus, and composition of the image that they are using.

Select Photographic Paper

Photographic papers are not only of one type but it has several types and each has its unique characteristics. Photographic paper ranges from glossy to matte where the choice of paper is significantly influenced by the final texture and appearance of the print.

Proper Timing and Exposure

It is imperative to control the exposure time because it is a delicate dance between light, time, and the desired effect. If we are putting exposure for a longer time you will get darker while if we keep it for a shorter time then it will produce a lighter print. Hence timing plays a crucial role in achieving the desired contrast and tone.

Develop Chemicals

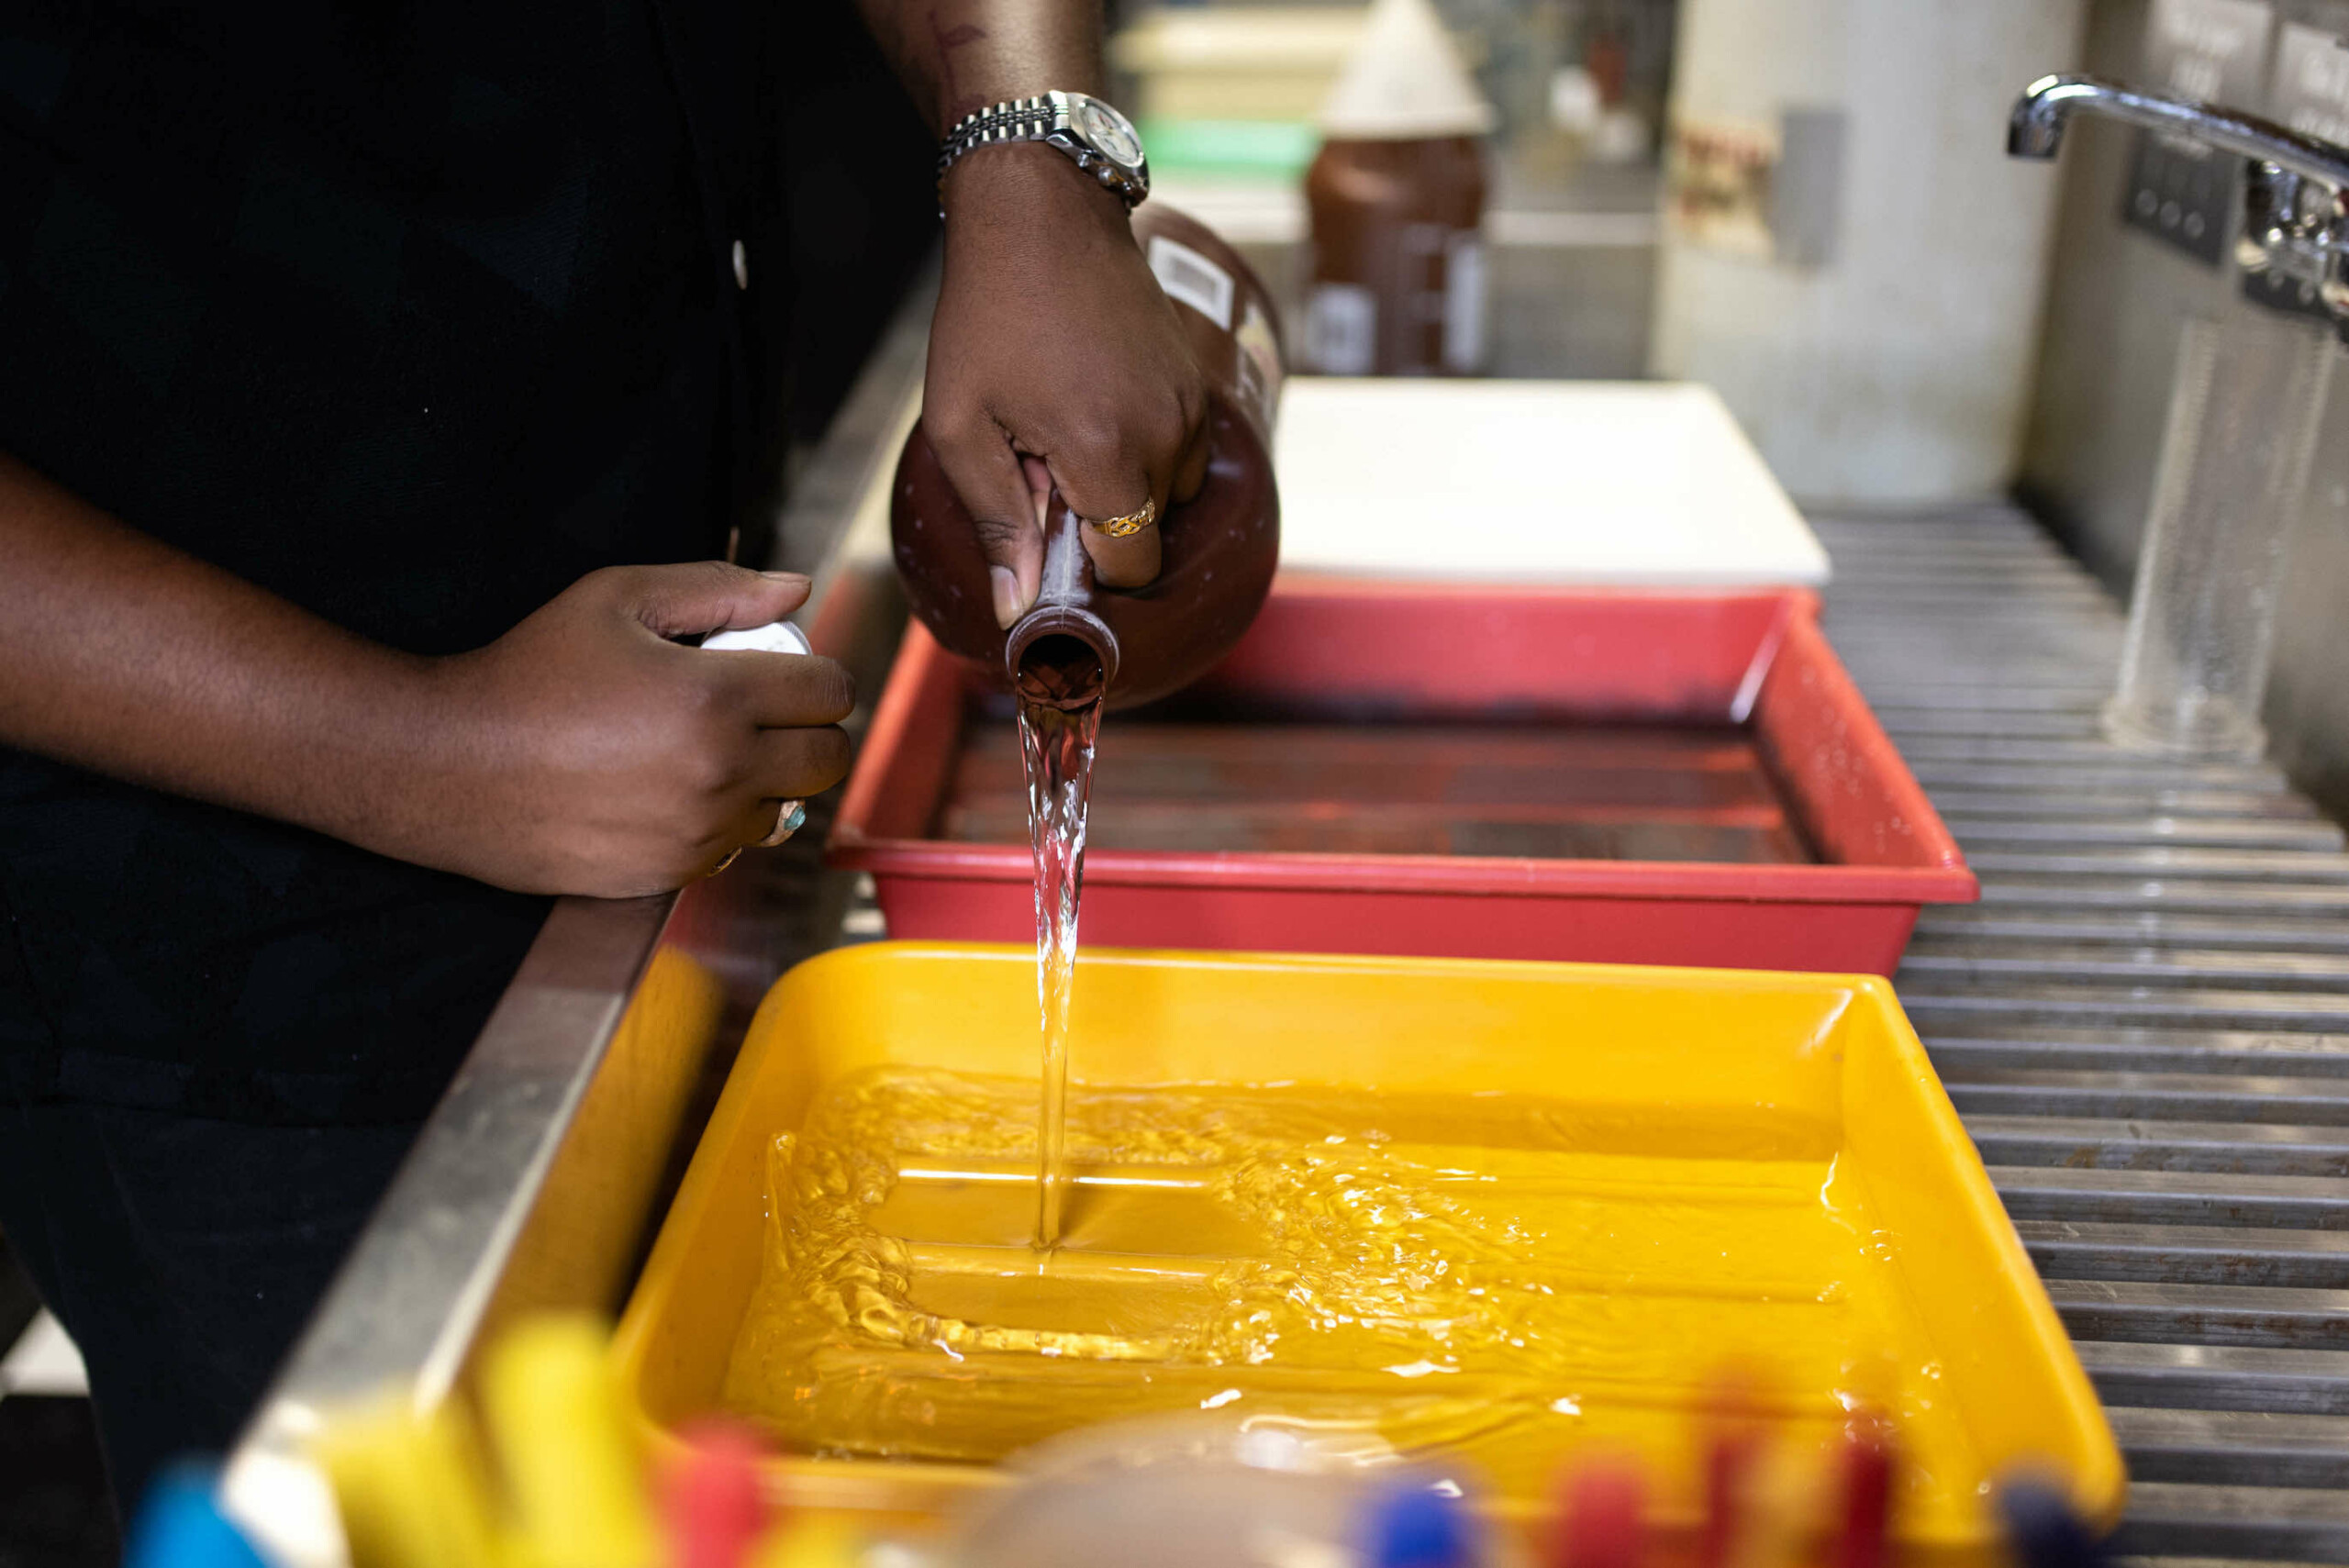
As we get the exposed photographic paper, it must go through a series of baths from multiple chemicals. In general, these chemicals include a developer, stop bath, fixer, and wash. In this process, the developer brings out a latent image on the paper, and the stop bath halts further development.

Use Burn Technique

In this process of dodging, it selectively blocks the light to lighten some specific areas whereas the burning process is used to darken some specific areas by exposing it to light for more time.

Split Grade Printing

When we are following a traditional method of darkroom printing it requires multiple contrast filters while performing the exposure process because it will control the highlights and shadows separately.

Conclusion

After reaching the final step the developer just needs to maintain the tone of the photograph and leave it for drying and mounting, now this print can be preserved and shown to people who want to see it.

Leave a Comment

Your email address will not be published. Required fields are marked *

Bot: My name is GEL-Bot! Nice to meet you. How can I help you today? Here are some types of questions you can ask me:

Do you return negatives to me? Can you develop single-use disposable cameras? How should I prepare my package?

FAQContact Us

CHAT

0
Your Order
Your cart is emptyReturn to Shop

How do I drop off my film?

1. Place your film order on gelatinlabs.com – select ‘Return Shipping’ at checkout’ to get negatives returned (and prints, if you ordered them).

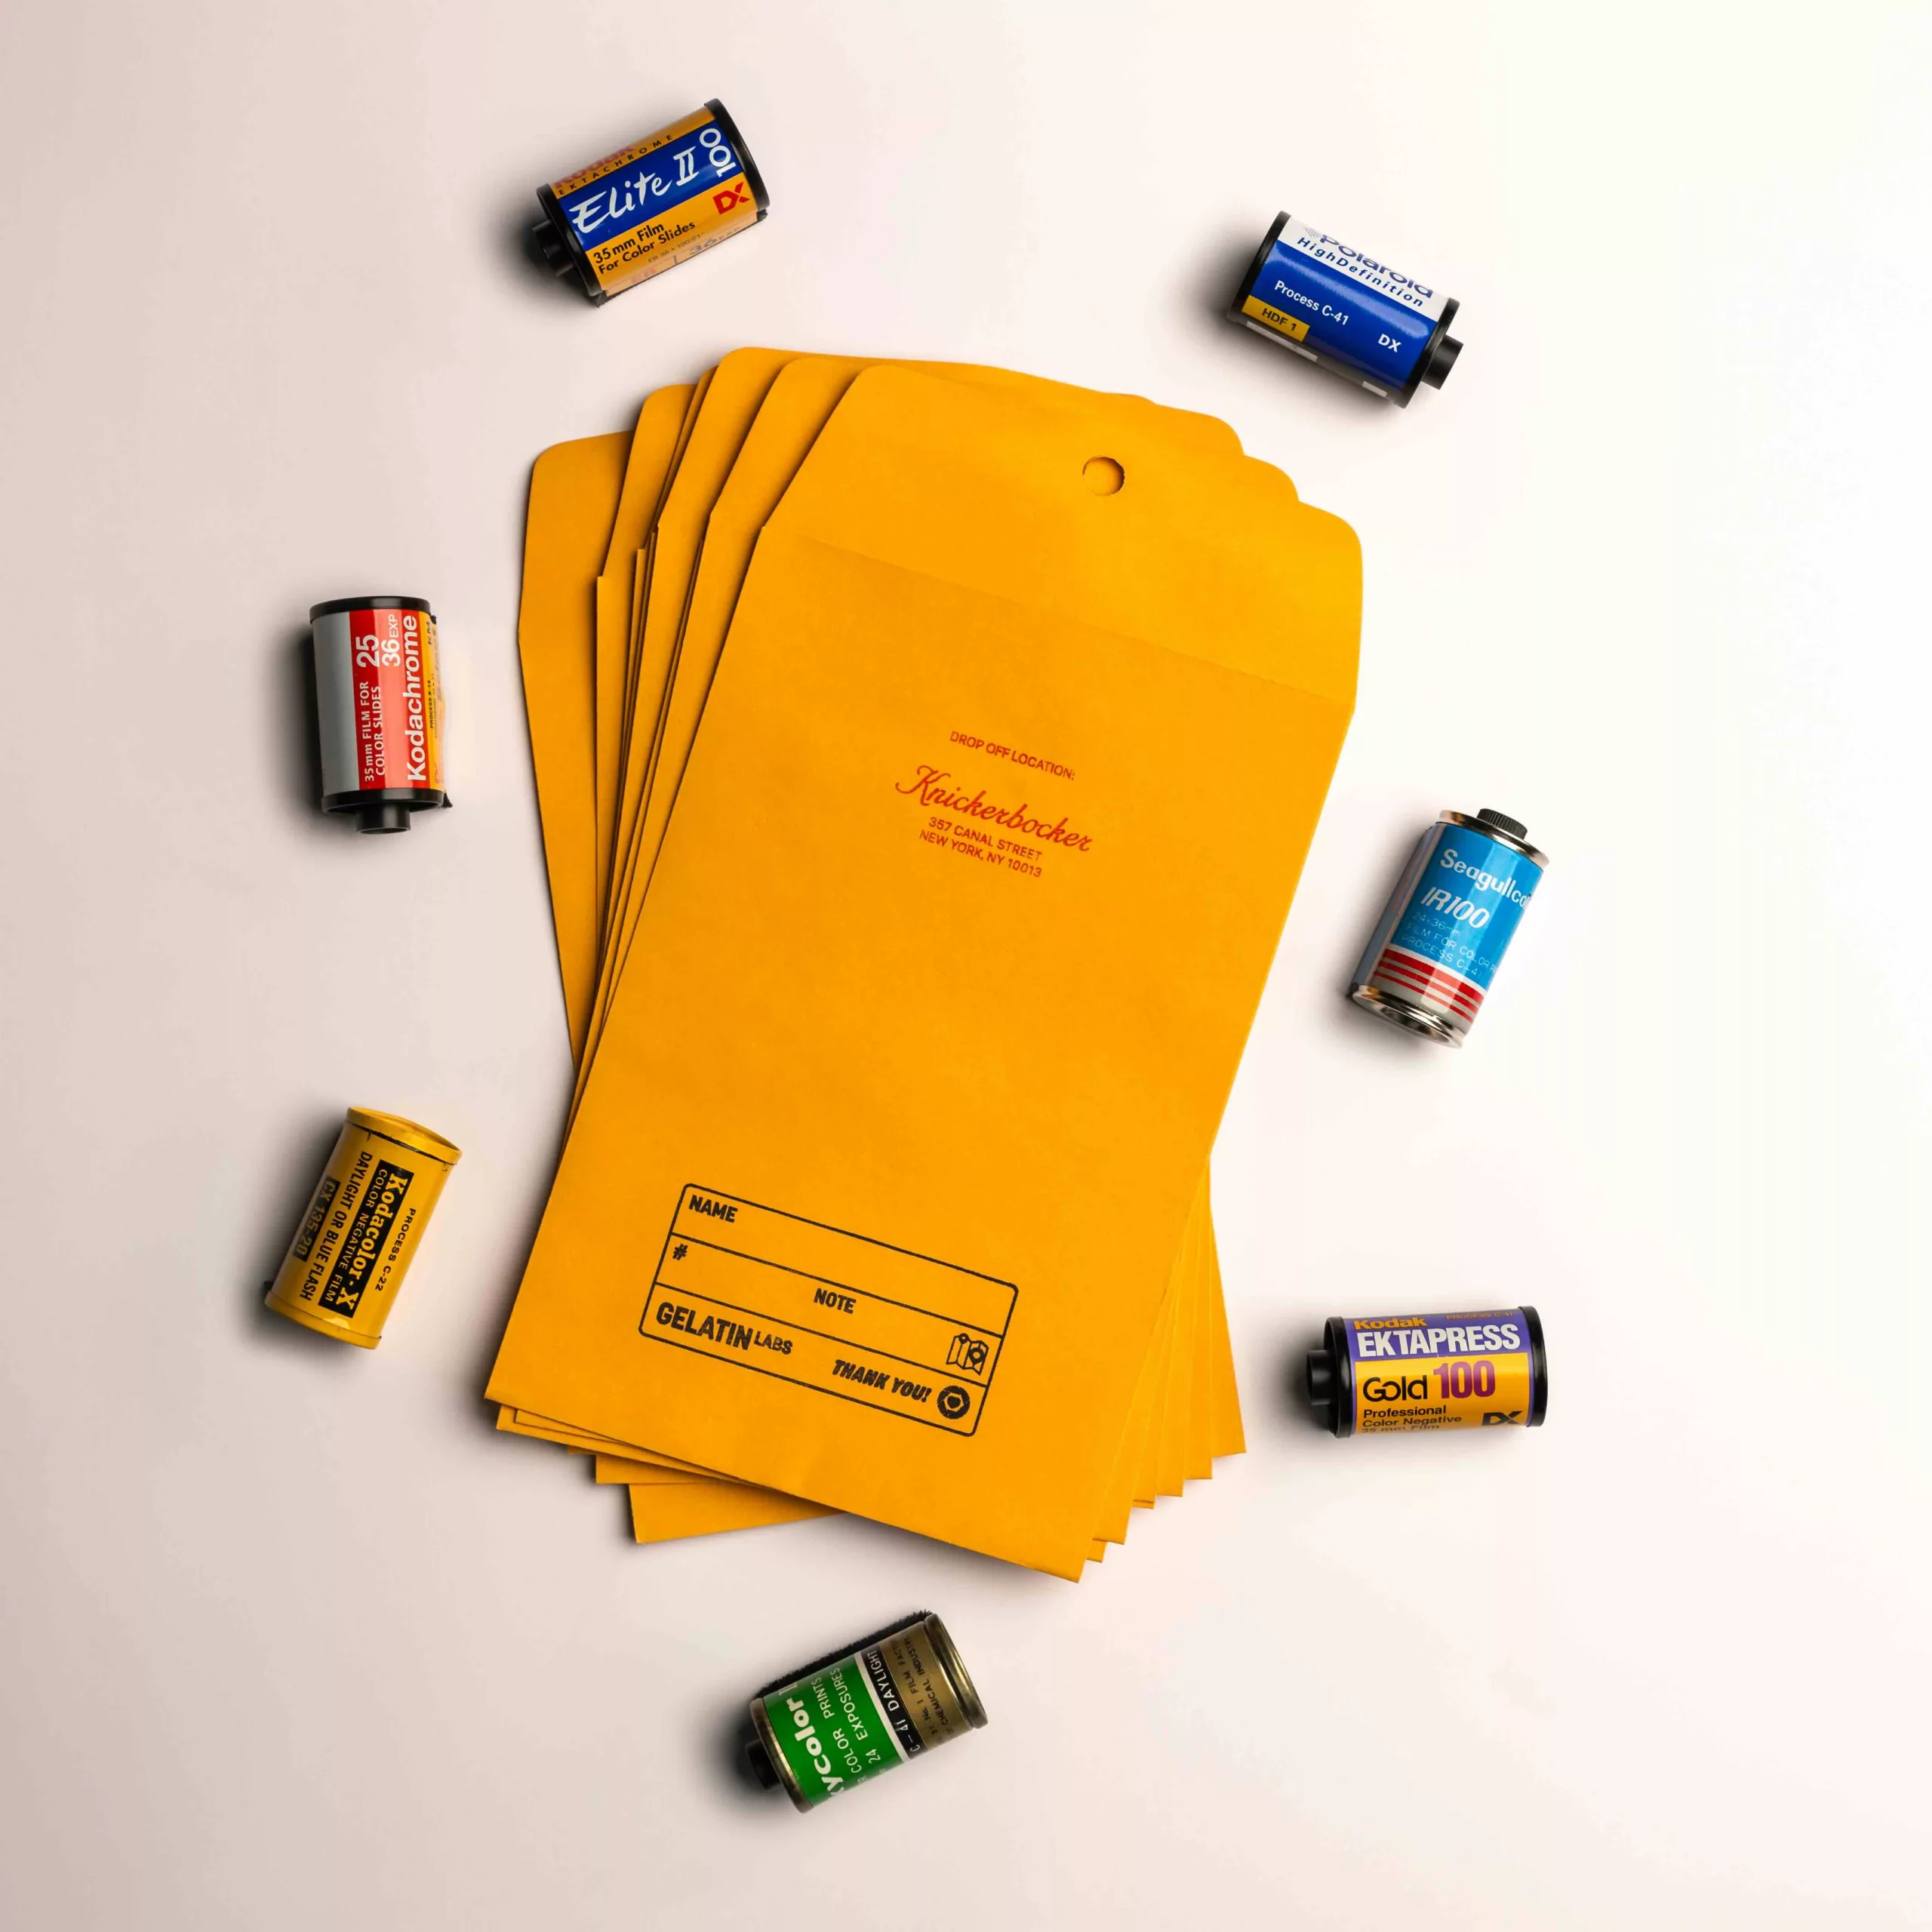
2. Envelopes for your order are provided over the counter. Write your name and order number, and load film rolls inside.

3. Hand over your envelope to a Knickerbocker team member.

Your film will head to Gelatin Labs every Monday and Thursday!

How do I drop-off my film?

1. Place your film order on gelatinlabs.com – select ‘Ship Negatives’ to get negatives returned (and prints, if you ordered them).

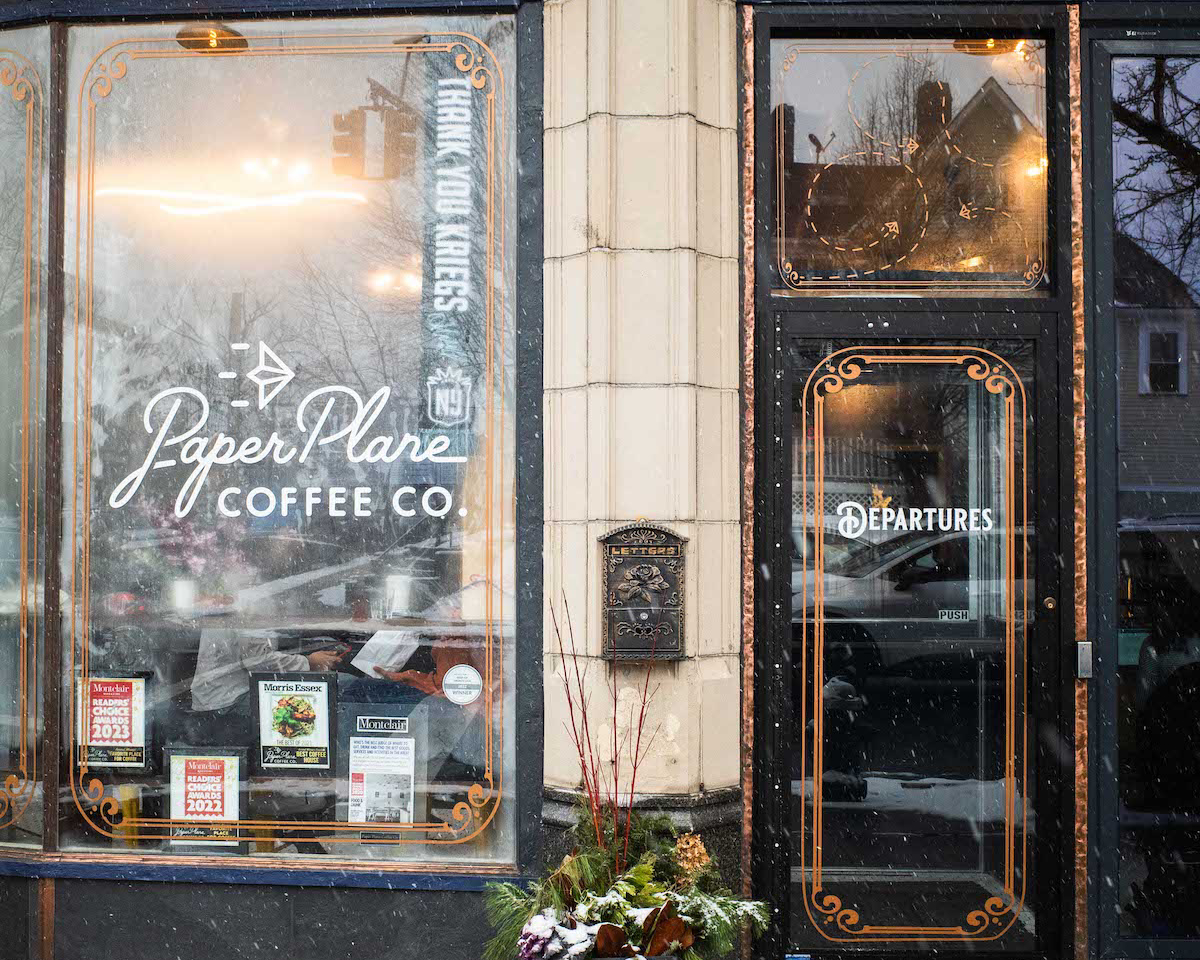
2. Our box is located near the exit of the coffee shop. Take an envelope (or your own ziploc), bag up your film, and write your order number. Your film will head to Gelatin Labs!

How do I drop-off my film?

1. At the front entrance, buzz in to be let inside.

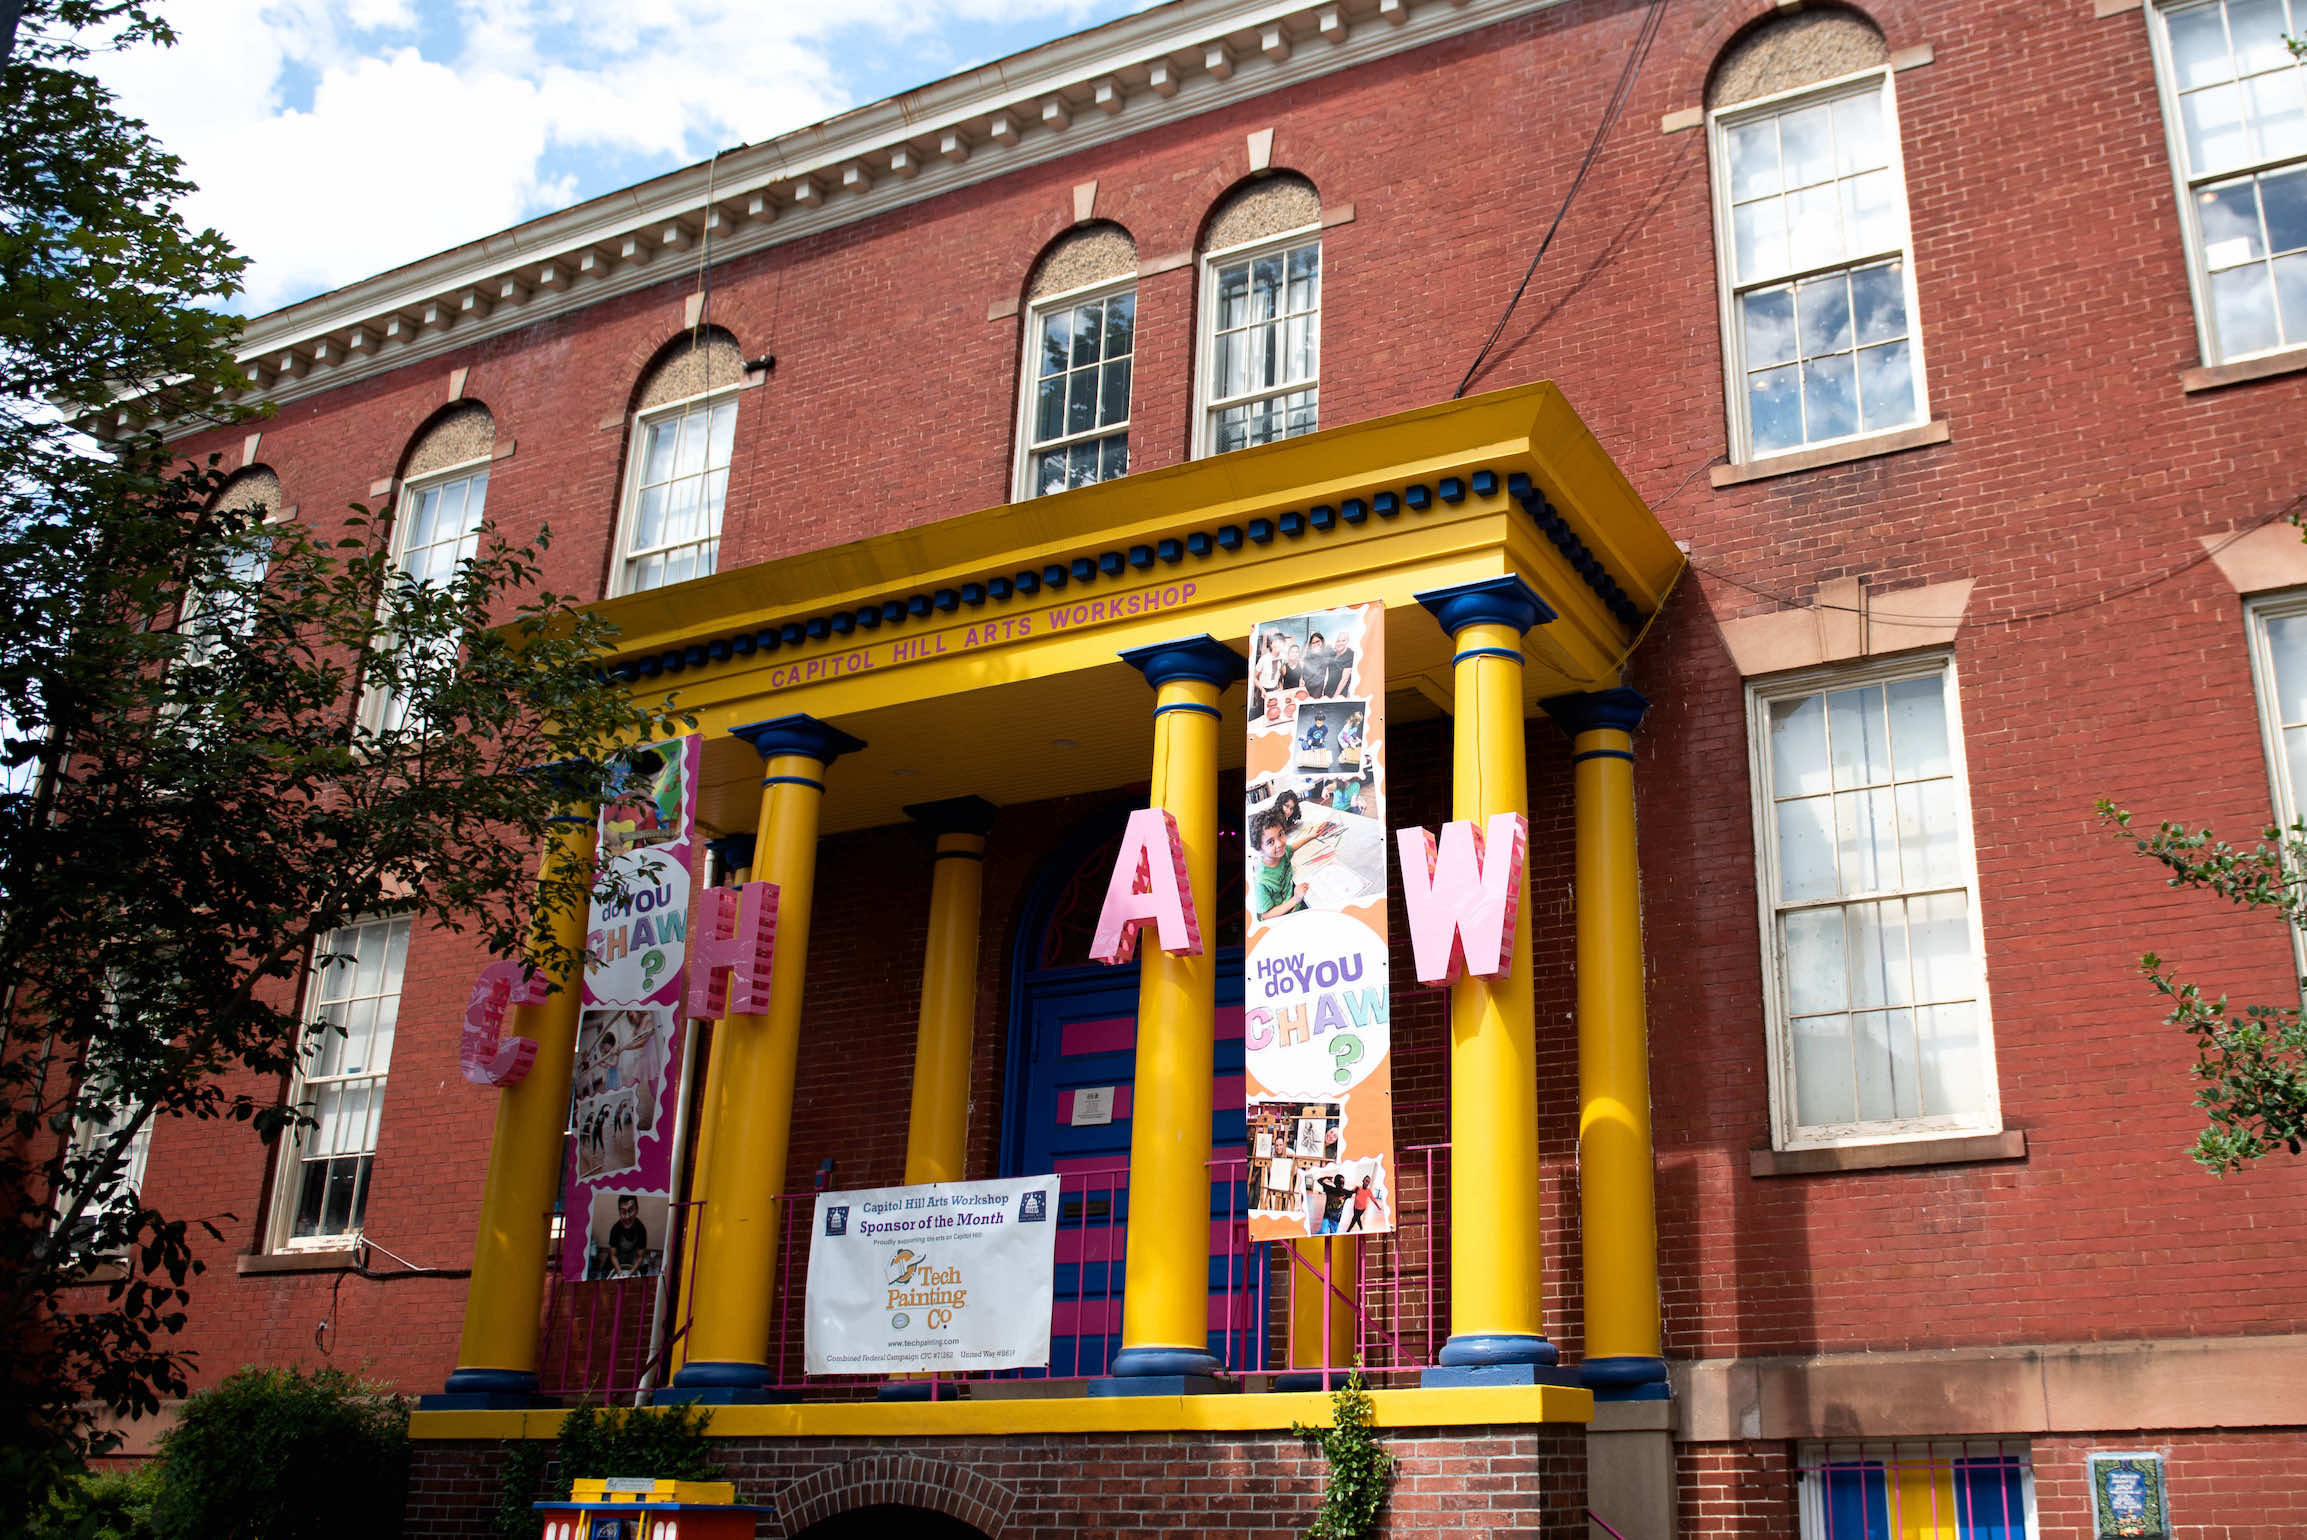
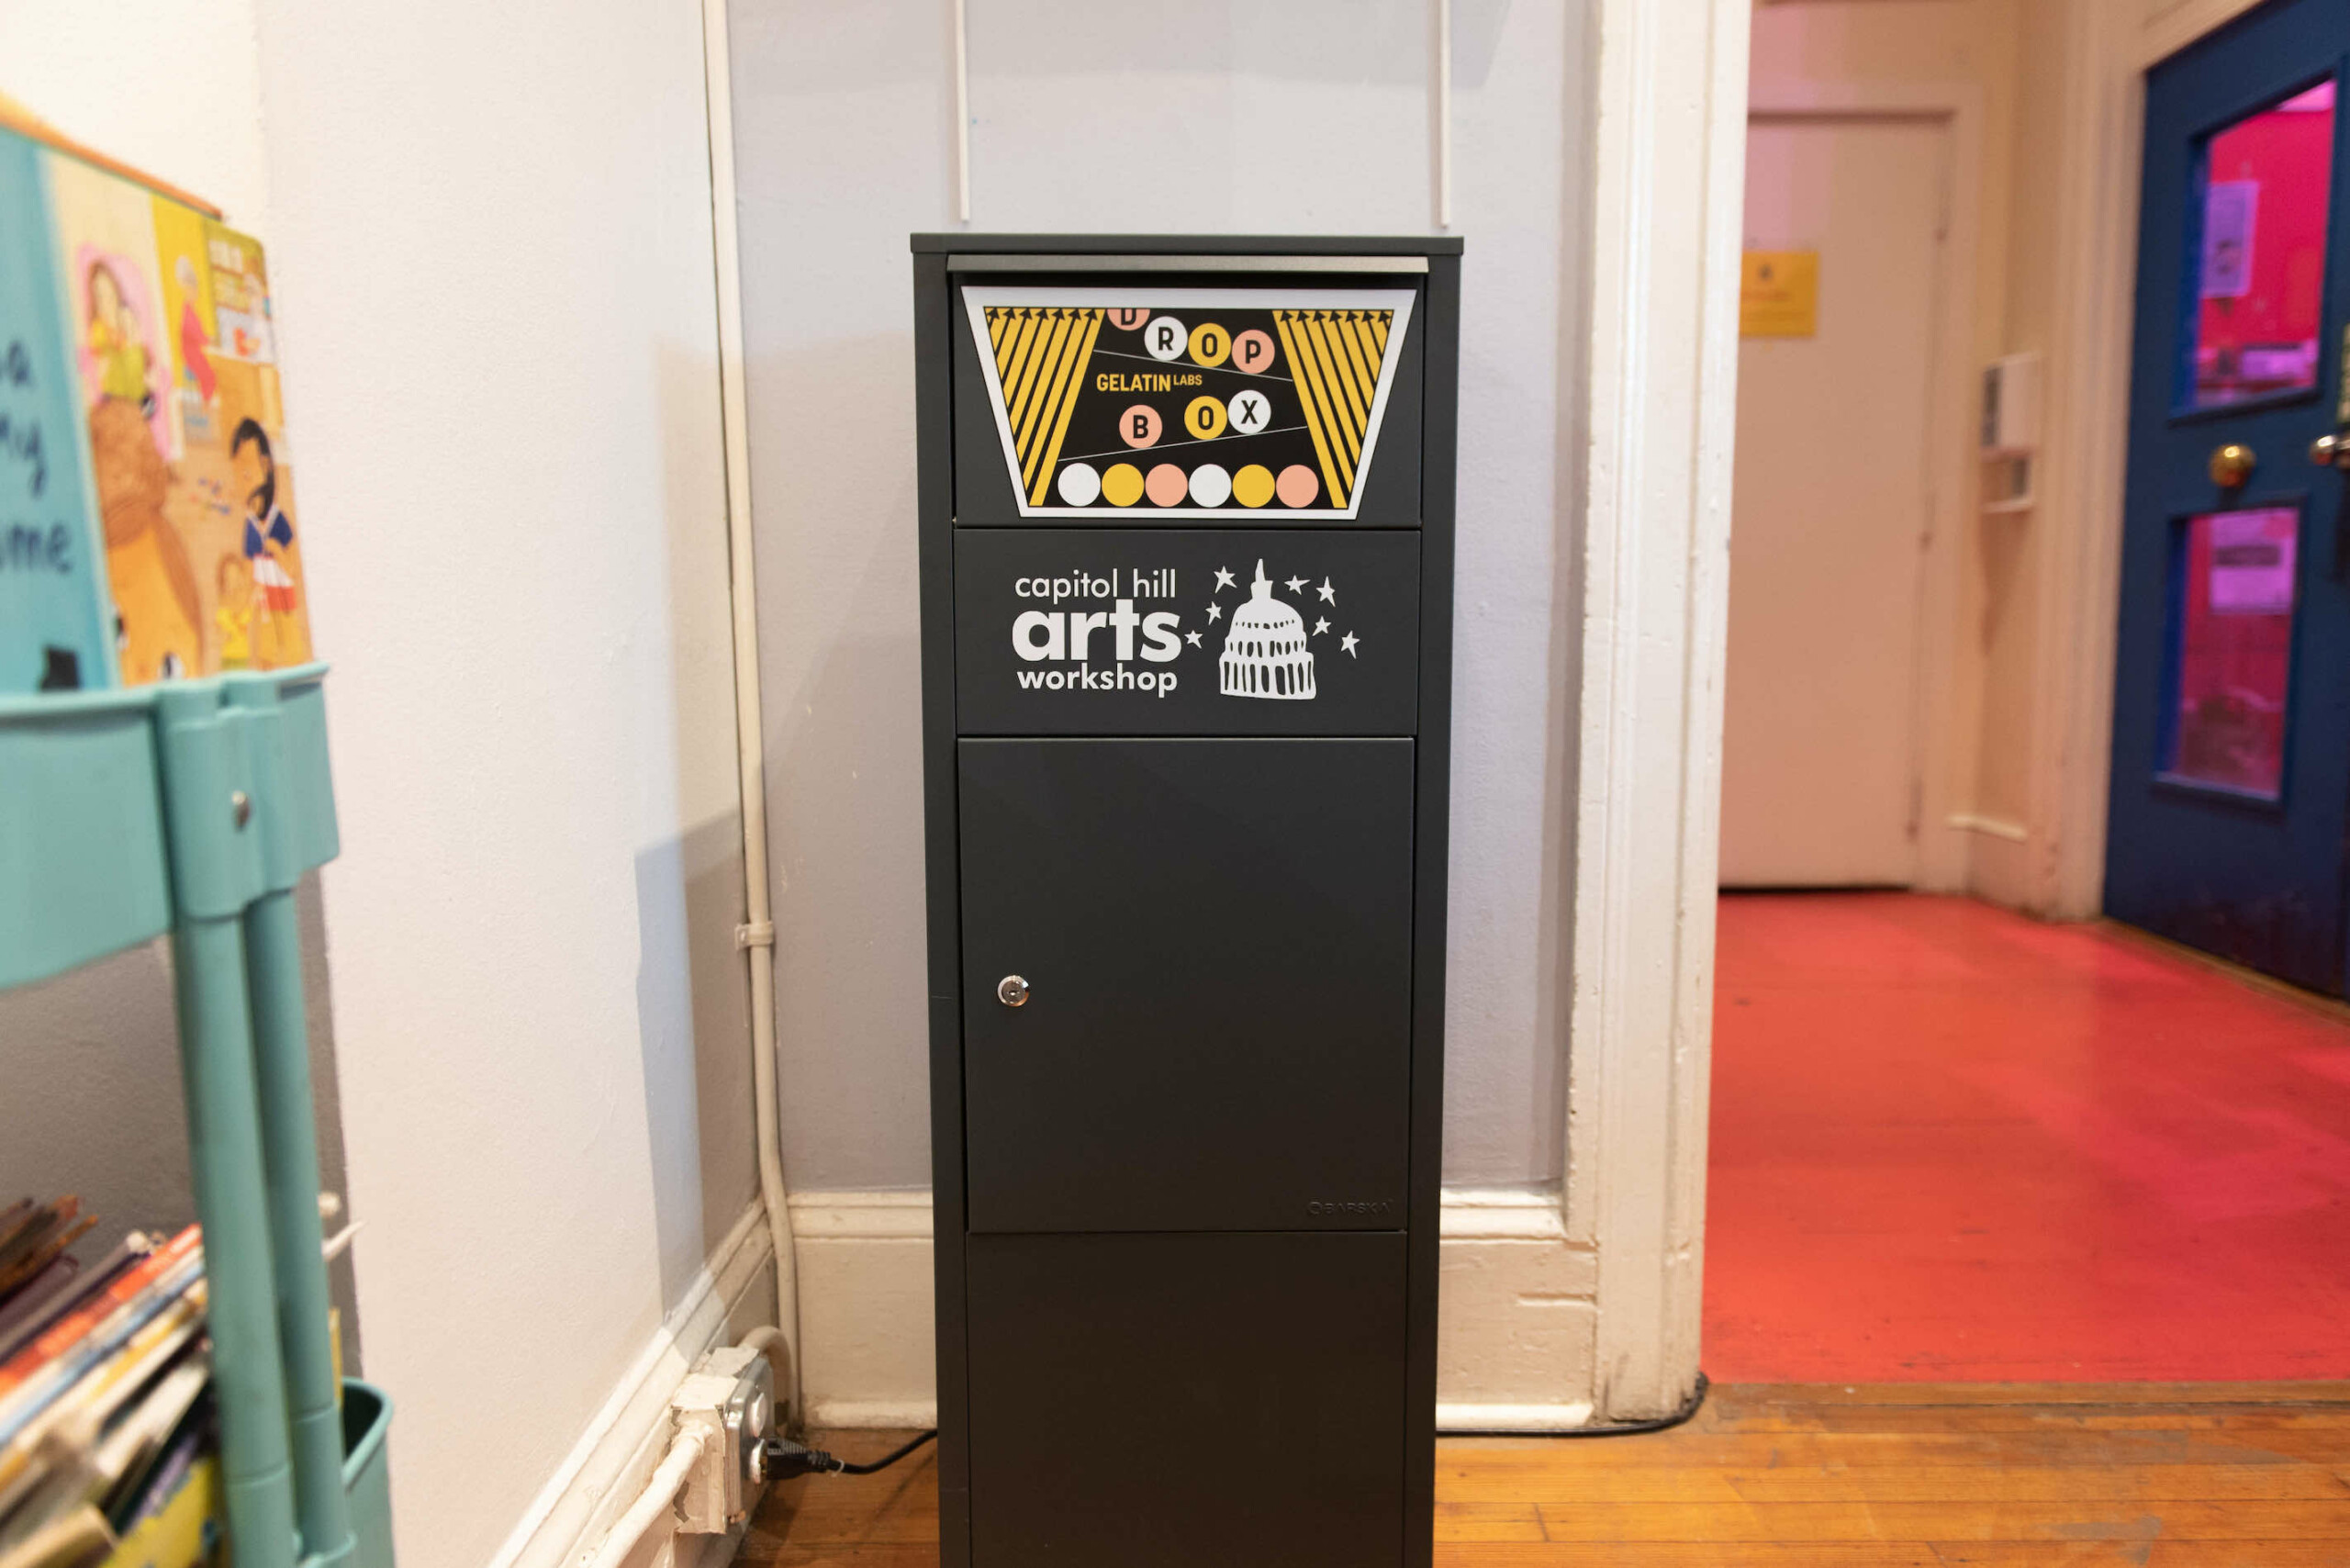
2. The Gelatin drop-off box is directly across from the front desk. Place your order via the QR code on the box. Select ‘Ship Negatives’ to get negatives (and prints, if you ordered them) returned.

3. Take an envelope (or your own ziploc) from the front desk, bag up your film, and write your order number. Your film will head to Gelatin Labs!

Turnarounds

At Gelatin Labs, quality is our main priority for every order. Our team keeps film moving through the lab as efficiently as possible, but estimates are not guaranteed. 

Current FLEXIBLE TURNAROUND Estimates:

Order size and options chosen affect turnaround time.

Small orders (3 rolls or less) with fewer options (up to Pro Level scans) take less time. Larger orders (4 rolls or more) with more options (including SuperPro scans) will take longer.

For same to next business day, guaranteed timelines, use our Fast Pass ⚡️ service.

Print With Gelatin Labs

Fill out the form below and our team will get back to you via email with a link for you to upload your images.
Print Form

Please choose your print size(s):

Finish Preference

It’s Time To Get Printing!

Whatever type of work you create, the Gelatin Labs Print Upload will render beautiful, archival prints that will enable you to bring your art off of your screen and into the realm of physical existence. The process is simple: select your print size, upload your images, and pick from three distinct finishes!

8x10 inch

Body text for more information. Body text for more information.

4x6 inch

Body text for more information. Body text for more information.

Start Your Film Order

Welcome to Gelatin Labs, your trusted partner for all your film photography needs! We recognize that each photographer has their unique preferences, which is why we are excited to introduce two remarkable options to cater to your individual needs: Simplified and Customized.

Simplified

DEVELOP + SCAN • PRINT

  • Streamlined options for quick checkout
  • Choose the look & feel of your images
  • Less options for an uncomplicated experience

Customized

DEVELOP • SCAN • PRINT

  • Expanded customization for film types, options, services
  • Upgrade to SuperPro hi-res scans
  • More options for the more advanced user

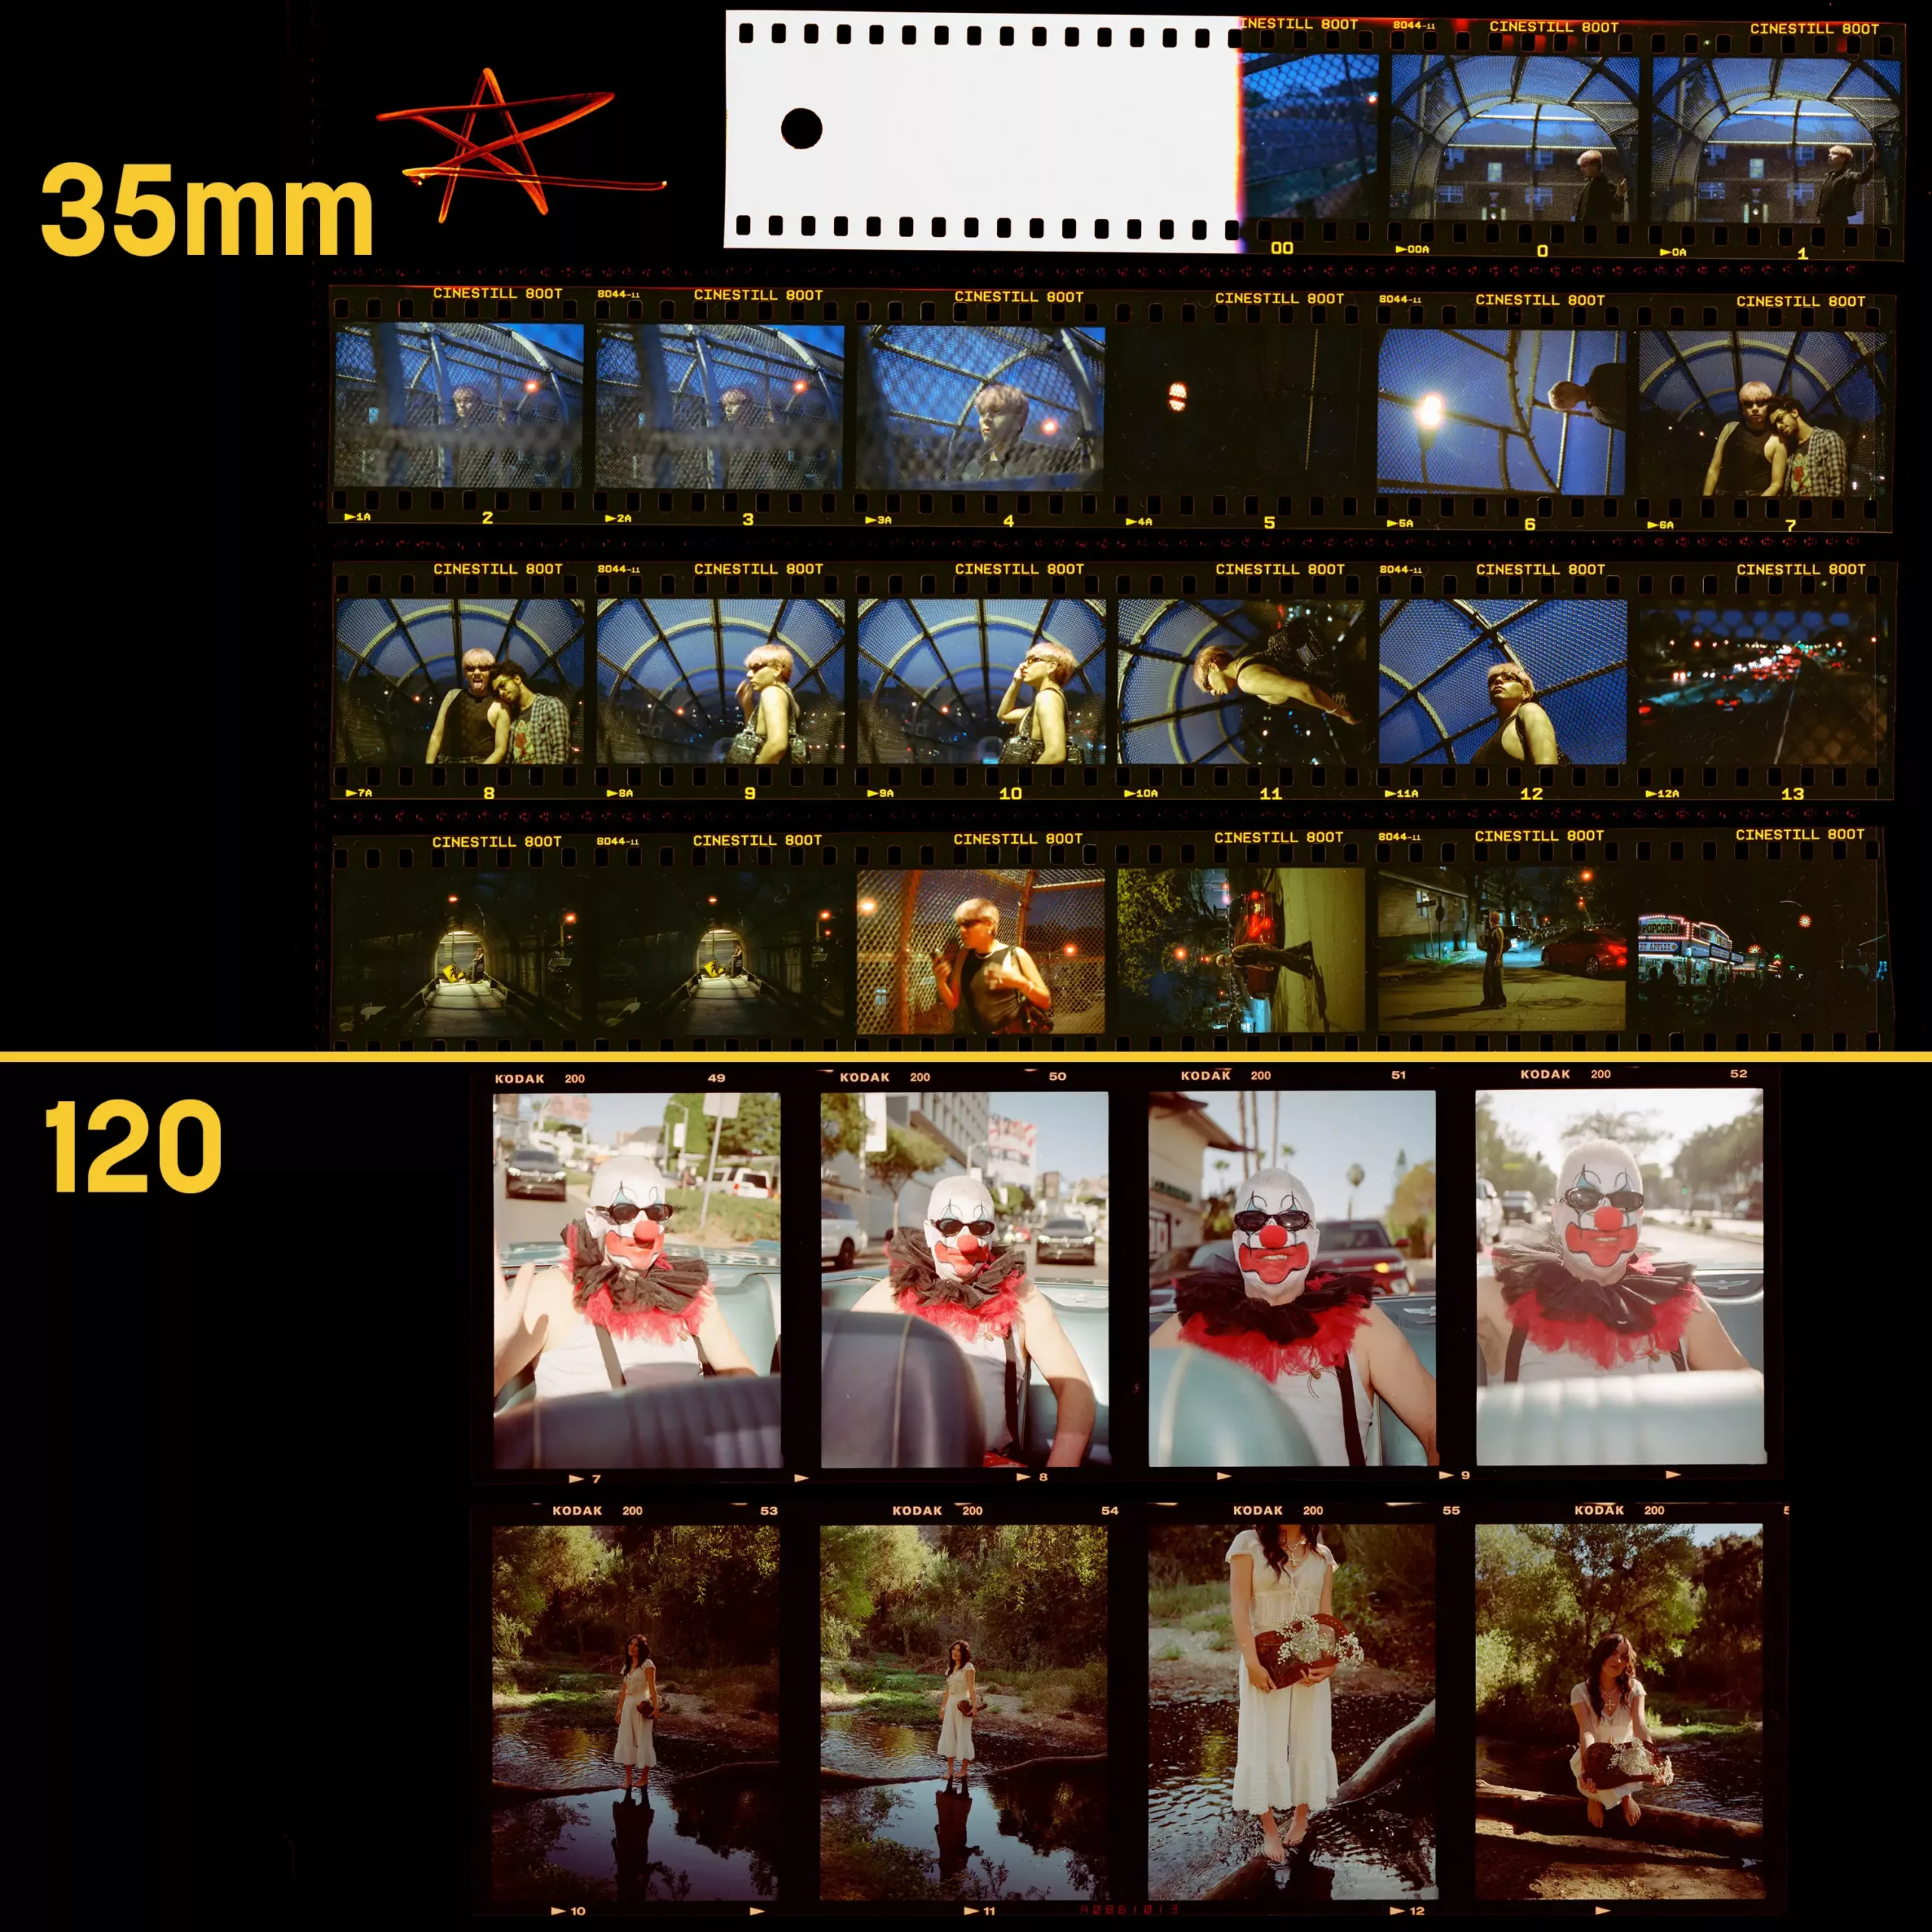
Contact Sheet