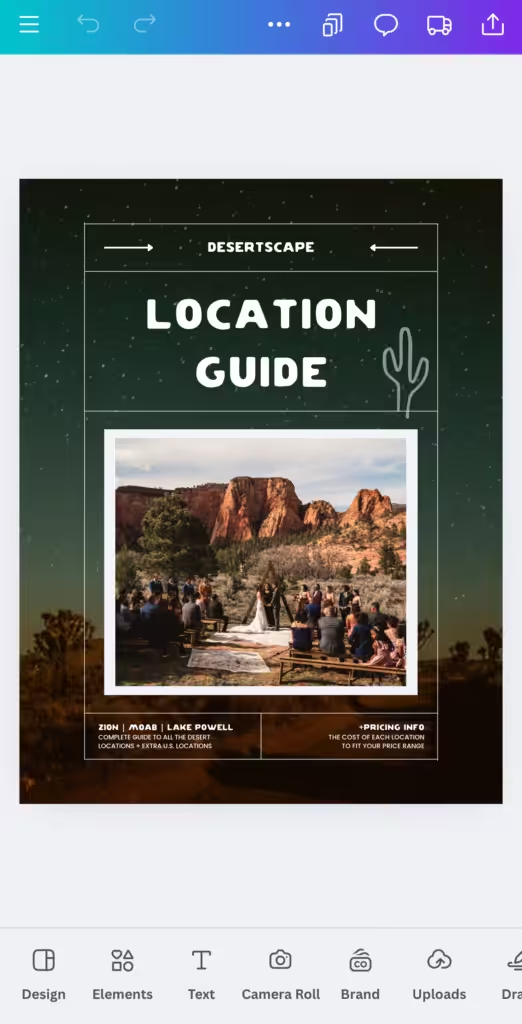
| Southern Utah-based film photographer, Kelsea Callister, shares her insights on the nuances of sharing your photography on Instagram and important factors to consider when posting. She shares her insights on effectively utilizing Instagram to enhance engagement and visibility for photographers. Kelsea’s years of experience with her wedding photography business has taught her so much when it comes to posting on Instagram and how to best utilize the platform. In this article she shows you some tips on how to compose your Instagram posts to get the most out of them! Kelsea also emphasizes the importance of adapting to Instagram’s frequent changes, particularly the recent shift to a vertical-centric grid. She provides practical tips on photo formatting, suggests helpful techi and software for editing, and highlights strategies such as incorporating audio, tagging curation accounts, and using location tags to amplify post reach. Her expertise and success on Instagram serve as a foundation for her valuable advice, aimed at helping fellow photographers navigate the platform and foster meaningful connections through social media. |
Section 1: Photo Formatting Tips
Instagram can be a fickle platform, and it can change a lot! We’ve seen this now with the new grid change from 1:1 (square) to 3:4 (rectangle). This is the biggest grid change they’ve ever made and will actually change some of the advice in this article now that the main focus is vertical posts for everything.
As unfortunate as it is, so many photographers reject changes that Instagram makes, and as much as I don’t like the changes sometimes, if you want your account to grow and stay relevant, then you have to be willing to adapt. I LOVE shooting in landscape and it’s sad that this platform doesn’t value that aspect ratio as much, but as a general rule, you will get more engagement on your post with the more space it takes on someone’s screen. However this doesn’t stop me from shooting landscape, in fact, around 70% of my photos are still shot horizontally. So if shooting vertical isn’t so much your thing, I have some tips that can really help.
CROPPING
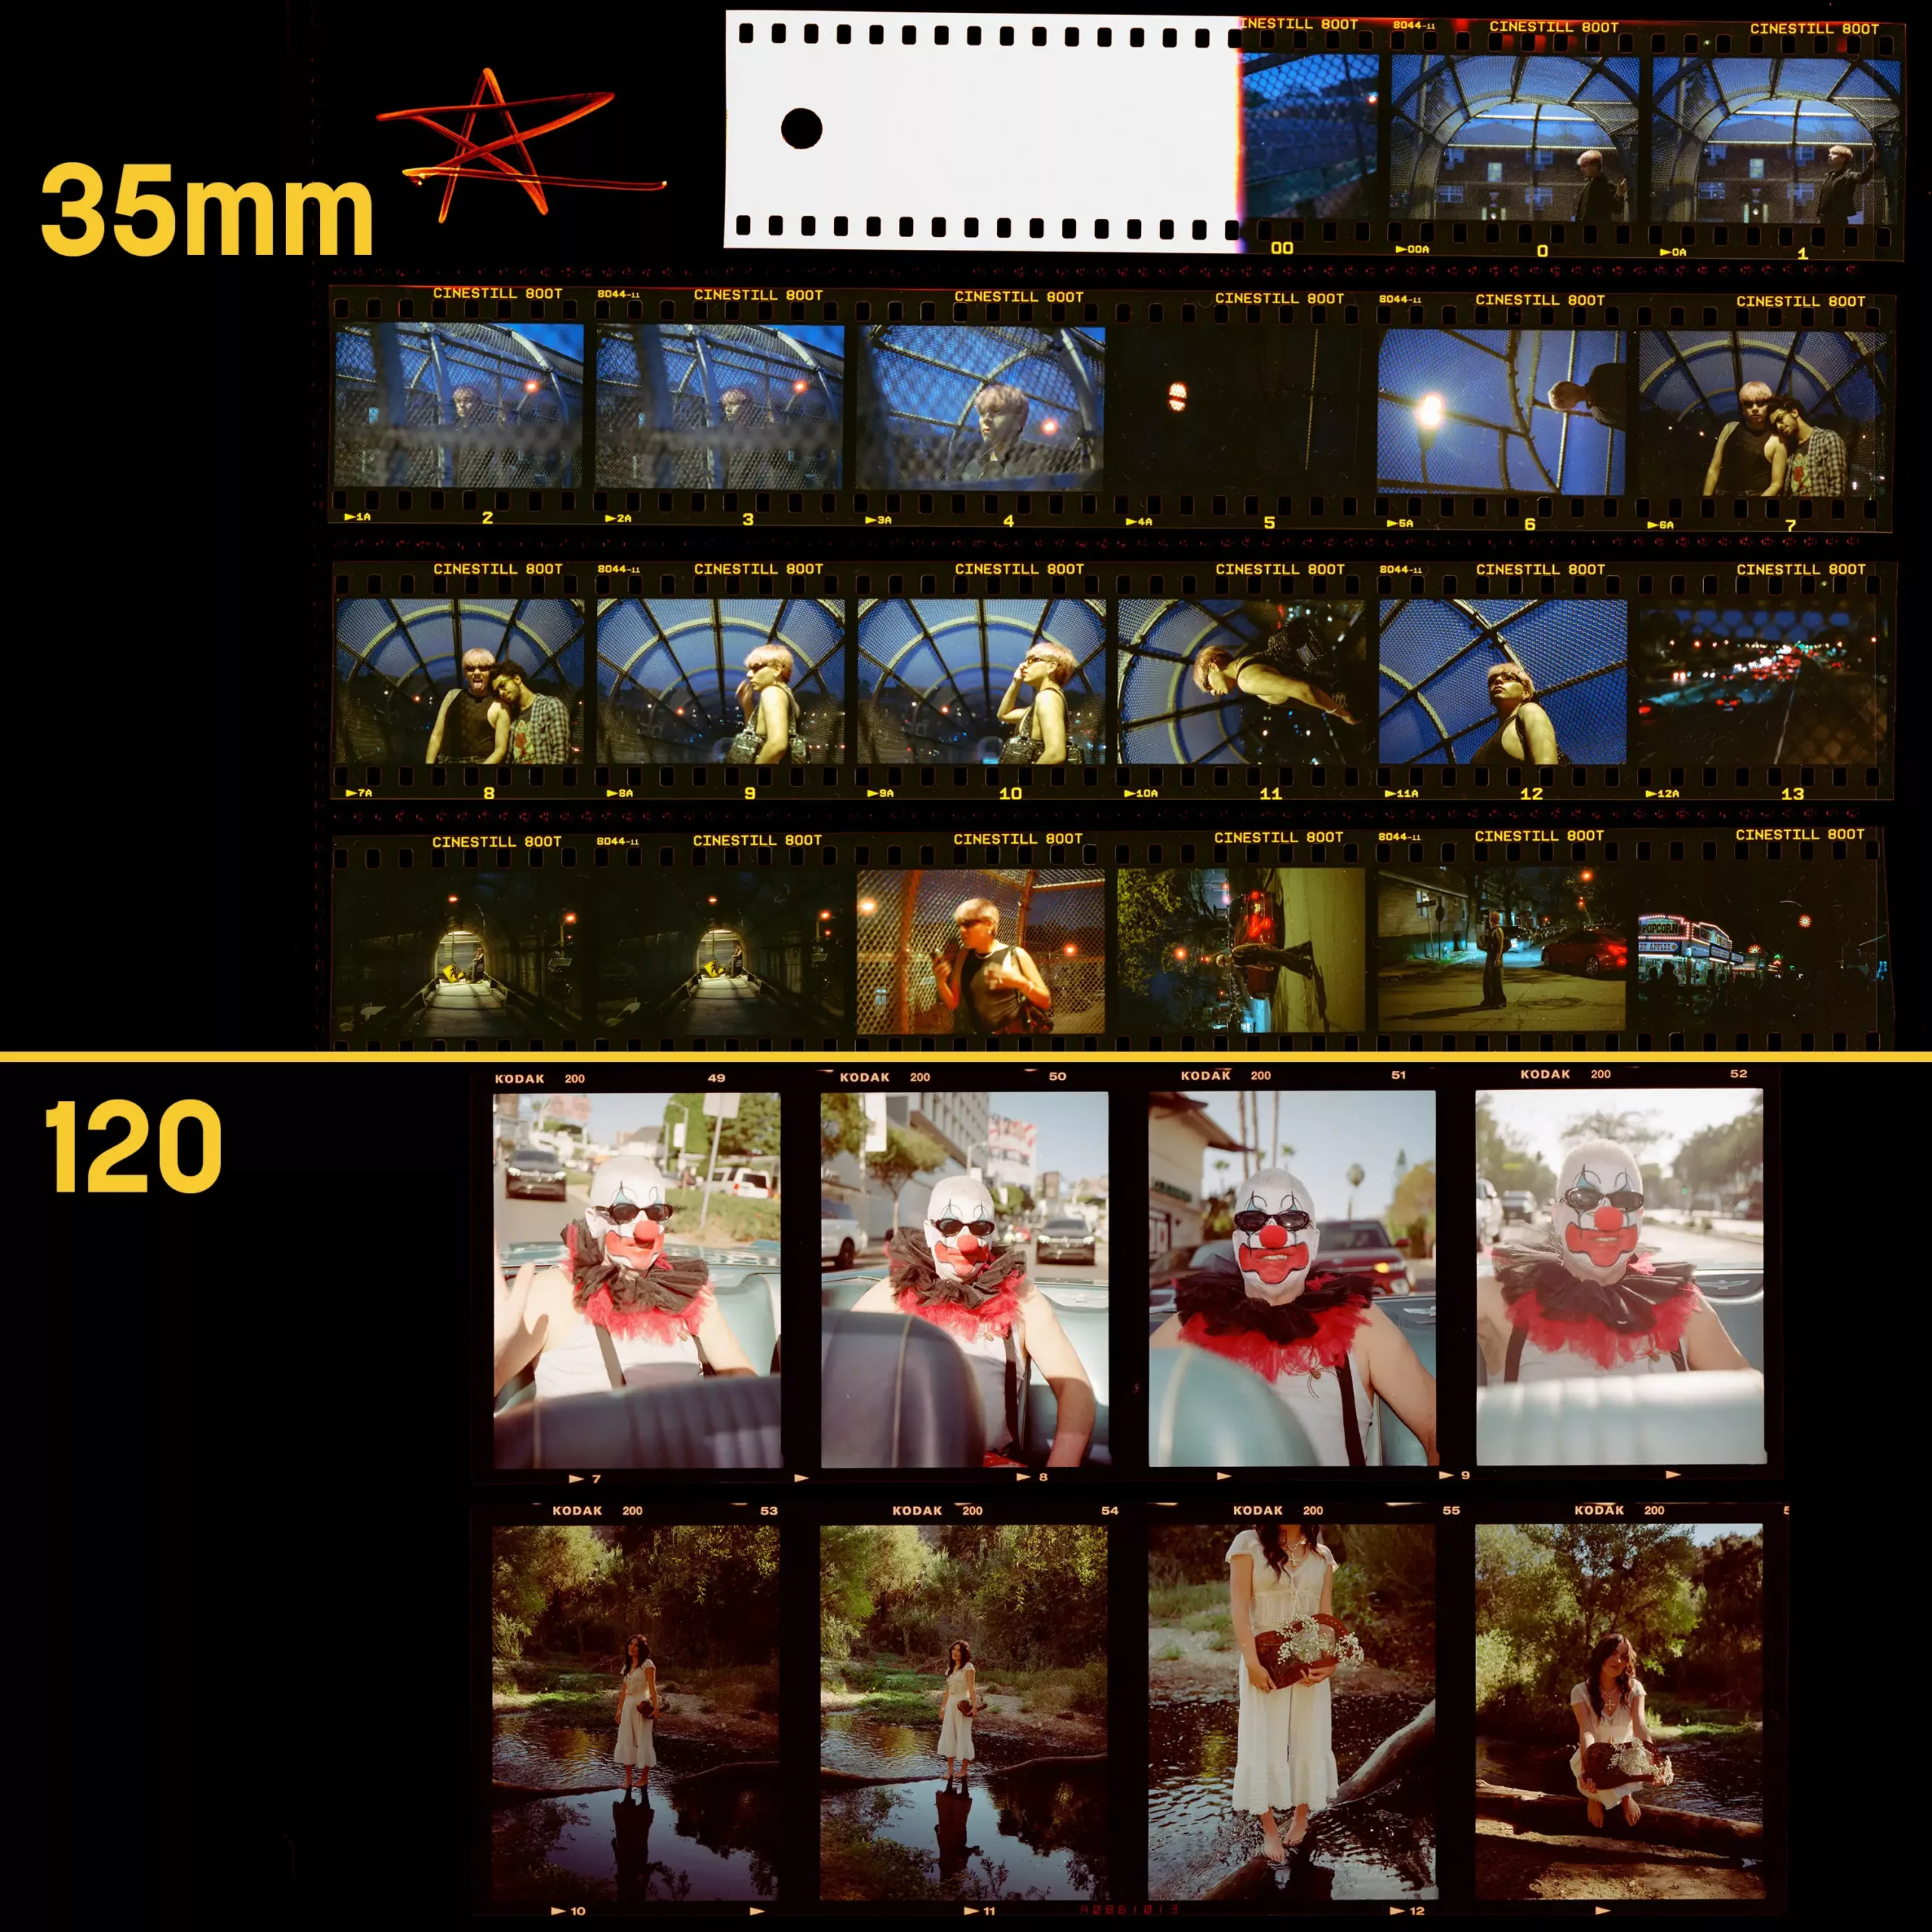
So when I am taking a horizontal photo, I actually have the mindset that I can get at least 2 or 3 vertical photos from 1 horizonal photo. This is because I can crop that picture anywhere I want. So to maximize my film I actually don’t prefer to shoot vertical since I can get multiple shots from one horizonal picture. (This resolution issue is a concern if you are printing the photos, but for Instagram it has been just fine for me. Also you can request higher quality scans from Gelatin so that way if you’re cropping in you can still retain a good amount of resolution.)
STACKING
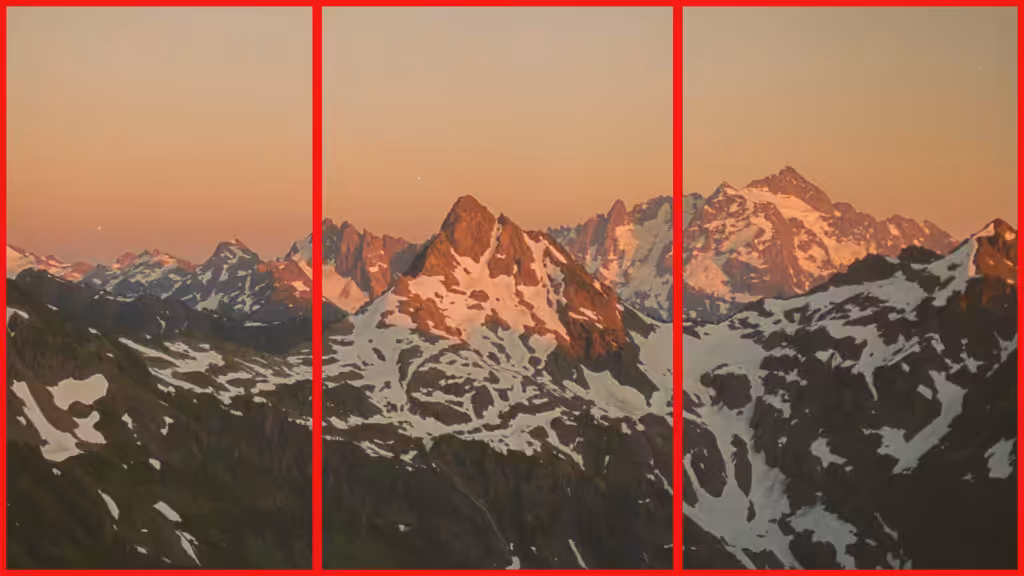
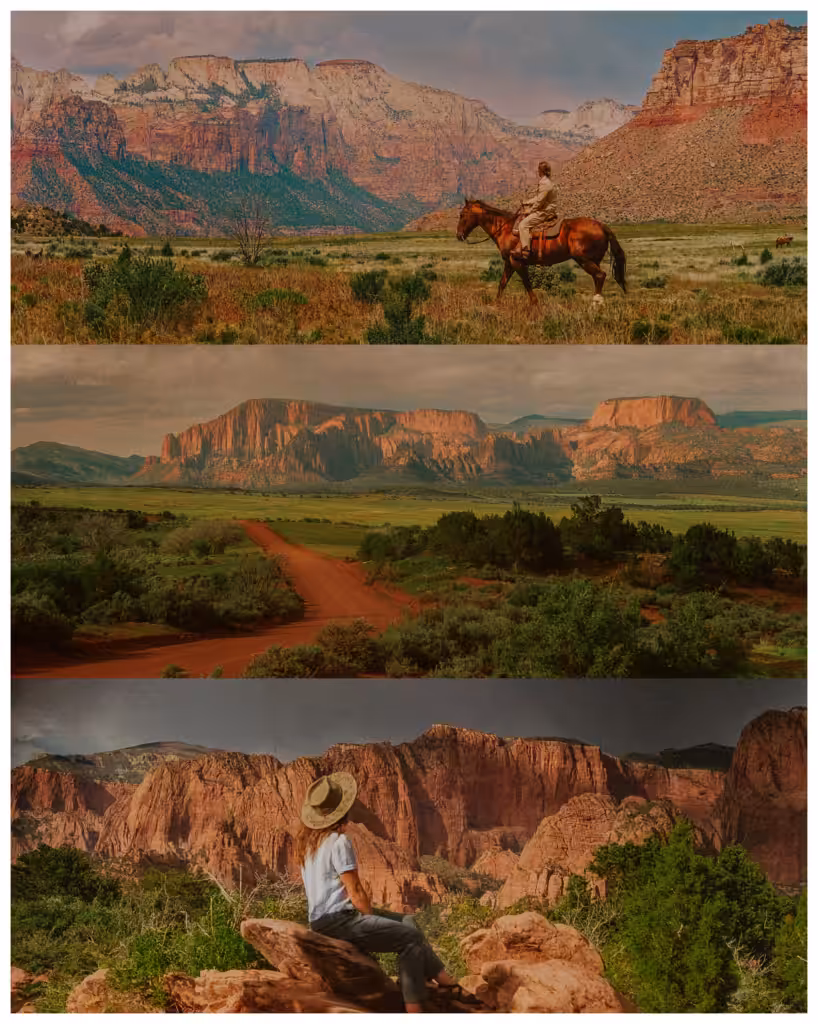
If there’s a horizontal photo that just needs to be showcased without cropping it into a 3:4 or 4:5 aspect ratio, then I love stacking my photos on top of each other. This allows me to do a cool collage (which I’ve had do really well on Instagram) and you also get to still take up a lot of space on Instagram’s feed which will bring more attention to your post. Here’s an example of what I mean by stacking:
ASPECT RATIO
So previously I’ve always posted a 4:5 aspect ratio with white borders. I’ll probably still do that for the forseeable future but with the new grid change my borders are cut off. They said it would be a 4:5 grid view which would have been perfect for my posts but the preview of the posts are actually 3:4. So if you want even borders, you have to make sure your photo is perfectly viewed in a 3:4 aspect ratio. If you end up still posting a square photo, Instagram will automatically crop it in which may or may not be favorable for you. For maximum control over your posts, you could stick with the 3:4 ratio, however to take up the most space on the feed you will want to use 4:5 and make sure you have the 3:4 preview in mind.
Section 2: Tools for Instagram
Here are some tool suggestions to make your Instagram posting experience more efficient!
I get asked all the time in my comments how I get my photos to have the white border around them. There are quite a few different ways you can do this but I’m just going to share my personal workflow and what has worked for me.
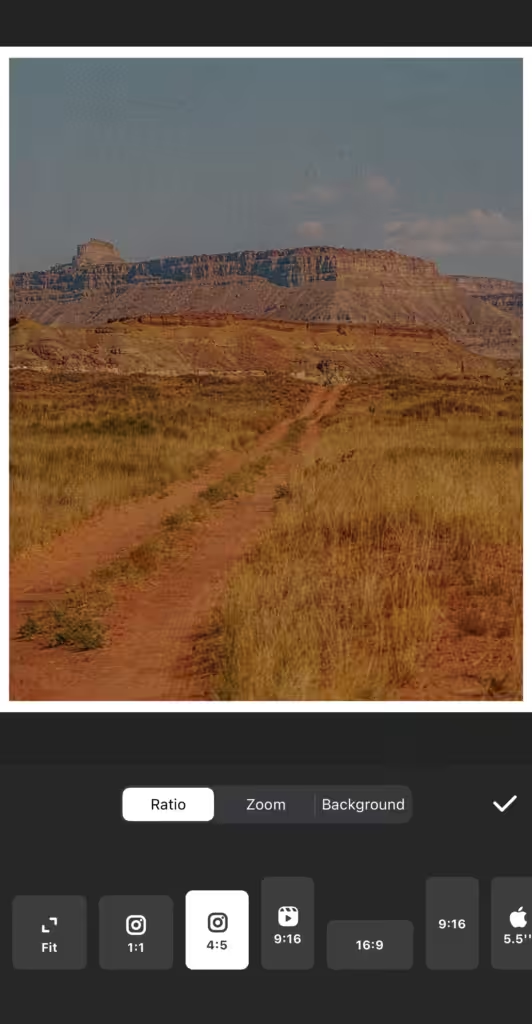
INSHOT
InShot is my absolute favorite app for social media posting! It’s not too expensive and has so many features. You can easily mass edit borders to photos, make stacks and other collages, change the aspect ratio of any photo, compress photos, edit them, etc. I also use it to edit reels (which I hardly post, but it is super convenient.) There are other apps with more customization than InShot, but in my experience InShot is by far the most convenient/simple app and easy to understand.
LIGHTROOM
Lightroom is another great choice for adding borders/editing your photos for Instagram. Lightroom has way more customization than InShot and offers a lot more features. However it is quite a bit more complex and may not be the right choice for someone who is looking for something simple. I edit all my photos in lightroom on my desktop and then use InShot on my phone to crop and put borders on them before posting them to social media. I do this just because I like to have options with my photos and don’t want to make a final crop on my desktop. However if you have a final crop you like, then you can put borders on all your photos in Lightroom which makes it easy!
CANVA
Canva really is an awesome platform! If you want really aesthetic stories, grid templates, or post templates then Canva is for you! There are thousands of pre-built templates on there and all you have to do is plug in your own photos/text and that’s it! I have used this a lot for my business and it has made it incredibly easy to make aesthetic content for social media.
Section 3: Other Suggestions
There are a lot of moving parts to an Instagram post and I’m going to go into some suggestions on what to do with some of Instagram’s features!
AUDIO
I LOVE adding audio to my photo sets. It can make them feel so much more magical and it makes the vibe of the whole set better in my opinion. Using trending audio can definitely help your reach however I just use what music I feel like fits the set the best and I have found a lot of success this way. I highly recommend adding audio to your sets. Instagram likes when you use as many of their features as possible, so don’t be resistant to participating in them.
TAG CURATION ACCOUNTS/ACCOUNTS YOU WANT TO GET FEATURED ON
This has been really important for me! I tagged the same accounts for over a year before one of them finally noticed me and getting featured on their account REALLY kickstarted my account growth. I had around 2k followers when they reposted my photo set, and since then I am now almost at 23k. A LOT of my growth is attributed to tagging/hashtagging feature accounts. My biggest success was getting Kodak to feature my work which got me a ton of followers. If you want to be featured somewhere, start tagging and interacting with that page!
LOCATION TAGS
Use location tags responsibility, but definitely use them! For instance if I discover a hidden gem location 1 hour away from Zion, I’ll always just tag Zion National Park since that can bring my post more traffic and get it more reach! I usually just stick to tagging general areas but like I said, Instagram wants you to use every feature it has so I pack my posts with all Instagram has to offer!
Best of luck on your social media journey and remember that it’s not enough to just post your photos, but it’s really important to interact with other accounts too! Give lots of other photo accounts your support and you’ll see lots of support in return. 🙂
Hi! My name is Kelsea Callister and I’ve been a film photographer since 2021.
I shoot only film for all my personal work now and shoot a combination of film and digital for my elopement photography business. I adore the look and feel of film and I currently have 3 Canon AE-1’s and shoot almost exclusively Portra 800 (I know I need to branch out more but the grain and low light performance is just too good).
%22%3E%3Cpath%20d%3D%22M500%2C930c-44.5%2C0-87.9%2C5.9-130.2%2C17.6c-42.3%2C11.7-81.3%2C28.1-117.2%2C49.2c-35.9%2C21.1-68.9%2C46.7-99%2C76.8c-30.1%2C30.1-55.7%2C63.1-76.8%2C99c-21.1%2C35.9-37.5%2C74.9-49.2%2C117.2C15.9%2C1332.1%2C10%2C1375.5%2C10%2C1420c0%2C44.5%2C5.9%2C87.9%2C17.6%2C130.2s28.1%2C81.3%2C49.2%2C117.2c21.1%2C35.9%2C46.7%2C68.9%2C76.8%2C99c30.1%2C30.1%2C63.1%2C55.7%2C99%2C76.8c35.9%2C21.1%2C74.9%2C37.5%2C117.2%2C49.2c42.3%2C11.7%2C85.7%2C17.6%2C130.2%2C17.6c44.5%2C0%2C87.9-5.9%2C130.2-17.6c42.3-11.7%2C81.3-28.1%2C117.2-49.2c35.9-21.1%2C68.9-46.7%2C99-76.8c30.1-30.1%2C55.7-63.1%2C76.8-99s37.5-74.9%2C49.2-117.2c11.7-42.3%2C17.6-85.7%2C17.6-130.2c0-33.3-3.3-66.2-10-98.6c-6.7-32.4-16.1-63.1-28.4-92.2c-12.3-29.1-27.3-56.8-45.2-83.2c-17.9-26.4-37.8-50.6-59.8-72.6s-46.2-41.9-72.6-59.8c-26.4-17.9-54.1-32.9-83.2-45.2c-29.1-12.3-59.8-21.7-92.2-28.4C566.2%2C933.3%2C533.3%2C930%2C500%2C930z%20M450%2C1320h102.4c1.9%2C0%2C3.5%2C0.4%2C5%2C1.2s2.7%2C2%2C3.6%2C3.6c0.9%2C1.6%2C1.4%2C3.2%2C1.4%2C4.8c0.8%2C25.1%2C4.7%2C44.3%2C11.8%2C57.8c7.1%2C13.5%2C20.3%2C26.6%2C39.8%2C39.4c10.9%2C6.9%2C19.3%2C12.4%2C25.2%2C16.4c5.9%2C4%2C12%2C8.9%2C18.4%2C14.6c6.4%2C5.7%2C11.1%2C11%2C14%2C15.8c2.9%2C4.8%2C5.7%2C10.9%2C8.4%2C18.2c2.7%2C7.3%2C4.4%2C15.3%2C5.2%2C24c0.8%2C8.7%2C1.2%2C19%2C1.2%2C31c0%2C14.9-1.9%2C28.9-5.6%2C42c-3.7%2C13.1-8.9%2C24.8-15.4%2C35.2c-6.5%2C10.4-14.4%2C19.9-23.6%2C28.4c-9.2%2C8.5-19.3%2C15.8-30.2%2C21.8s-22.5%2C11.1-34.6%2C15.2s-24.5%2C7.2-37.2%2C9.2c-12.7%2C2-25.5%2C3-38.6%2C3c-58.7%2C0-104.9-14.9-138.8-44.8c-33.9-29.9-52.1-72-54.8-126.4v-0.4c0-2.7%2C0.9-4.9%2C2.8-6.8c1.9-2.1%2C4.3-3.2%2C7.2-3.2h107.6c1.1%2C0%2C2.1%2C0.1%2C3.2%2C0.4c1.1%2C0.3%2C2%2C0.7%2C2.8%2C1.4c0.8%2C0.7%2C1.5%2C1.3%2C2%2C2s1%2C1.5%2C1.4%2C2.6c0.4%2C1.1%2C0.6%2C2.1%2C0.6%2C3.2c1.1%2C19.5%2C7.2%2C34.3%2C18.4%2C44.4c11.2%2C10.1%2C27.1%2C15.2%2C47.6%2C15.2c14.4%2C0%2C26.1-4.3%2C35.2-12.8c9.1-8.5%2C13.6-19.3%2C13.6-32.4c0-20.8-13.1-40.1-39.2-58c-47.2-34.4-70.8-72.8-70.8-115.2V1330c0-1.3%2C1.3-3.3%2C4-6S448.7%2C1320%2C450%2C1320z%20M440%2C1100h122c5.3%2C0%2C10%2C1.9%2C14%2C5.8c4%2C3.9%2C6%2C8.6%2C6%2C14.2v120c0%2C5.6-2%2C10.3-6%2C14.2c-4%2C3.9-8.7%2C5.8-14%2C5.8H440c-5.6%2C0-10.3-1.9-14.2-5.8c-3.9-3.9-5.8-8.6-5.8-14.2v-120c0-5.6%2C1.9-10.3%2C5.8-14.2C429.7%2C1101.9%2C434.4%2C1100%2C440%2C1100z%22%2F%3E%3C%2Fg%3E%3C%2Fg%3E%0A%09%3C%2Fsvg%3E%0A)